Baby Nessie and the Great Banana Bread Adventure
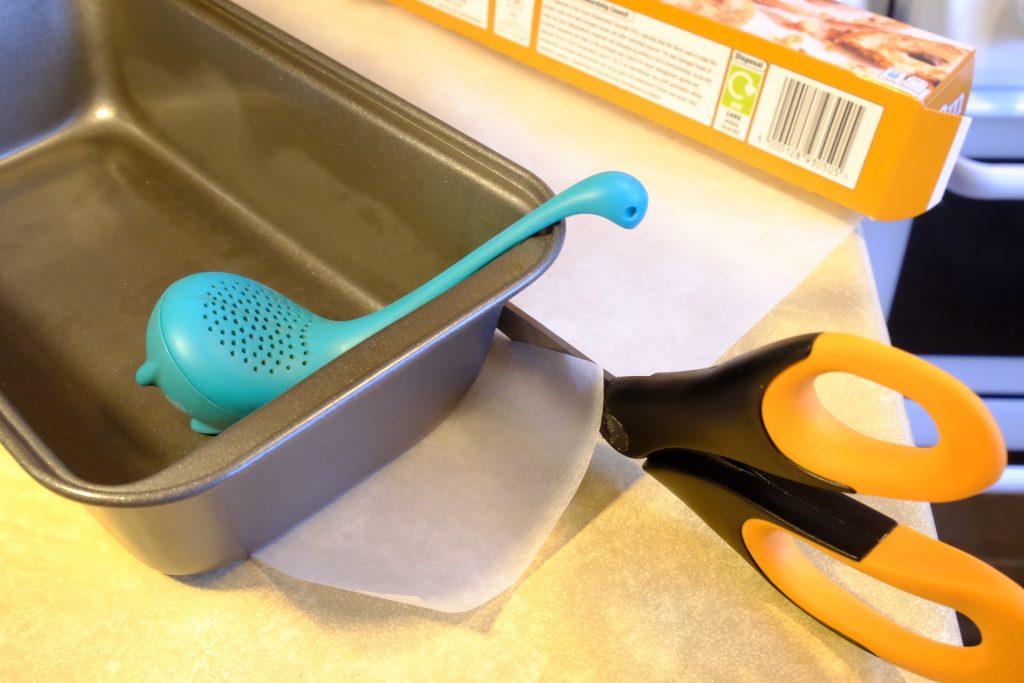
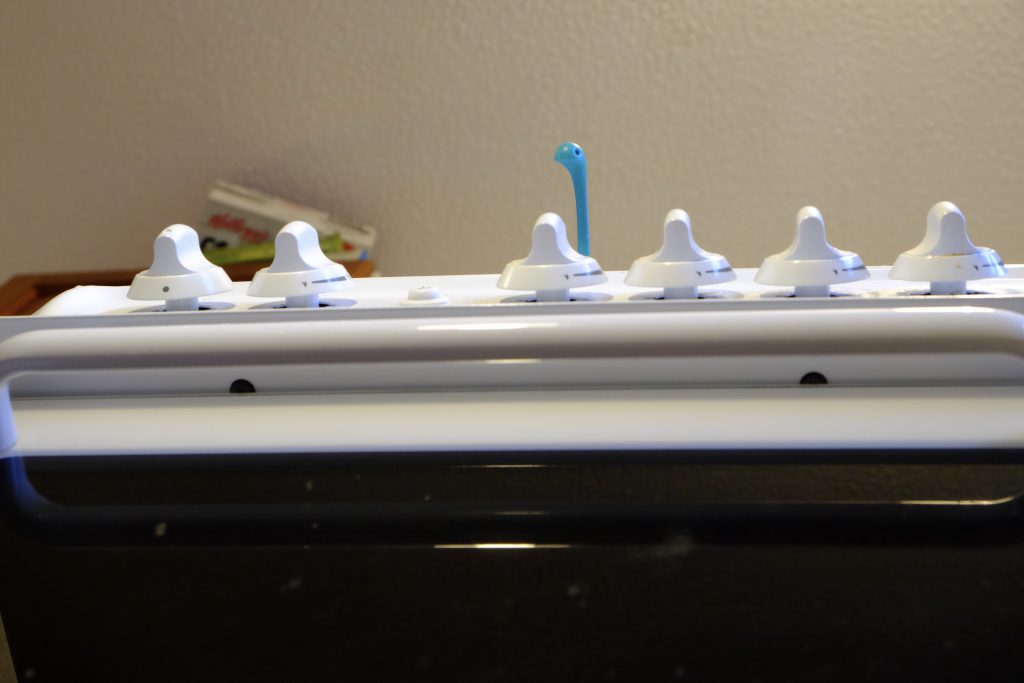
Nessie has found something. What could it be?!
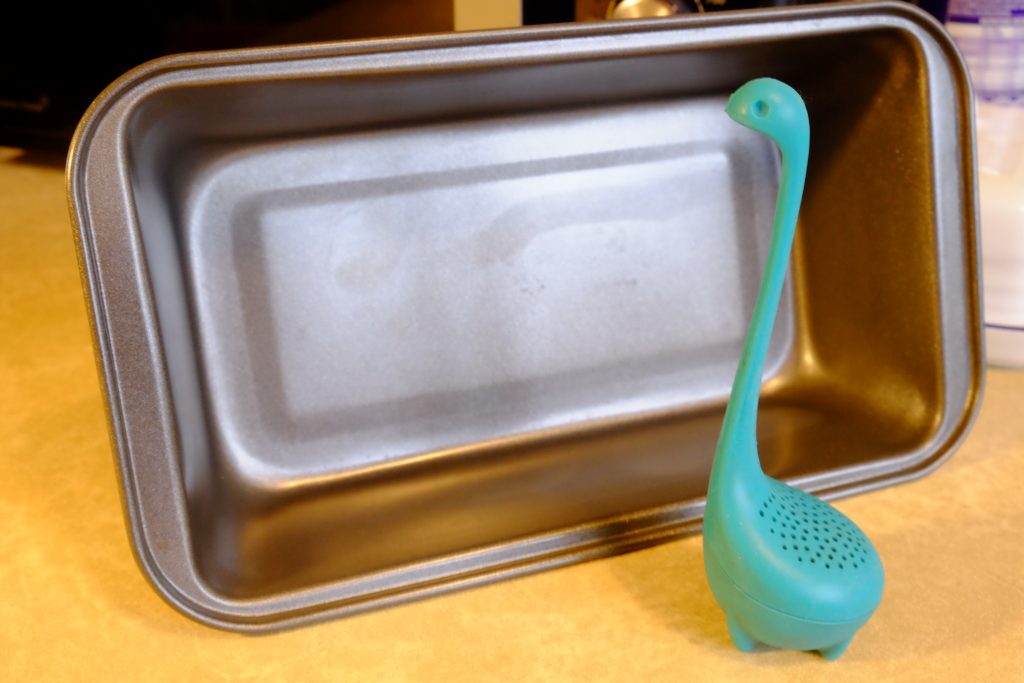
Maybe a small bus shelter?
Maybe it’s a new bed for Baby Nessie?
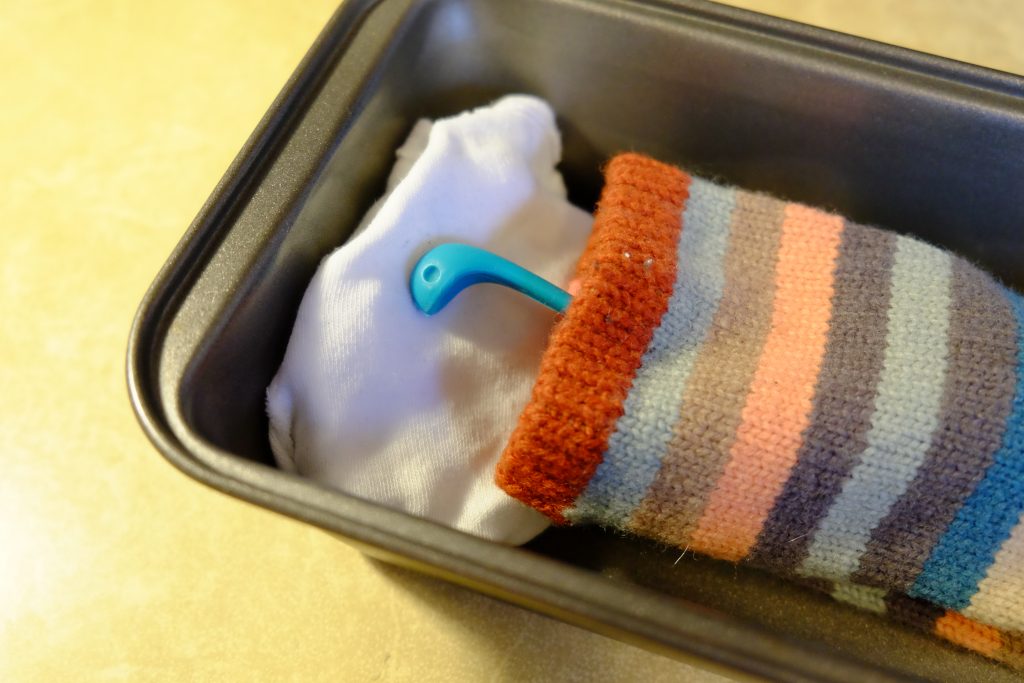
Seems pretty comfy.
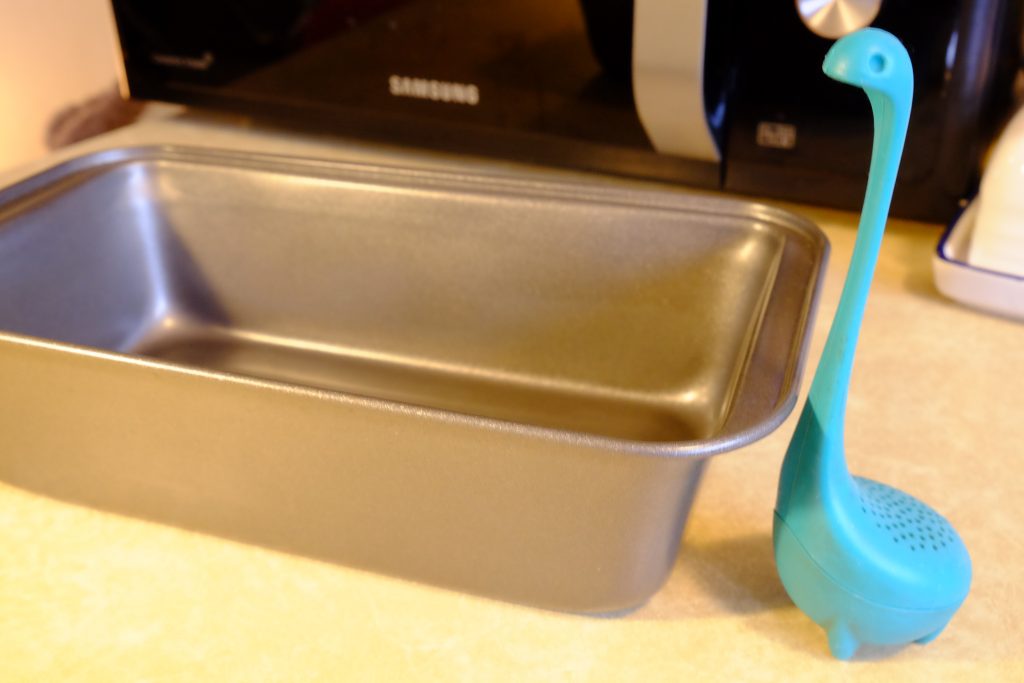
Oh, it’s a loaf tin! Maybe Nessie will bake something?
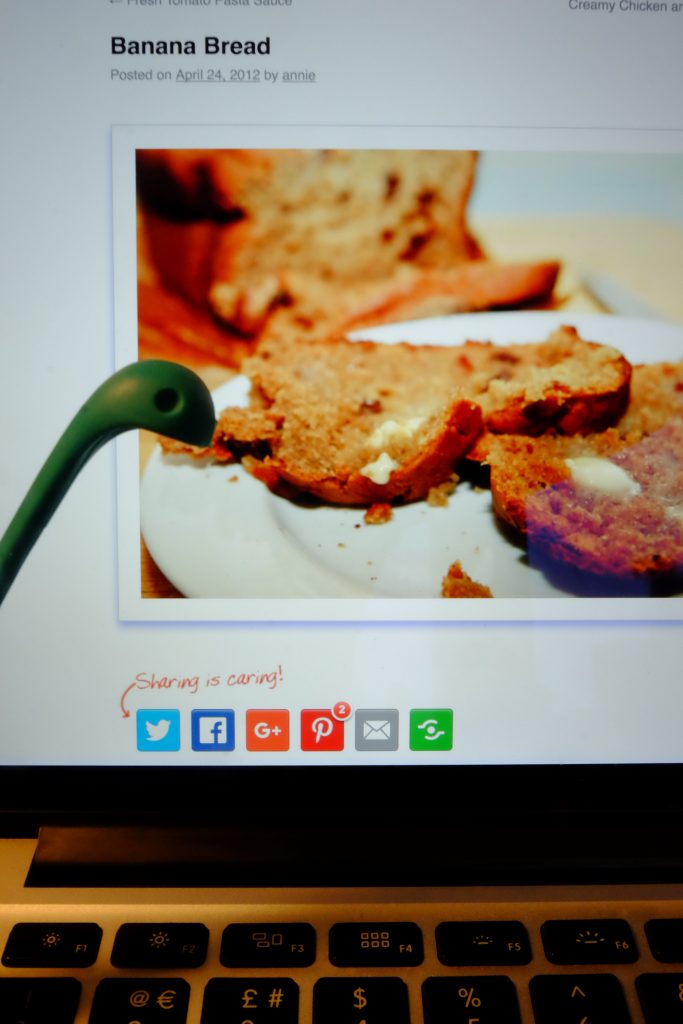
This looks tasty. Banana bread it is! Of course, to make banana bread, Nessie will need bananas. The best place to look for bananas is, of course, a fruit bowl.
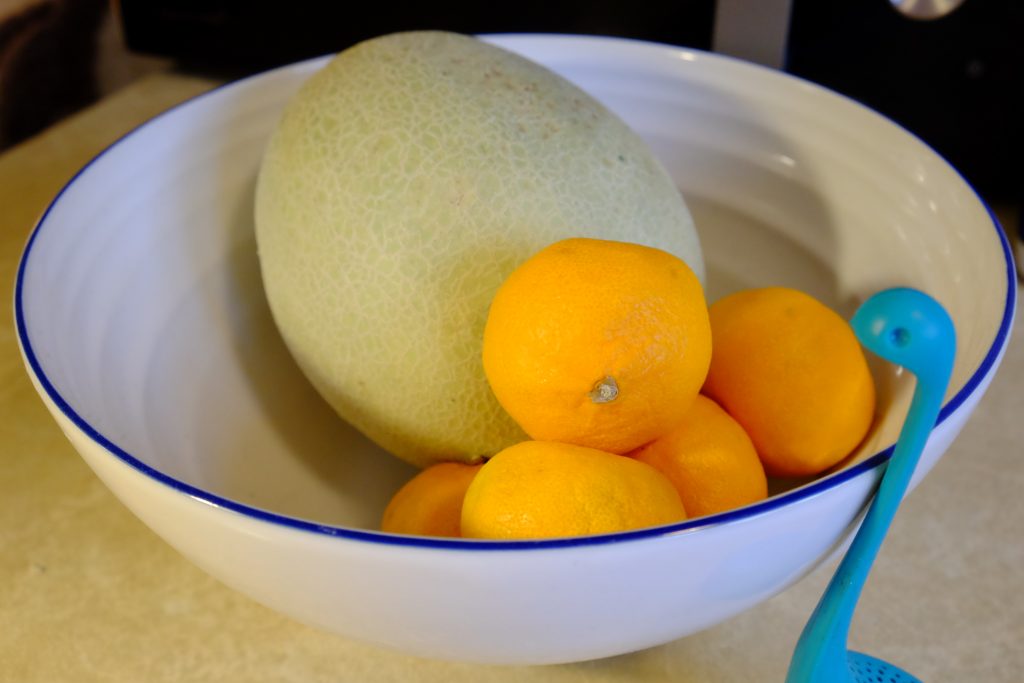
Unfortunately, this one seems to only have a melon and a few satsumas.
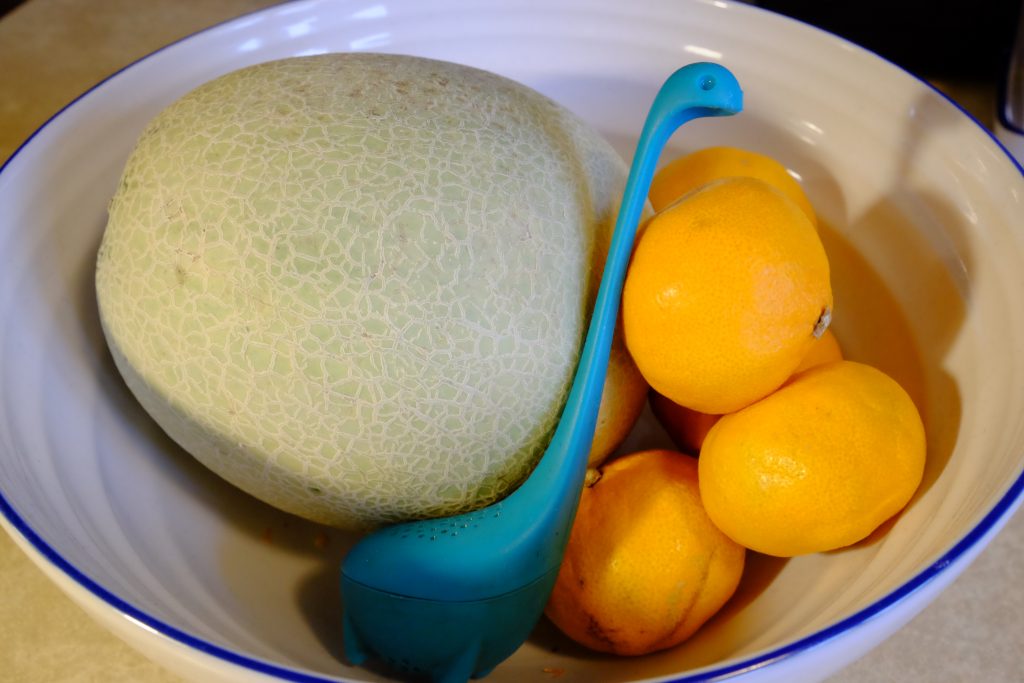
Nope, definitely no bananas.
Nessie will just have to go and hunt them in the wild.
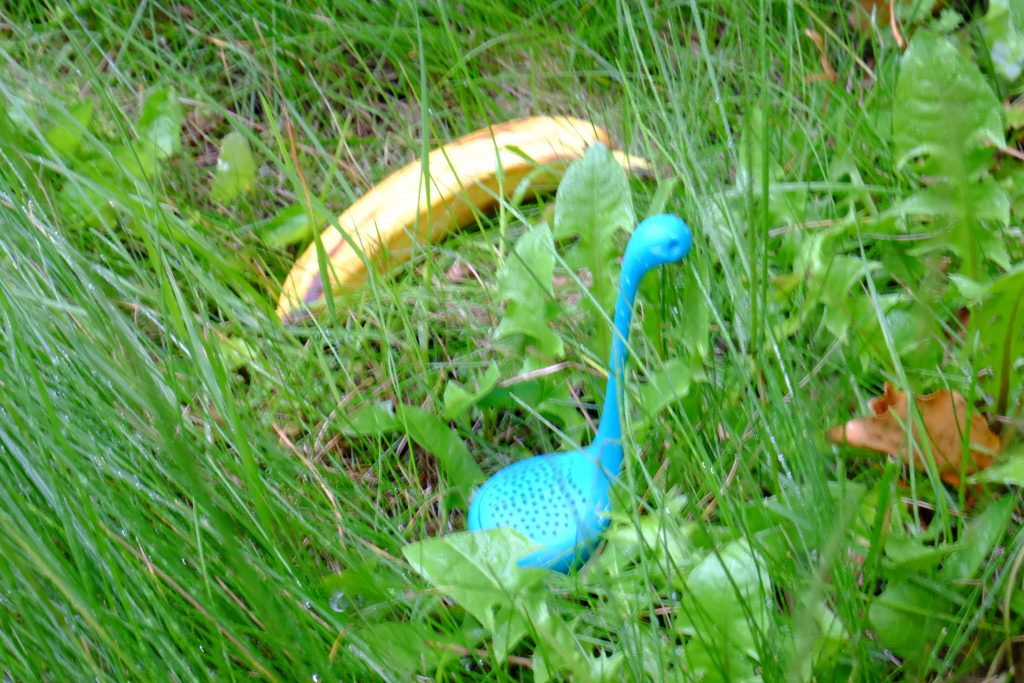
The best place to find bananas in the wild is in the deep rainforest. Nessie is carefully creeping up behind this wild banana. It’s important to be stealthy – if the banana catches sight of you it will run off, and nothing can outrun a banana.
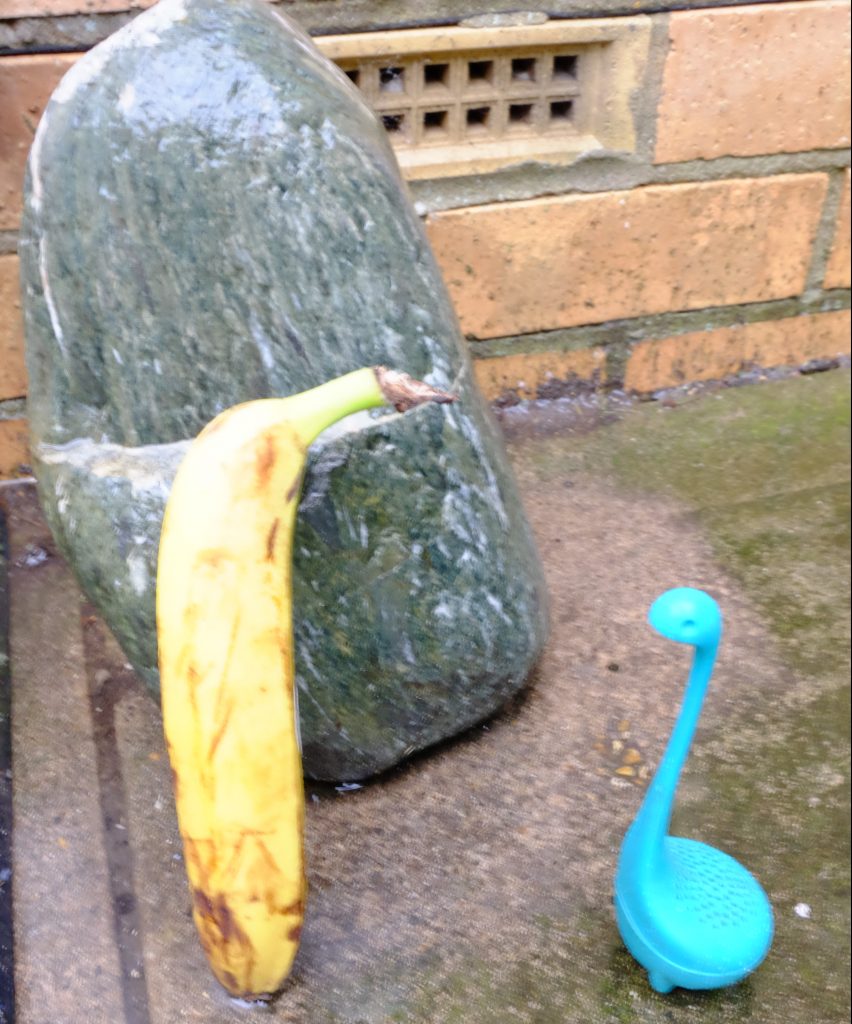
This is an elusive mountain banana. These can’t run as fast as the more common jungle bananas, but the rarified atmosphere at high altitudes can make it harder to see them.
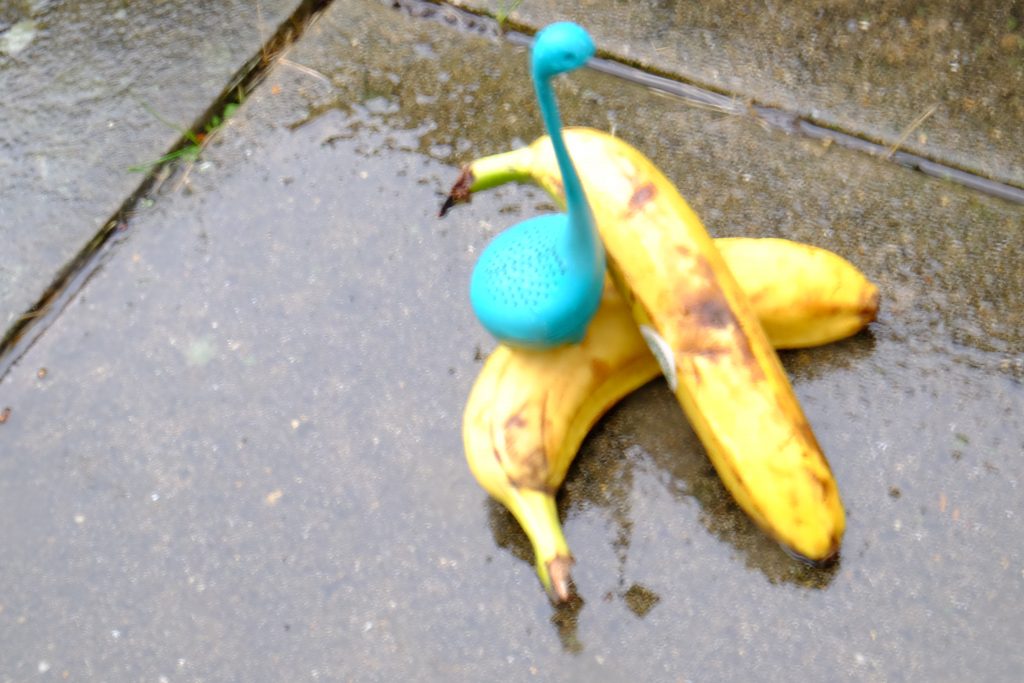
When hunting bananas, you should deliver a swift kick to the stem as soon as you are in range. This is the best way to bring about the banana’s demise, while preserving the quality of the fruit.
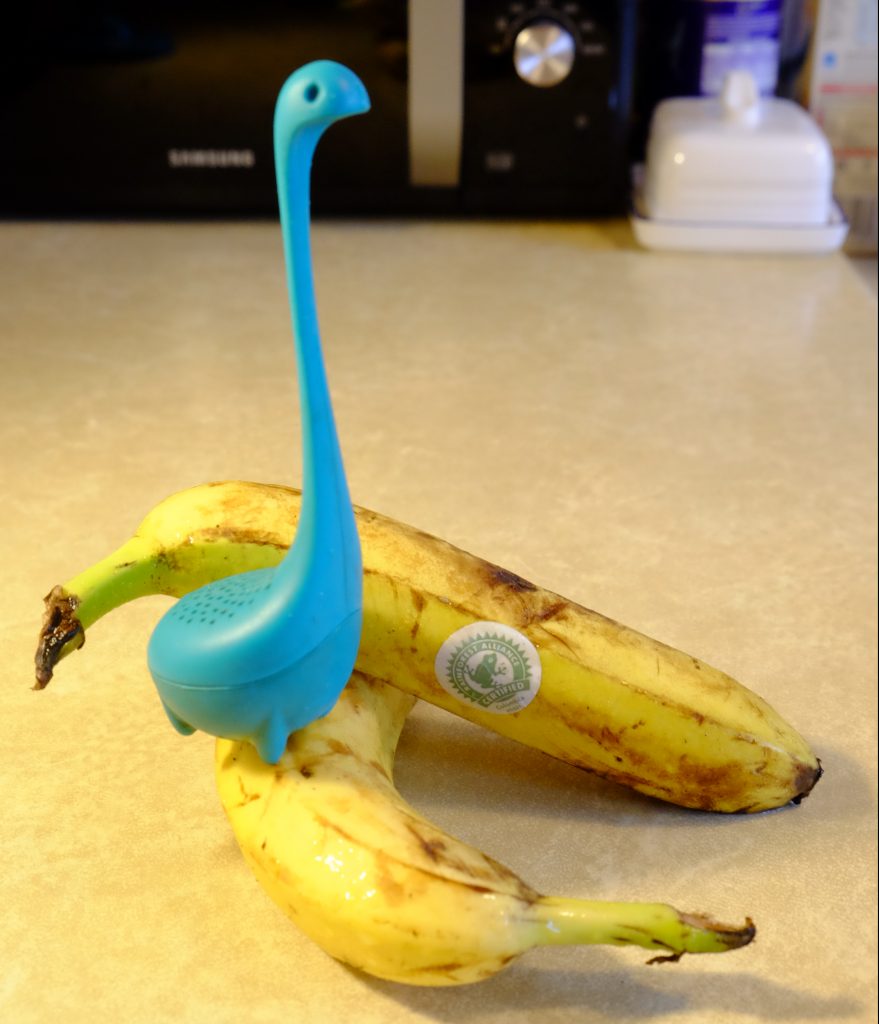
Bring your trophies back to the kitchen, and glory in your hunting prowess for a few minutes.
Make sure you dry off well after your trip to the deep rainforest. You can’t cook banana bread if you’ve caught your death of cold!
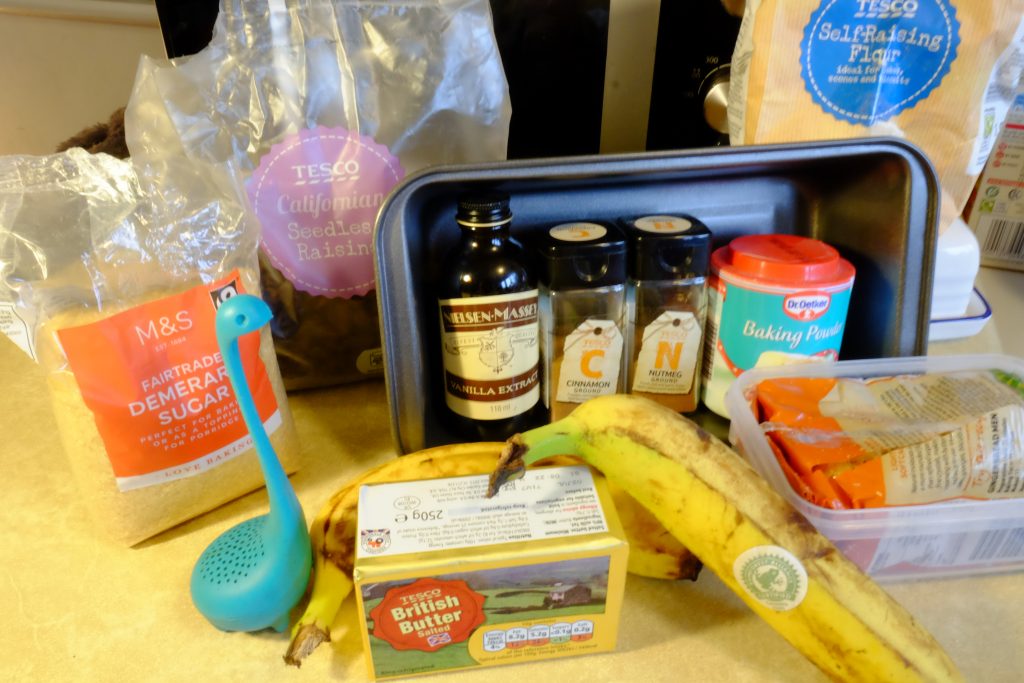
When you’re nice and dry, collect up the rest of your ingredients. You’ll need:
- Self raising flour
- Soft brown sugar
- Baking powder
- Cinnamon (and nutmeg if desired)
- Butter
- Bananas
- Vanilla extract
- Eggs (they are in this photo, but they’re hiding behind the loaf tin because they are shy)
- A little milk (not in this photo)
- Raisins
- Demerara sugar (optional)
Nessie is going to use a food processor for this recipe, because he is a little bit tired after his banana hunting trip. You can still make this recipe if you don’t have a food processor – check the full recipe at the bottom for directions on how to make it by hand.

Turn the oven on to gas mark 4 / 180°C / 350°F
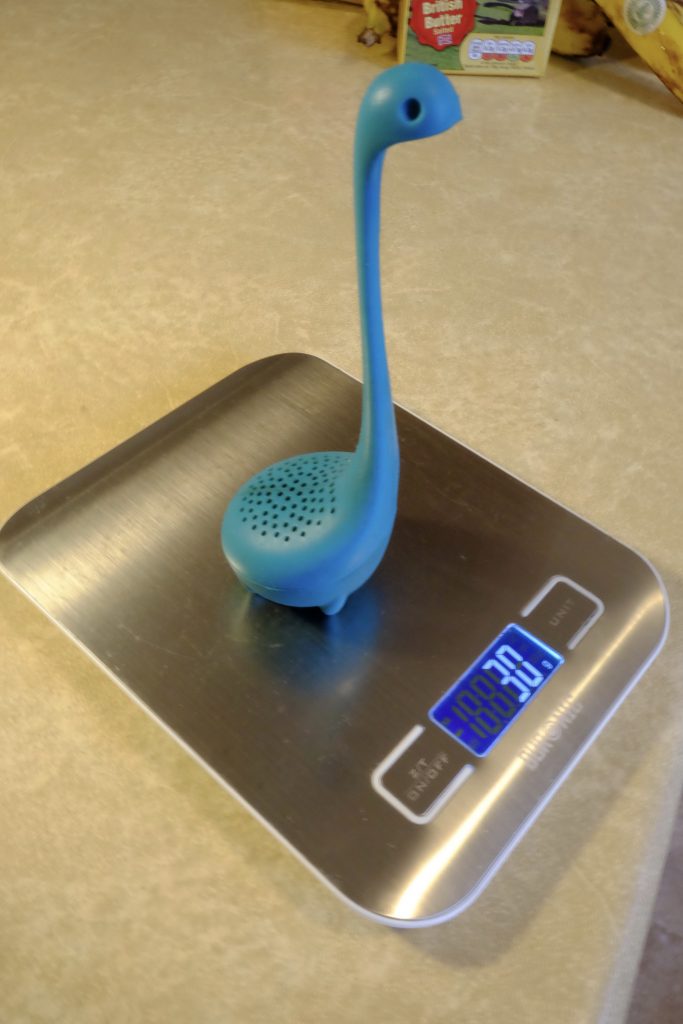
Grab the kitchen scales to weigh out your ingredients! It turns out the Baby Nessie weighs exactly 30g, and is also not an ingredient in this recipe.
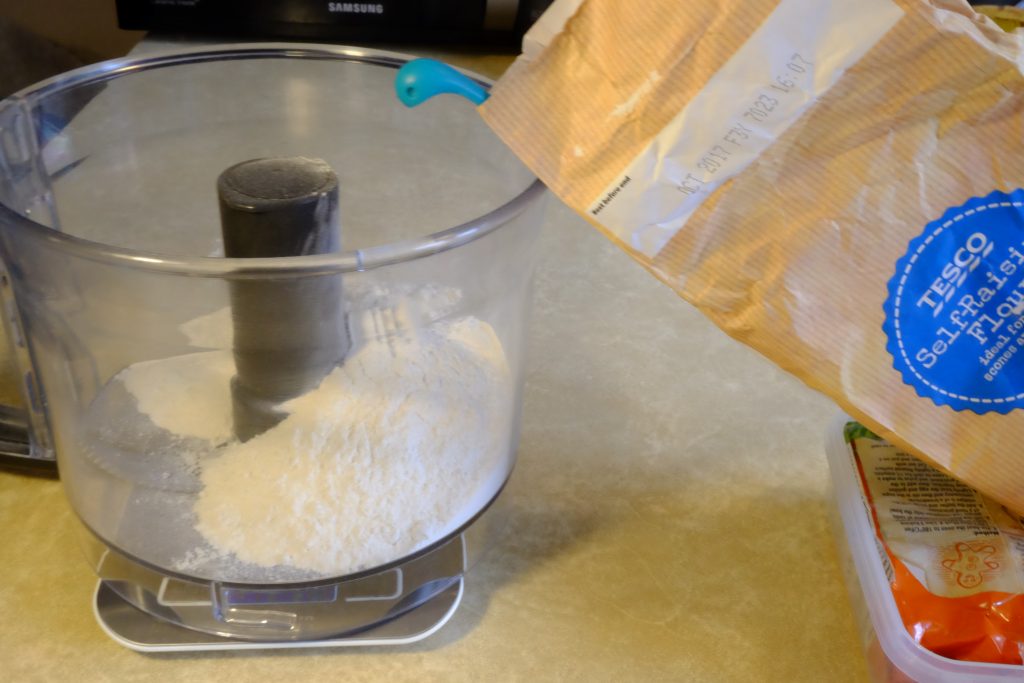
First, weigh out 225g self raising flour into your bowl.
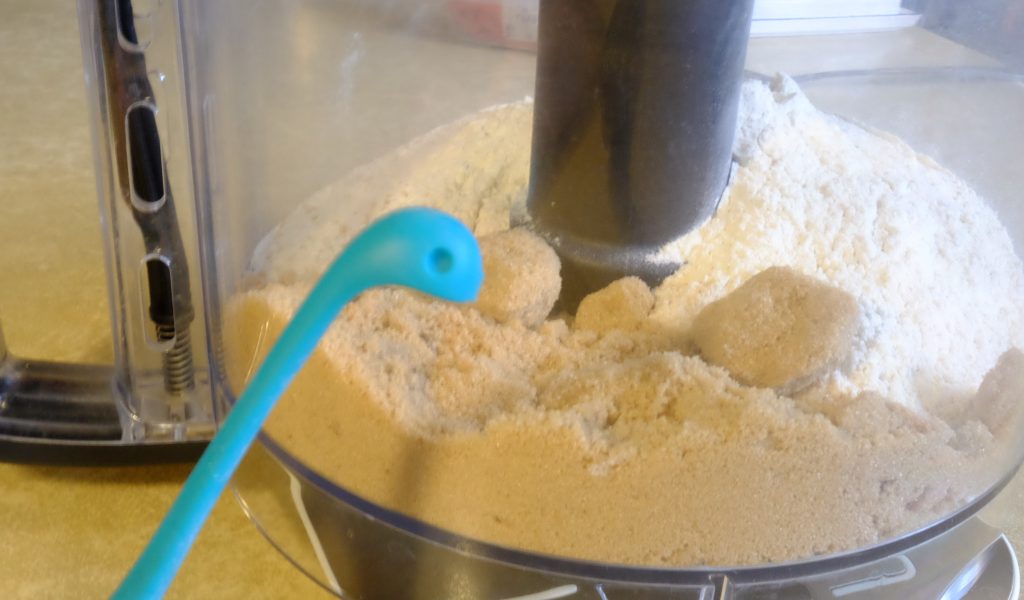
Add 100g of soft brown sugar to the flour in the bowl.
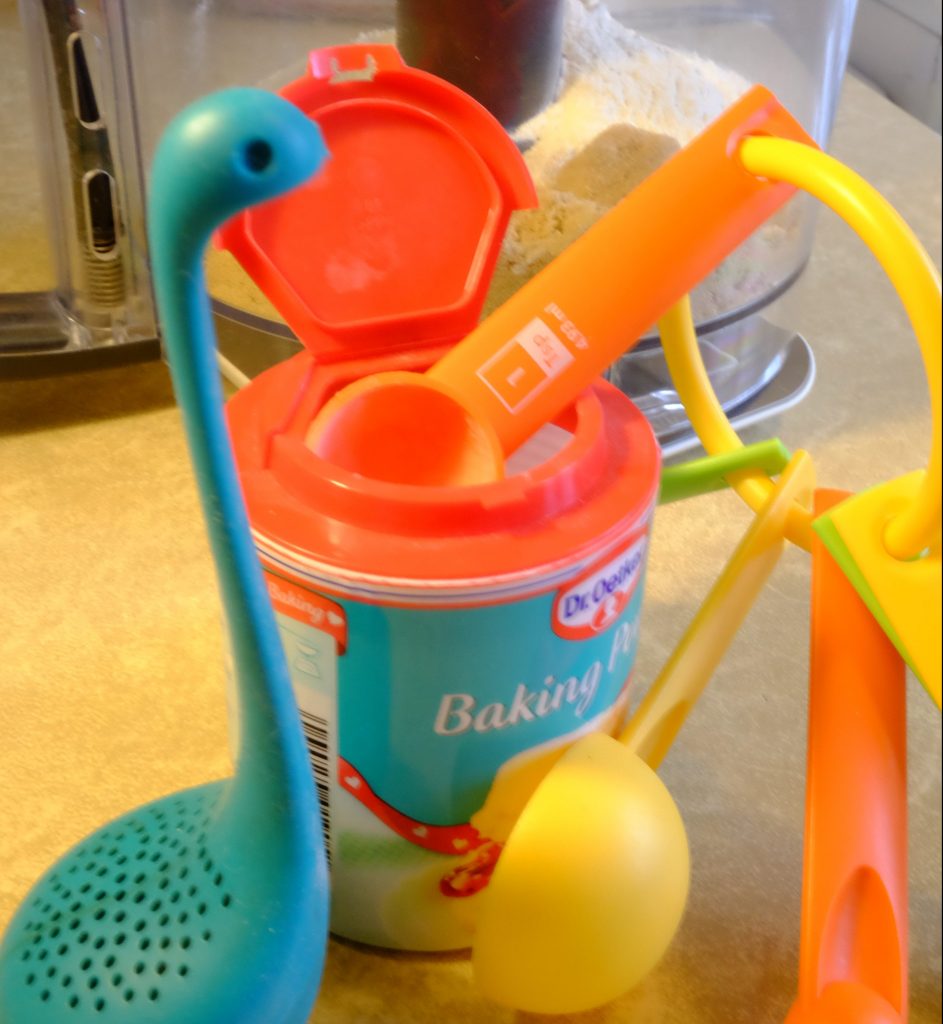
Carefully add 1tsp of baking powder and a pinch of salt to your bowl.
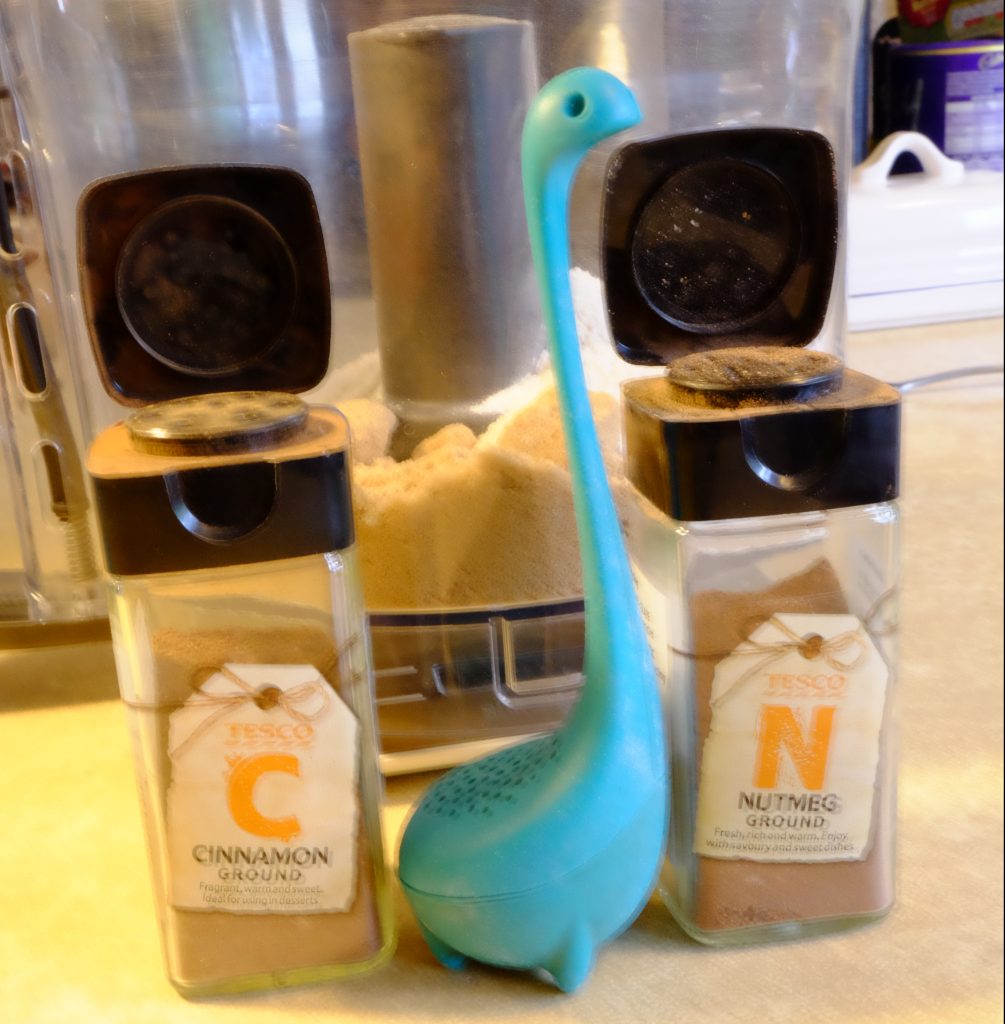
Add spices to taste – Nessie recommends at least 1 heaped teaspoon of cinnamon, and about half a teaspoon of nutmeg. You can skip the nutmeg if you don’t have any, or don’t particularly like it. But don’t skip the cinnamon!
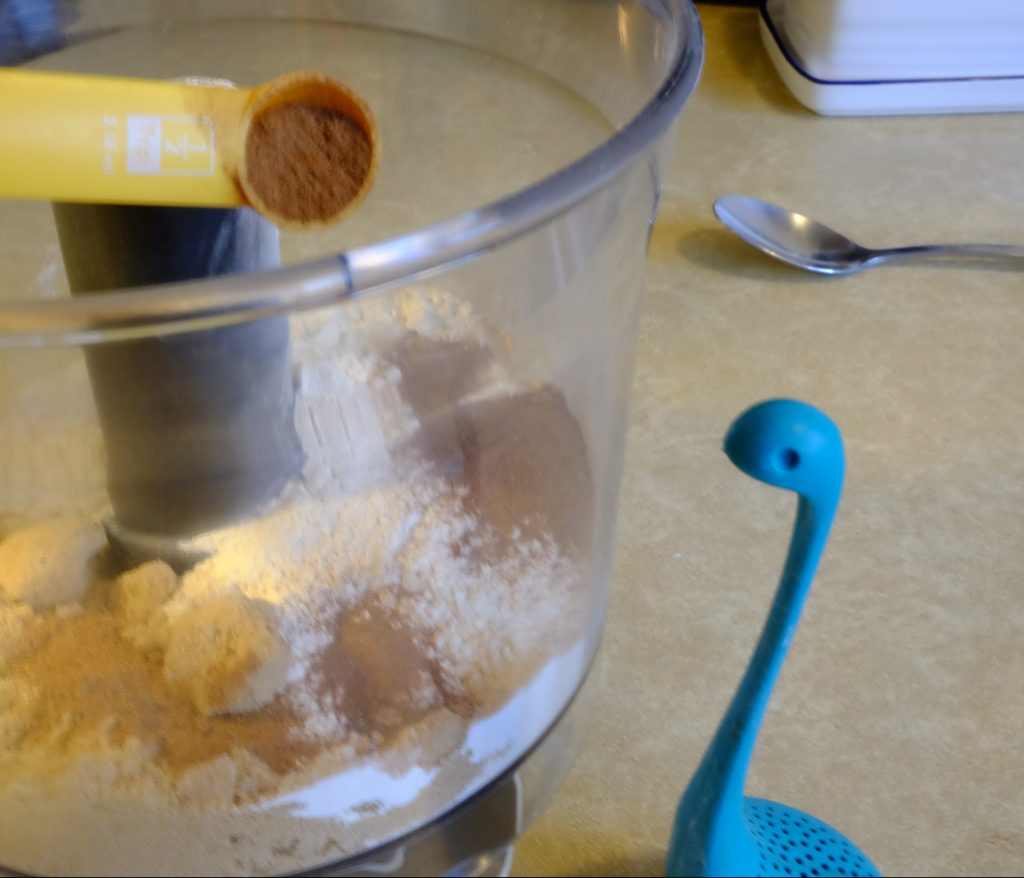
Mmmm, spices 😀
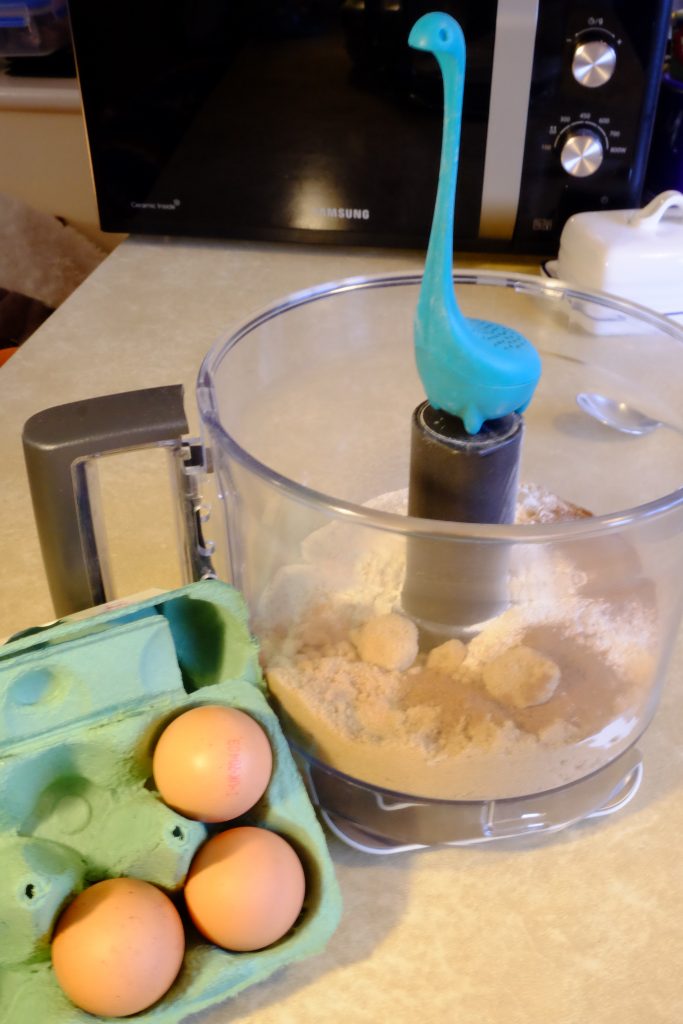
Gotta add dem eggs! You’ll need three oval spheres of egginess.

At this point you should stand on an upturned egg box and admire your ingredient measuring prowess. It’s also a good opportunity to check if you’ve accidentally allowed egg shell to invade your mixing bowl.
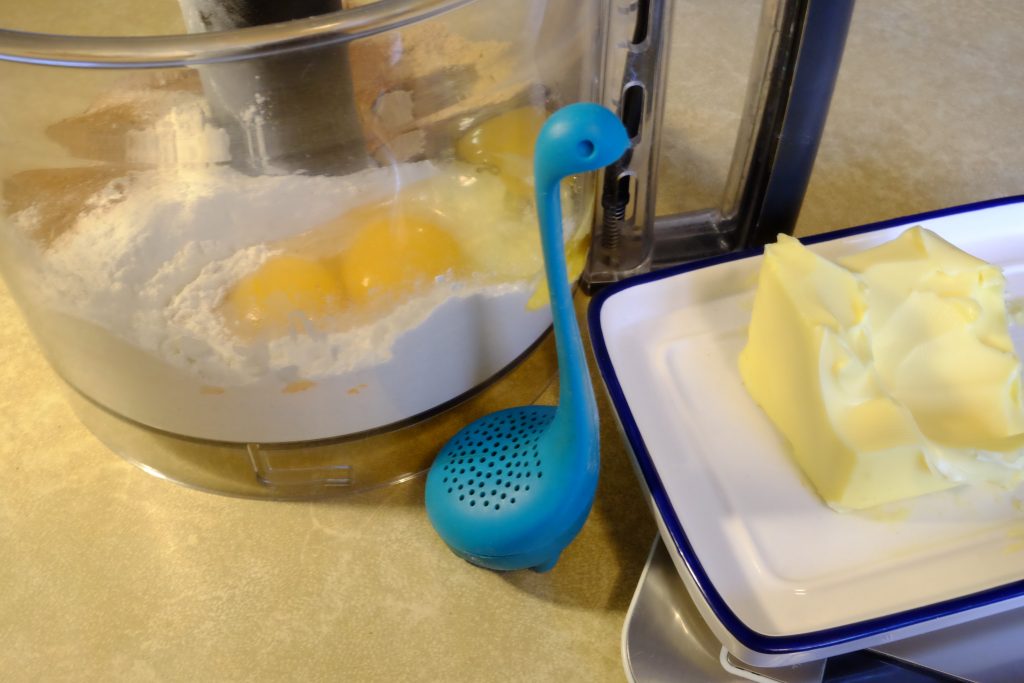
Next, add 100g of butter. It should be quite soft, so microwave it a bit if it’s been in the fridge, to produce an appropriately squishy texture. It doesn’t matter if it’s a bit melty, but don’t melt all of it.
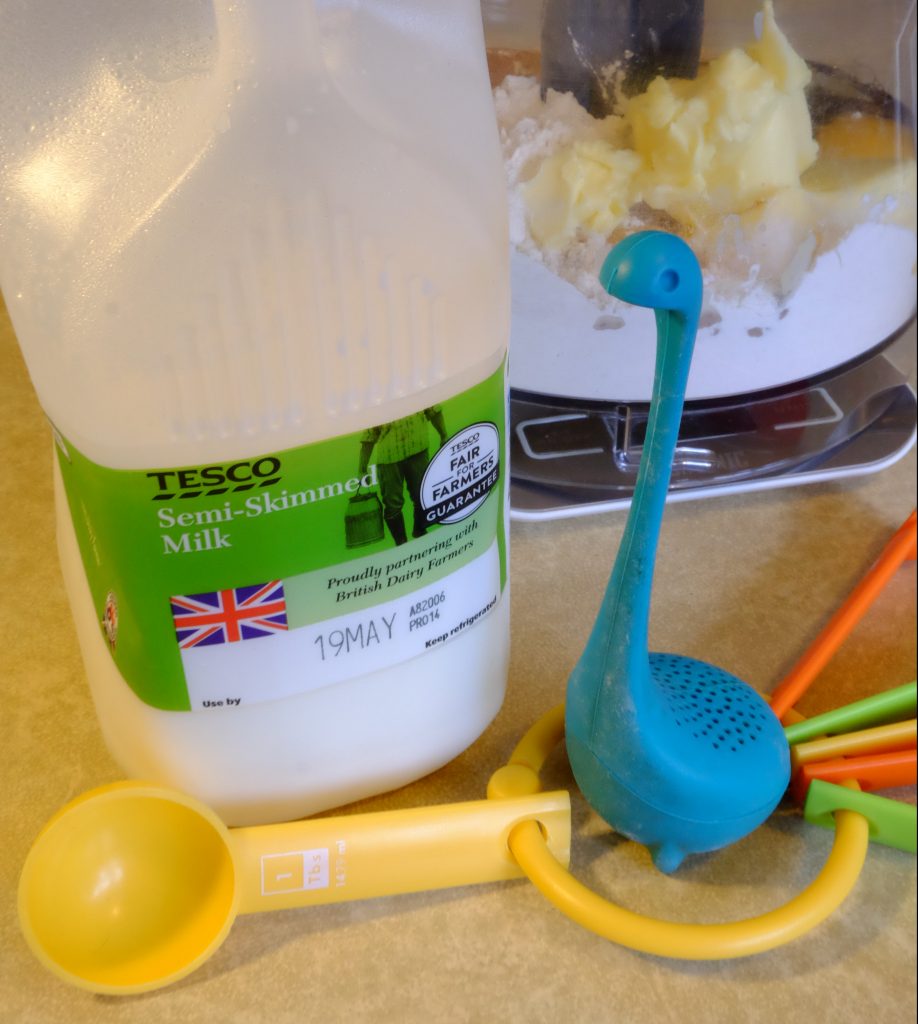
You will now need exactly one tablespoon of milk. It may seem a bit silly, but it makes the mixture be the right consistency.
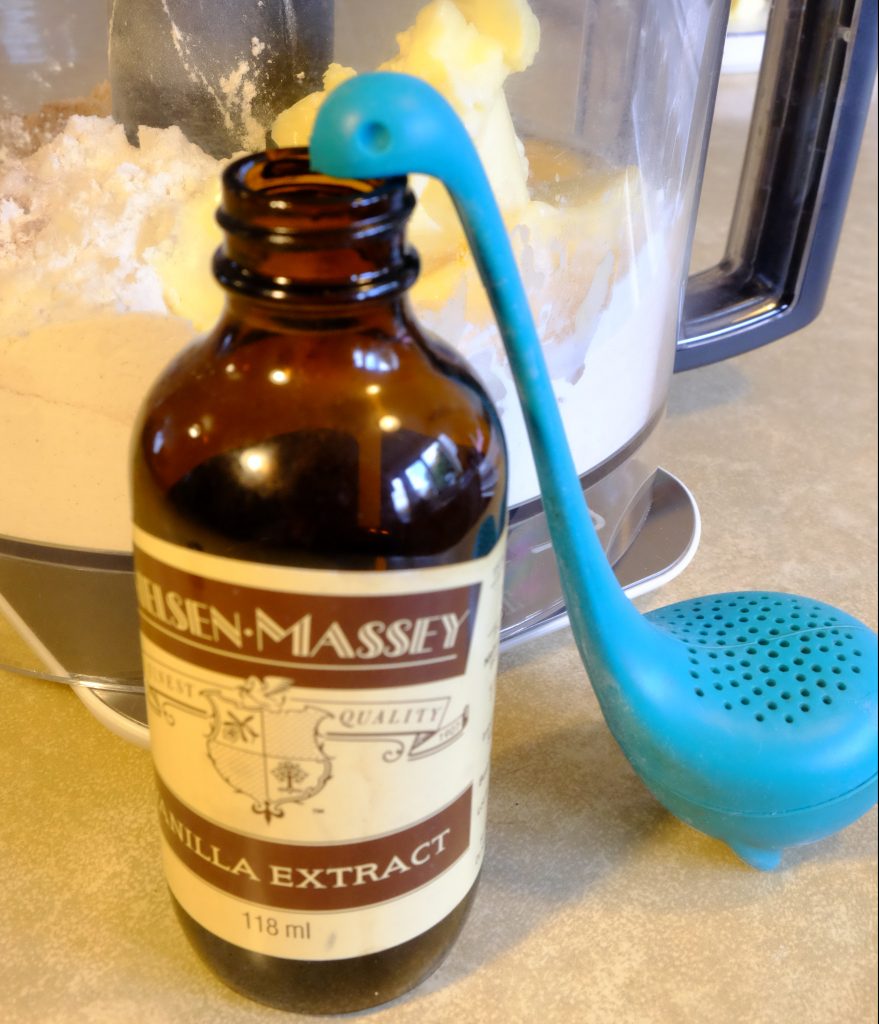
Mmmmmmm, vanillary smells. Add several drops of vanilla extract/essence to your mixture. Nessie ended up with about 12 drops, because he likes vanilla. Take a moment now to repeatedly say “vanilla” to the nearest person/animal/inanimate object, until it loses all meaning and ceases to sound like a real word.
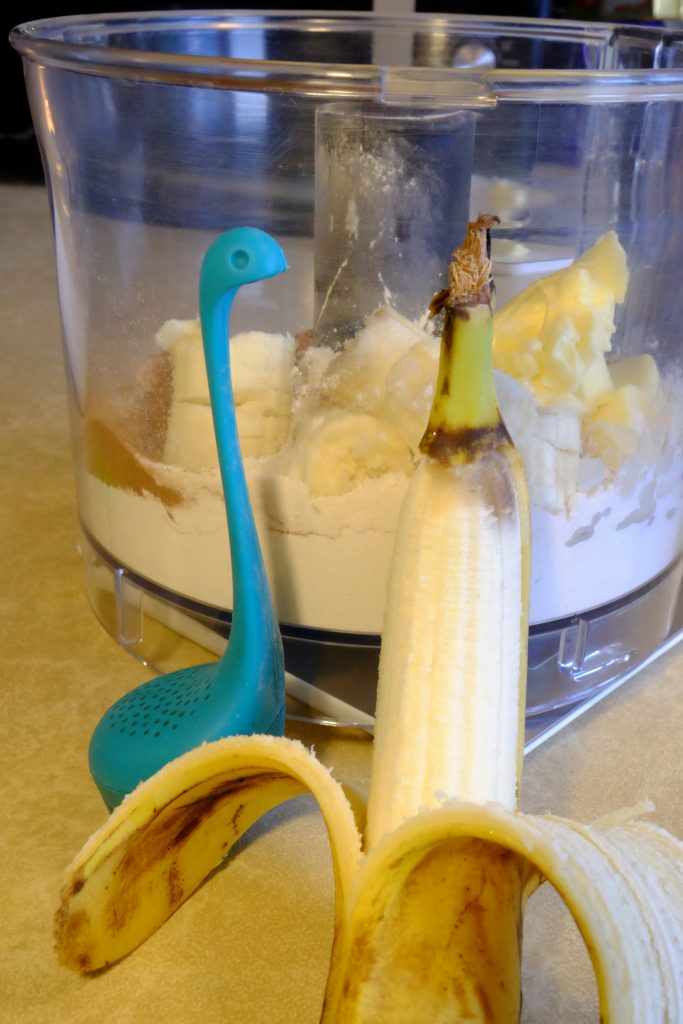
Now, take the bananas that you spent so much effort hunting, and break them into smaller pieces, a couple of inches long. They will also need to be in the bowl, otherwise you will end up with an odd kind of cake which is not banana bread.
On this banana, you can clearly see the bruising caused by the death-blow dealt to the stem. Sometimes this is unavoidable, although with practice at banana hunting it becomes much less frequent. Don’t worry if your banana shows post-mortem bruising, though, because banana bread is easier to make with bananas which are riper and more bruised.
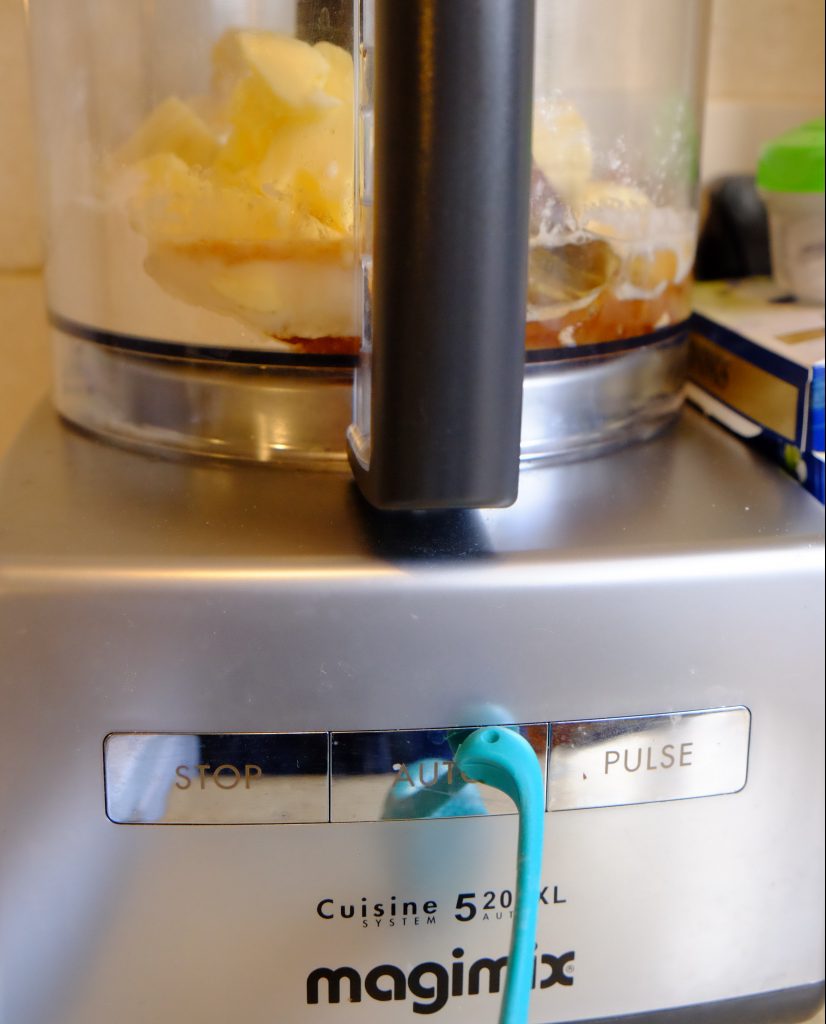
Put your food processor together and press go! It is very important to press the ‘go’ button with your face.
Blendy blendy blendy blendy
You may find that some of the ingredients have stuck themselves to the sides of the bowl and are refusing to be blended. In cases such as these, you might like to find a spatula and scrape down the sides of the bowl, so that all of the ingredients get mixed evenly.
This is Baby Nessie’s second favourite spatula, because it is not red. However, it is specially shaped to scrape out this food processor bowl, so he supposes it’s probably the best tool to use in this situation. He’s still a bit sad that it’s not red, though.

When all the ingredients have been successfully blended, it should look a bit like this.
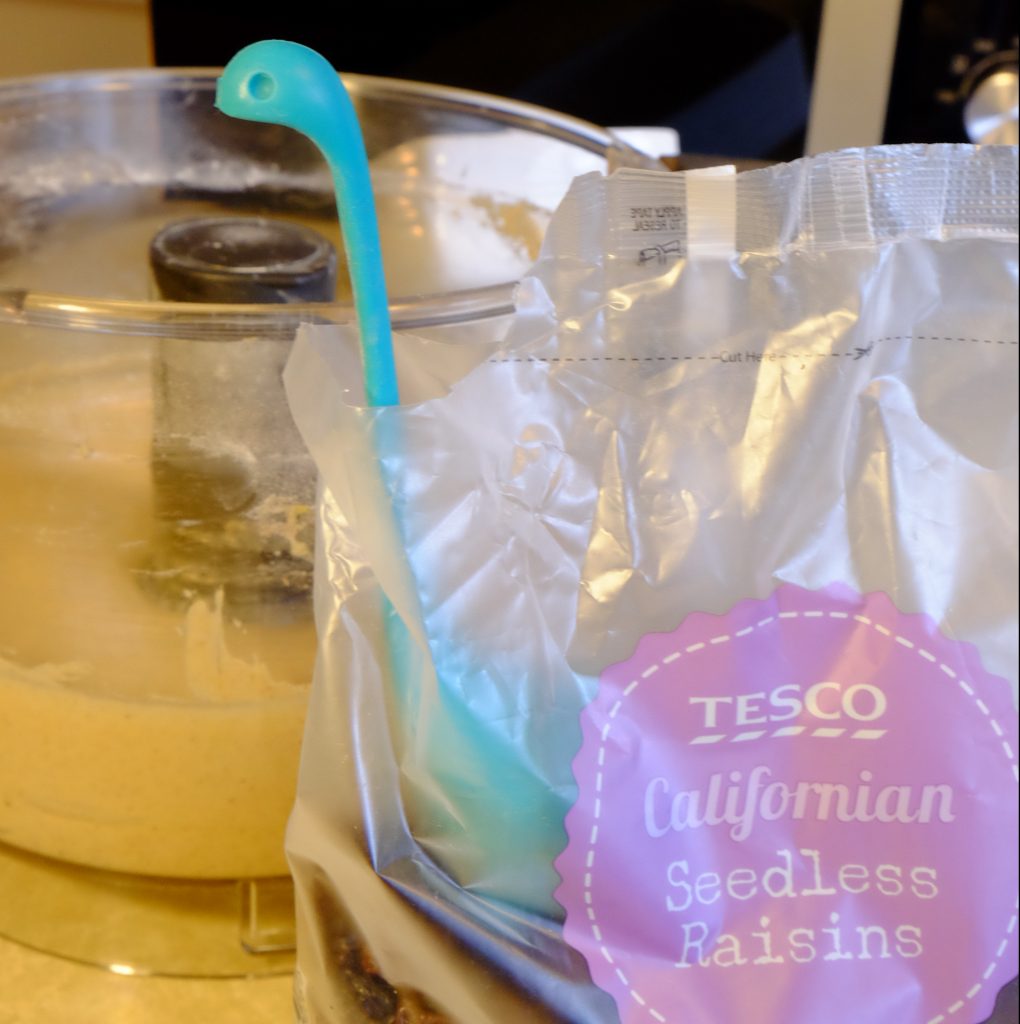
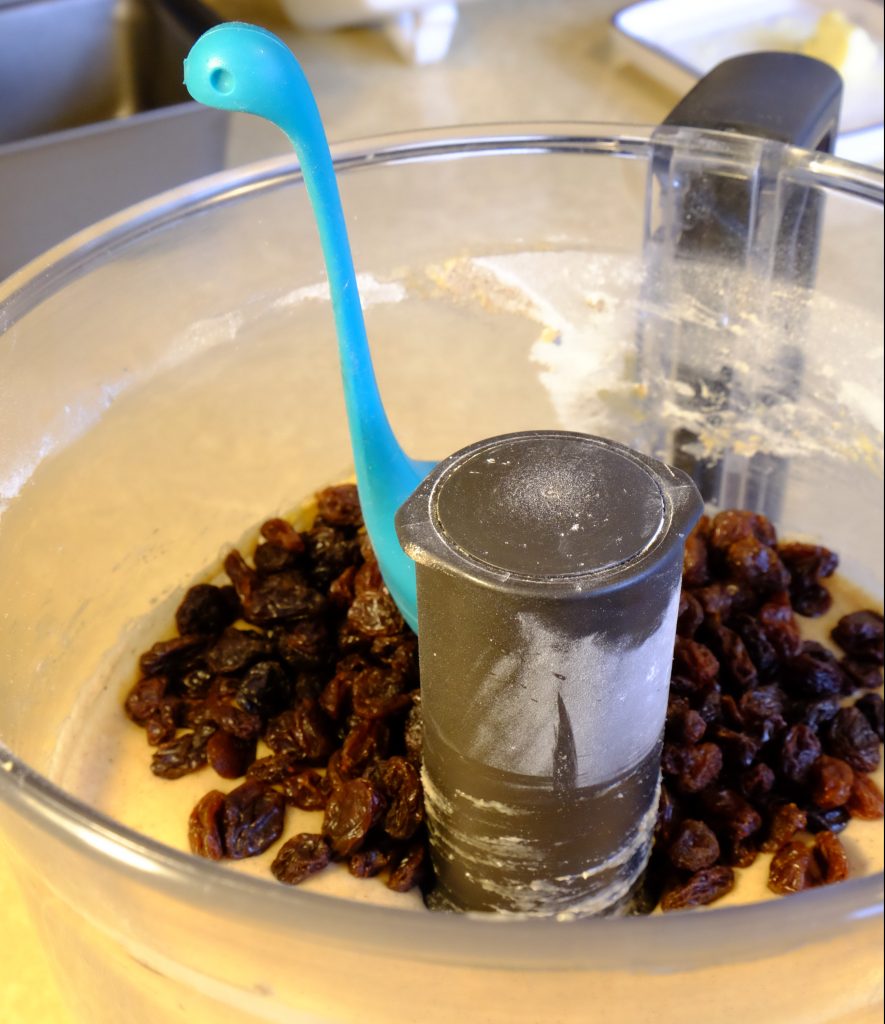
If you like raisins, you should add 150g of raisins to the mixture now. If you don’t like raisins, or are allergic to them, you should not do that.
Nessie thinks that maybe he is a raisin. He is wrong, but you shouldn’t tell him that because he might cry.
When you’ve added the raisins to the mixture, be sure to stamp them down well, to incorporate them properly.
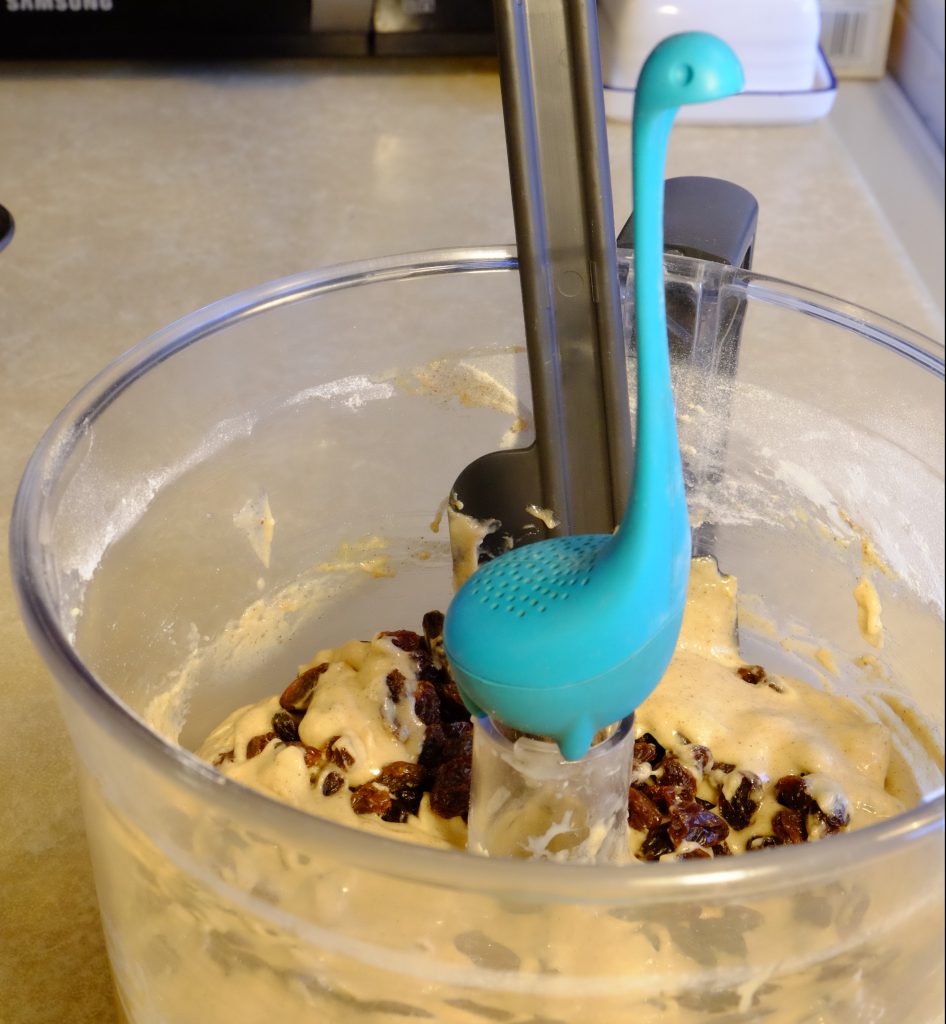
If you don’t fancy stamping down the raisins, you could just stir them in.
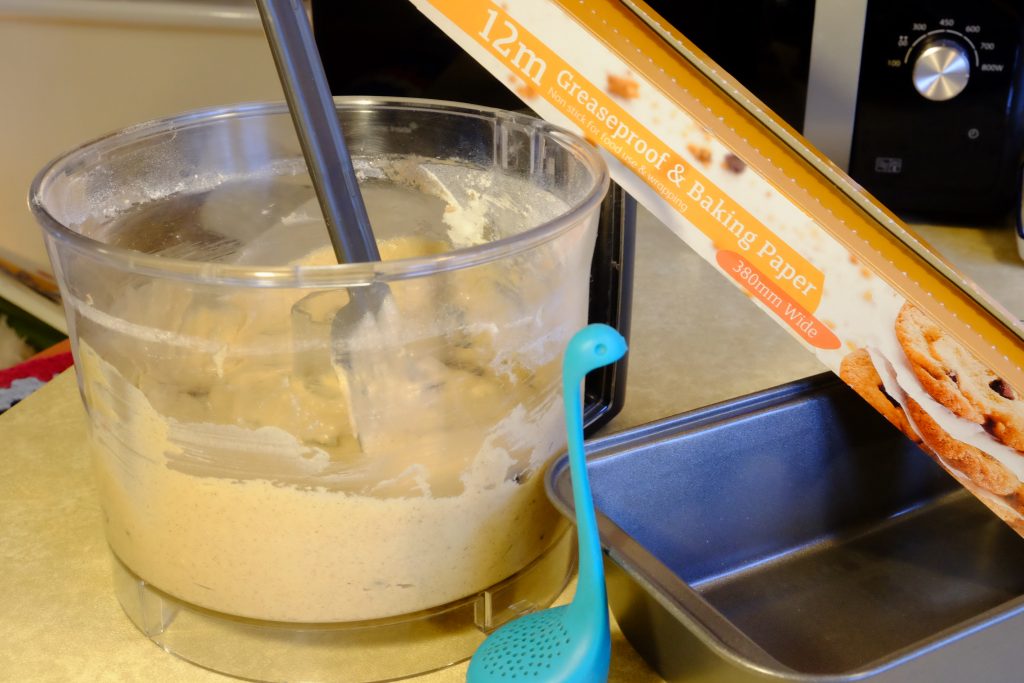
Now it is time to prepare the loaf tin (which is not a bed).
Cut a strip of greaseproof paper that is slightly narrower than the width of the tin, but longer than the length.
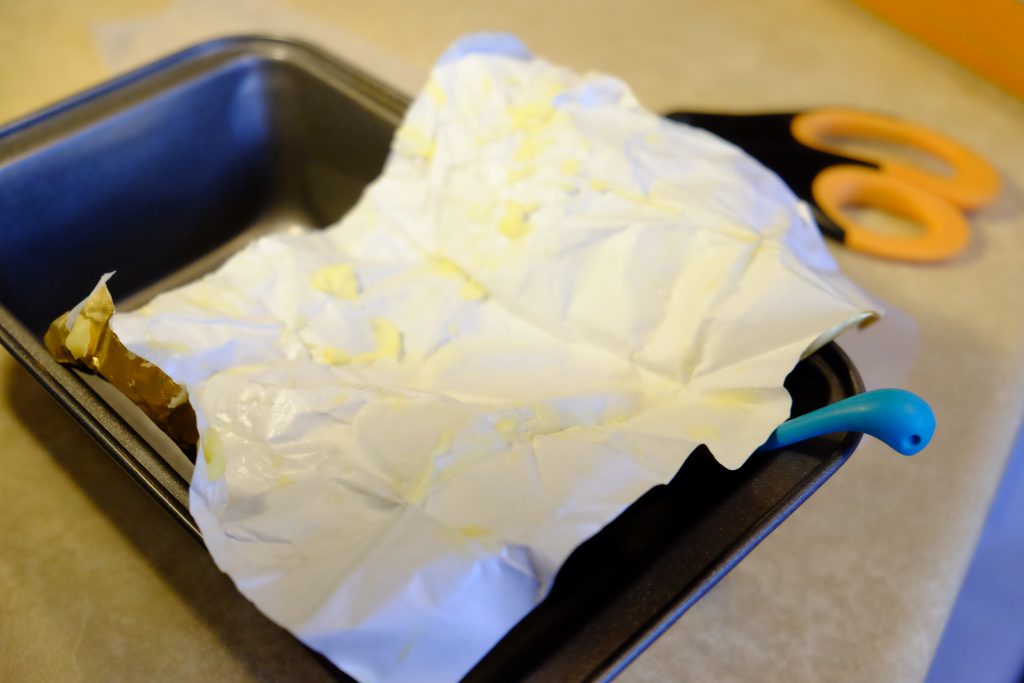
Grab a buttery butter paper, and grease the bottom and sides of the tin well.
Now is a good time to check if the loaf tin is really not a bed.
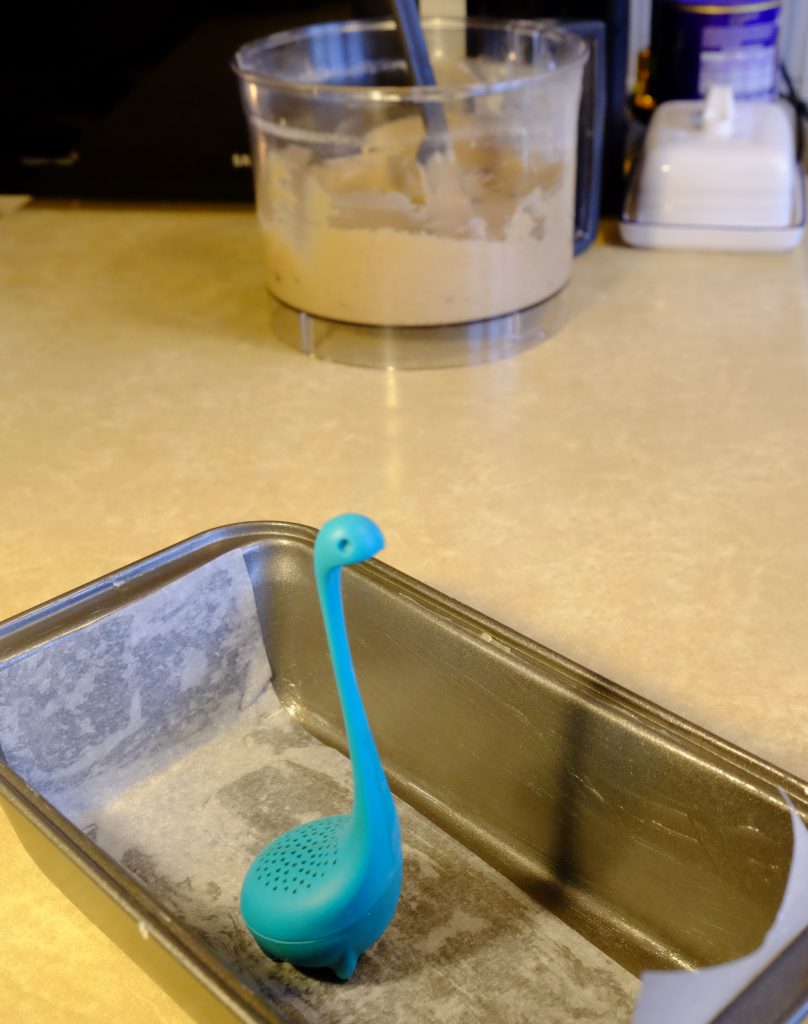
Place the strip of greaseproof paper into the tin, so that the extra paper pokes up a bit at both ends. This makes handles to help take the banana bread out when it’s cooked.
Pour the mixture into the tin.
Scrape out the bowl well, and then use your second-favourite spatula to smooth the surface down.
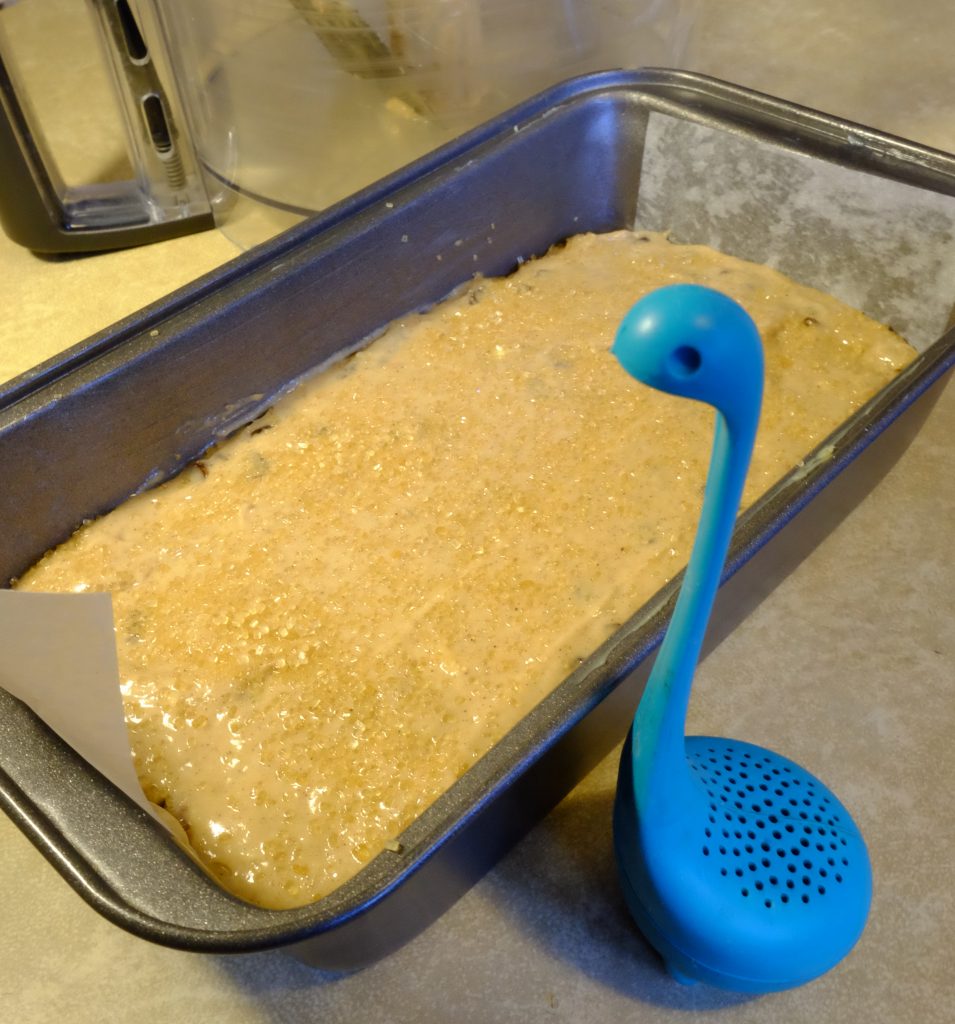
If you’re feeling fancy you can sprinkle some demerara sugar all over the banana bread. During the baking, the sugar will sort of half melt into the mix, and then crystallise into a lovely crunchy crust. Nessie likes doing this very much.
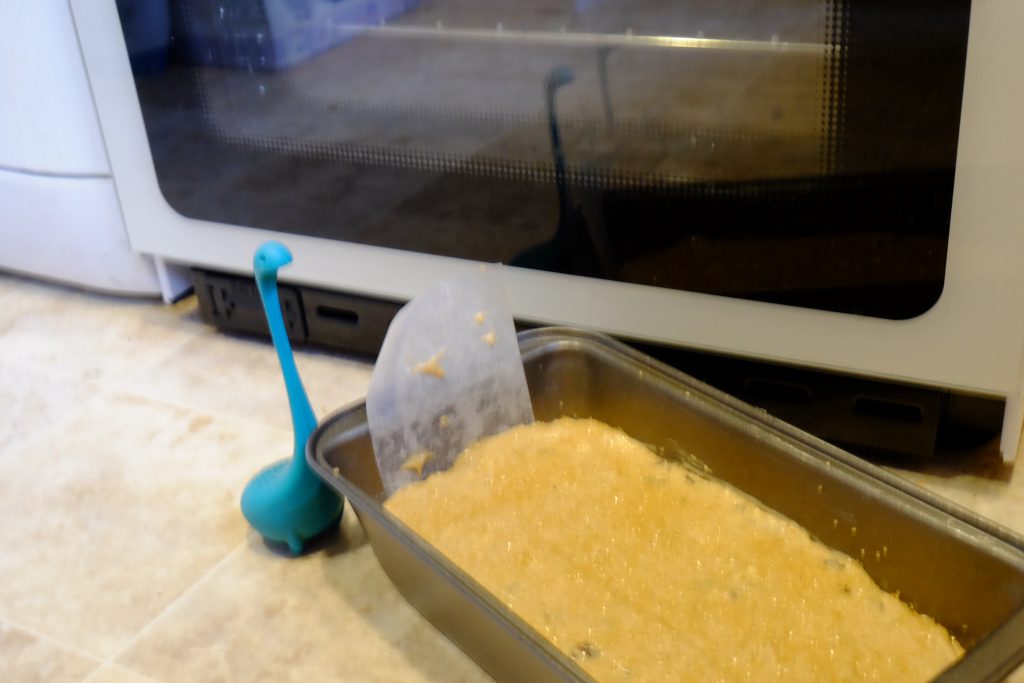
Place your banana bread into the oven which you carefully preheated earlier.
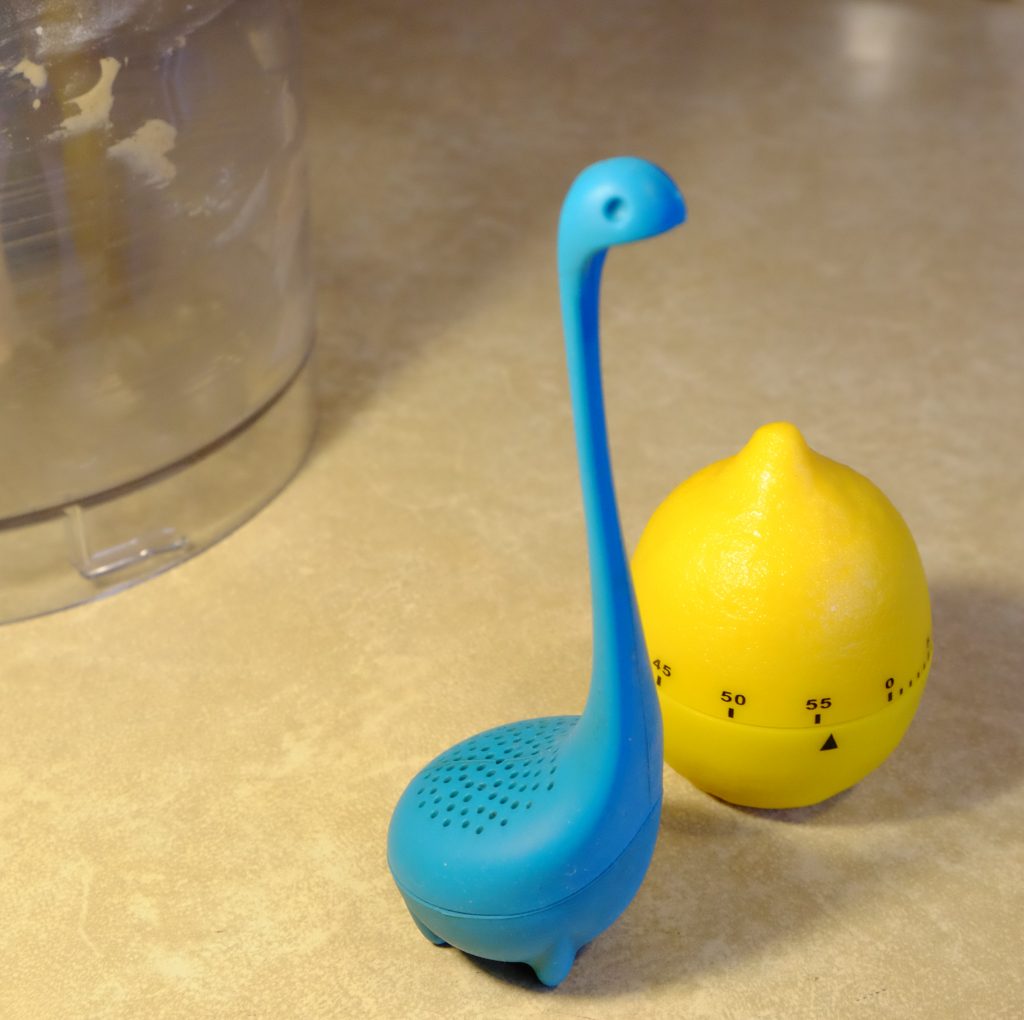
Set a timer! This banana bread will take at least an hour to bake, but will probably take a bit longer. This banana bread took 1 hour and twenty minutes.
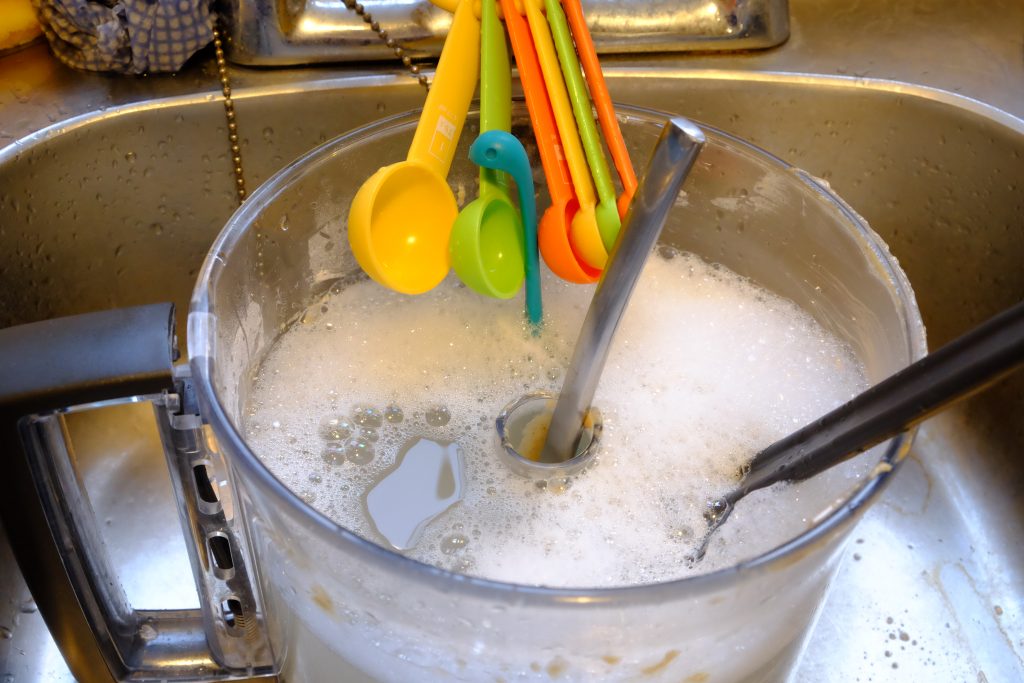
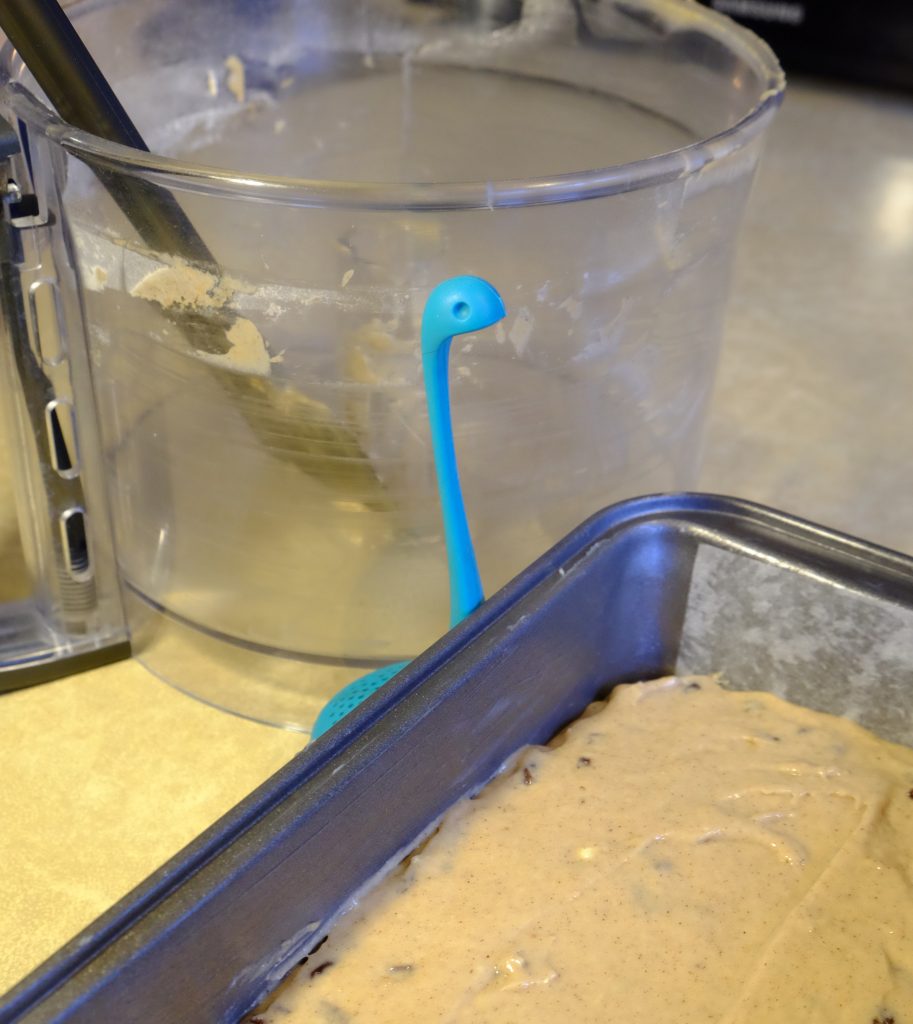
Time for a swim!
Try not to fall over your second-favourite spatula while you are swimming around your mixing bowl.
You can surreptitiously check on your banana bread from above if you lie down on top of the stove.
Nessie got a bit excited and took the banana bread out before it was finished cooking. Luckily, he decided to check it with a skewer.
Stab the banana bread with your skewer or cocktail stick, and then take it out again (the pointy thing, not the banana bread. You already took that out of the oven to check if it was cooked). If any uncooked mixture is stuck to your stabbing implement, it’s still not cooked in the middle. As you can see from the state of this skewer, it’s not done yet.
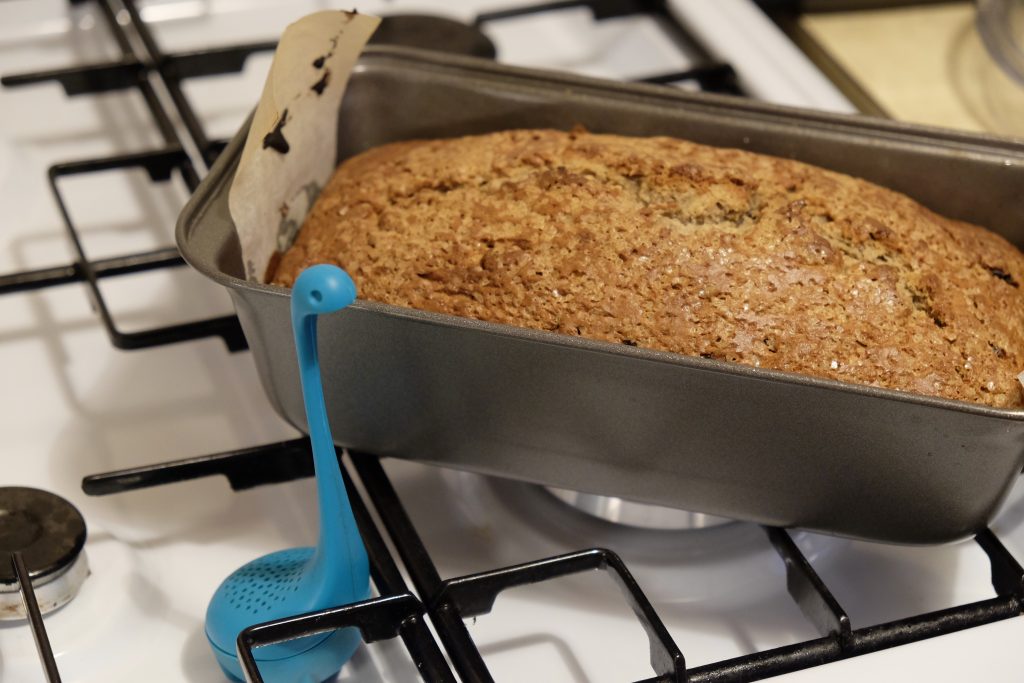
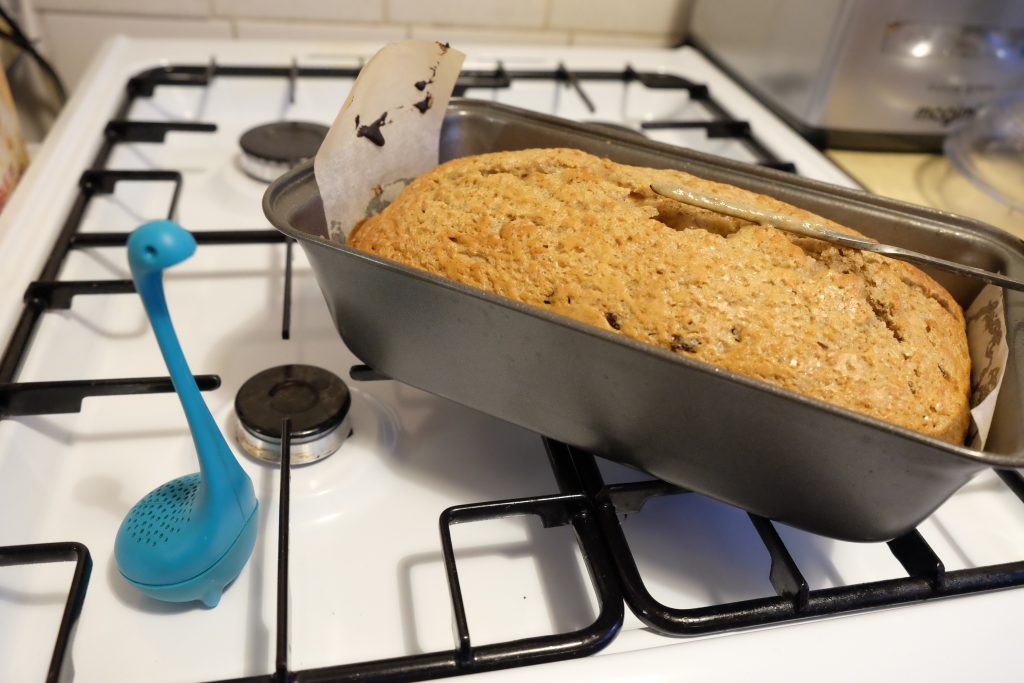
*Now* it’s cooked. And lookin’ fiiiiiiiiine.
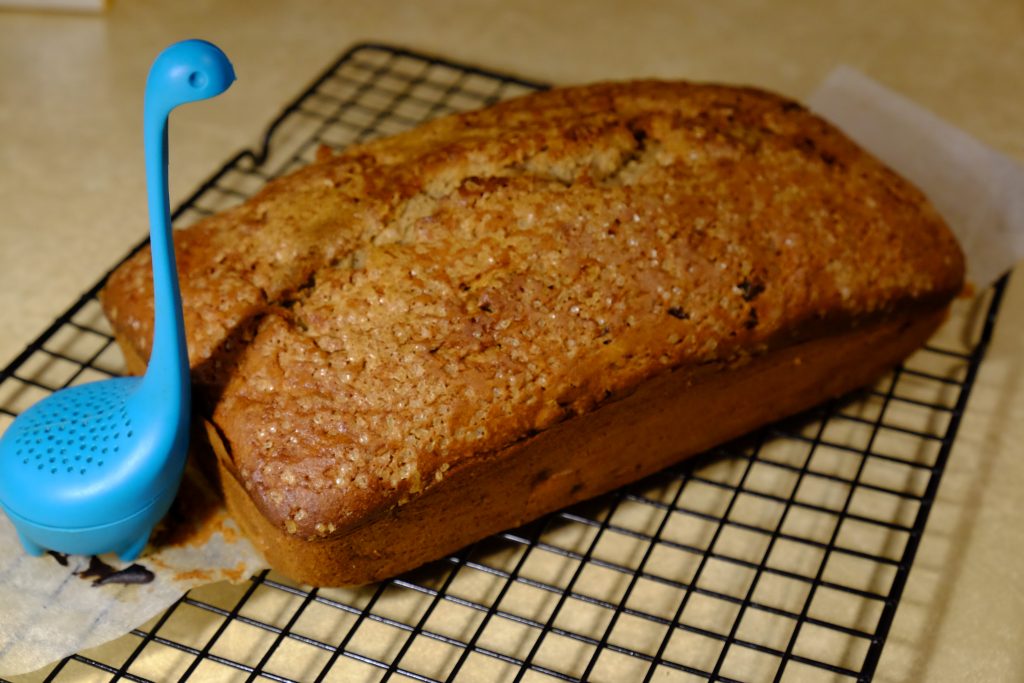
Use your handy-dandy greaseproof paper handles to carefully lift the banana bread out of the tin.
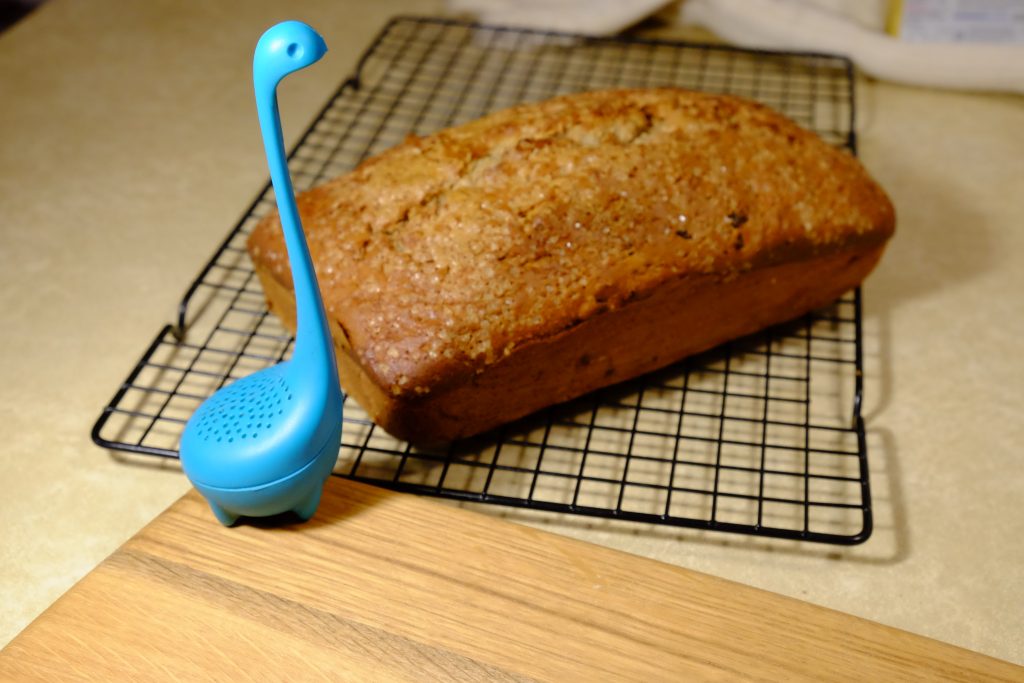
Remove the paper from the bottom of the banana bread, and place it on a wire rack to cool.
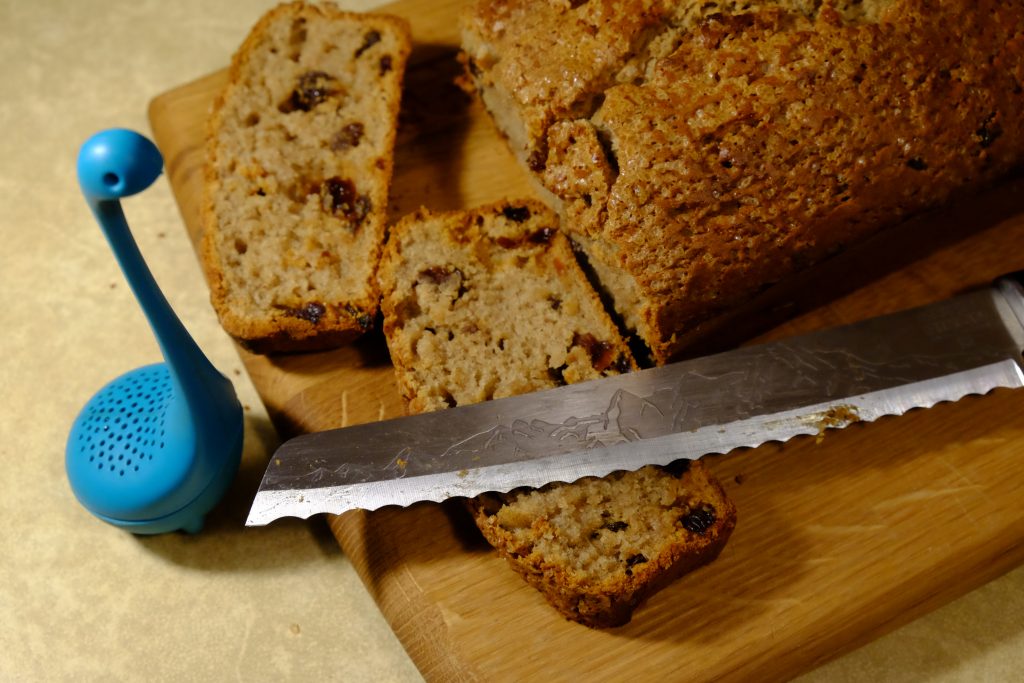
If you are too impatient to let your banana bread cool before eating it, good for you! It tastes best hot from the oven. Of course, the best flavour is achieved by cutting your banana bread with a knife that has an engraving of a range of Swiss mountains on it, but it should still taste good if you don’t have one of those.
If you’re cutting it while it’s hot, it will have a stronger tendency to dissolve into delicious crumbs, so you might want to cut thicker slices.
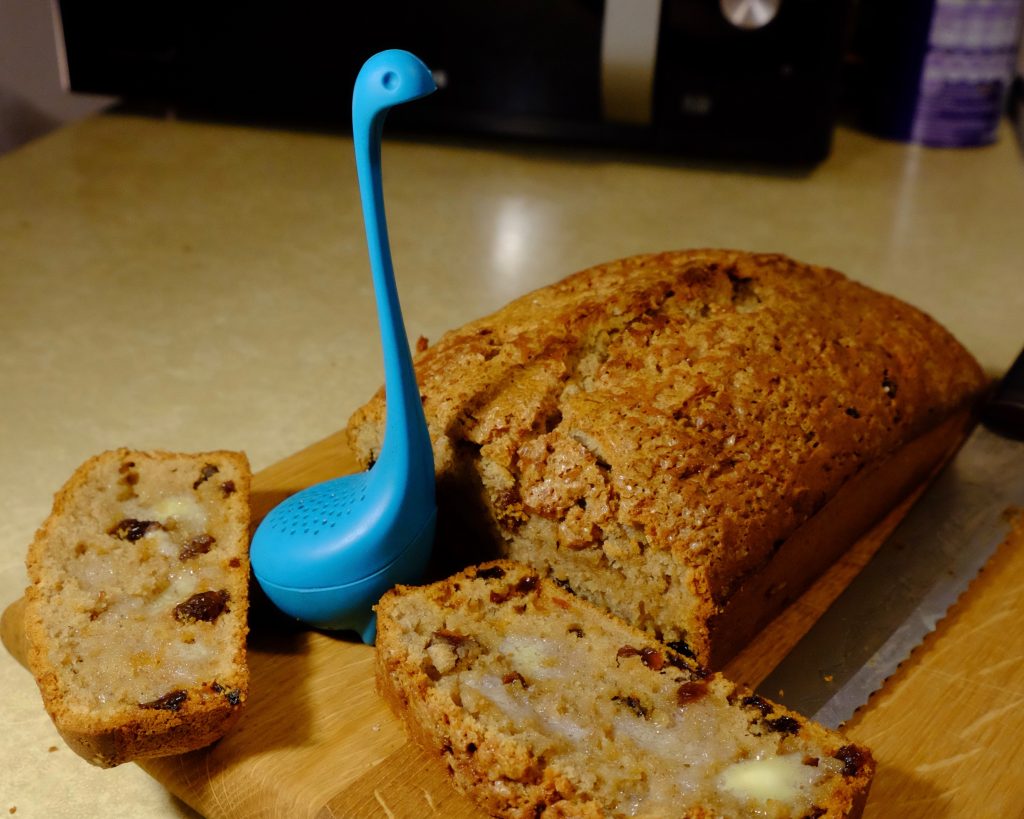
Then, simply spread with butter, and enjoy!
If you haven’t eaten it all before it finished cooling, it can be kept for a few days in an airtight container or wrapped in foil. Nessie likes eating it for breakfast.
Banana Bread Recipe
For a 2lb loaf tin
- 225 g self raising flour
- 100 g soft brown sugar
- 1 teaspoon baking powder
- a pinch of salt
- 1 heaped teaspoon cinnamon
- ½ teaspoon nutmeg (optional)
- 3 eggs
- 100g butter, softened
- 1 tablespoon milk
- several drops of vanilla essence
- 2 ripe bananas
- 150g raisins
- some demerara sugar (if desired)
Method (for food processor)
- Set oven to gas mark 4 / 180°C / 350° F
- Place all the ingredients apart from the raisins in the food processor bowl (start at the top of the list and work your way down)
- Blend
- Mix in the raisins by hand
- Grease and base-line your loaf tin, leaving some extra paper at the ends to form handles
- Pour the mixture into the tin, and smooth the top
- Sprinkle some demerara sugar on top, if you want
- Place in the middle of the oven, and bake for an hour to an hour and a half
Method (by hand)
- Set oven to gas mark 4 / 180°C / 350° F
- Cream butter and sugar together
- Mix eggs into butter and sugar mixture
- Add vanilla essence, milk, and mashed bananas; mix
- Gradually mix in the flour, spices, salt, and baking powder
- Mix in the raisins
- Grease and base-line your loaf tin, leaving some extra paper at the ends to form handles
- Pour the mixture into the tin, and smooth the top
- Sprinkle some demerara sugar on top, if you want
- Place in the middle of the oven, and bake for an hour to an hour and a half