Today, I’d like to share with you a recipe for a cake which is always delicious, and so simple that a baby Loch Ness monster could make it.
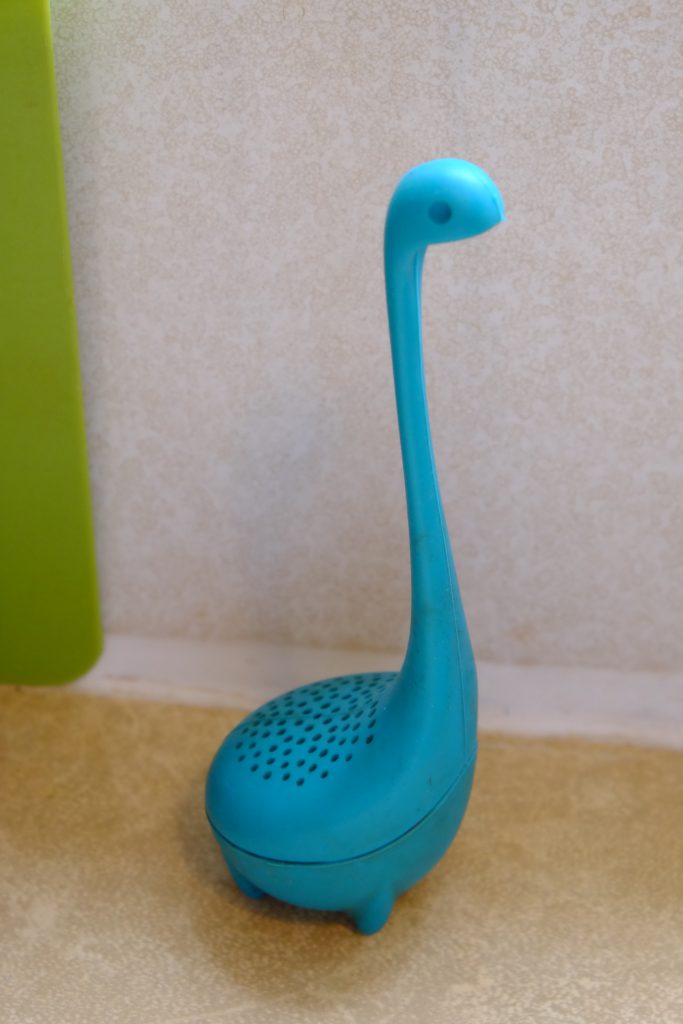
This is Baby Nessie.
He is quite small.
Baby Nessie has decided he wants to bake a cake today.
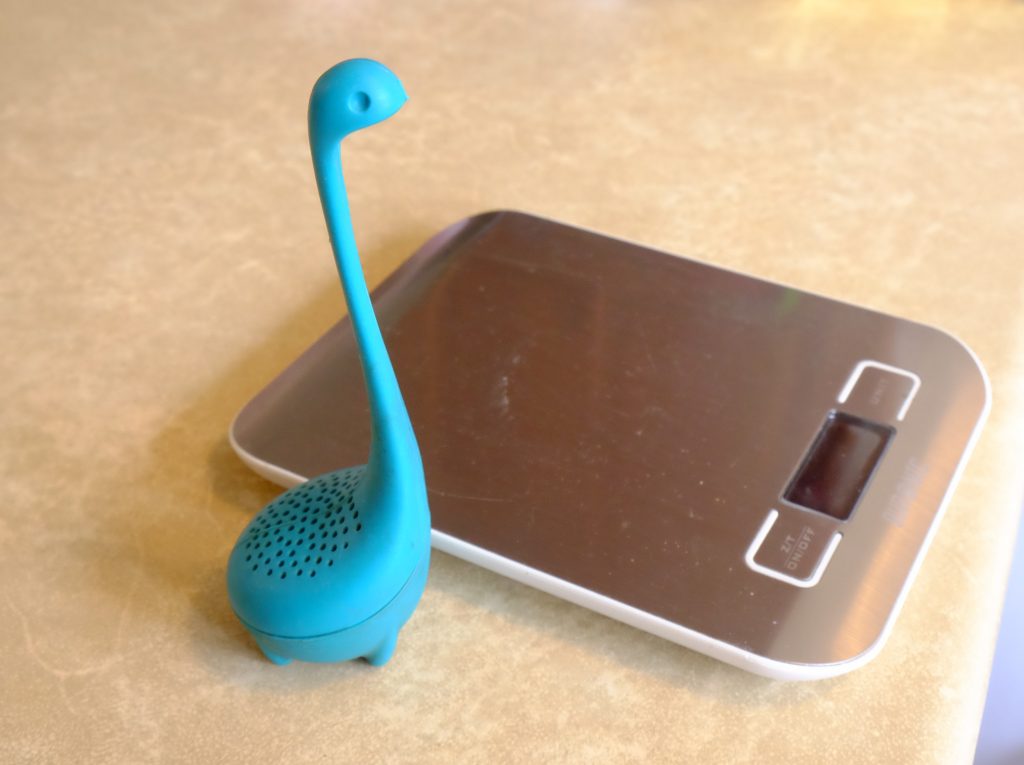
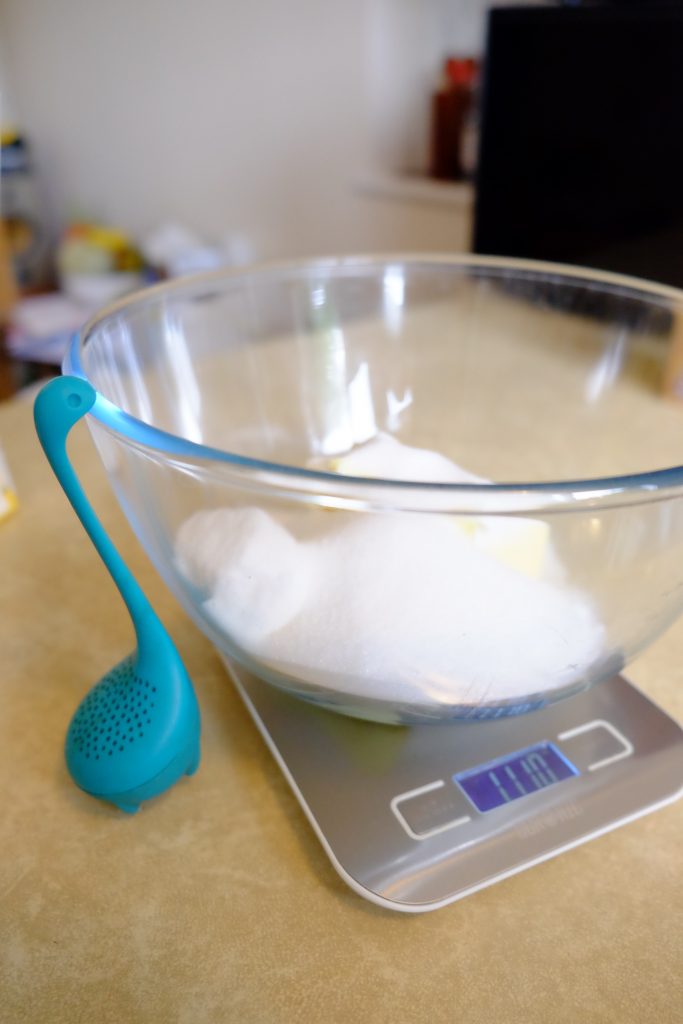
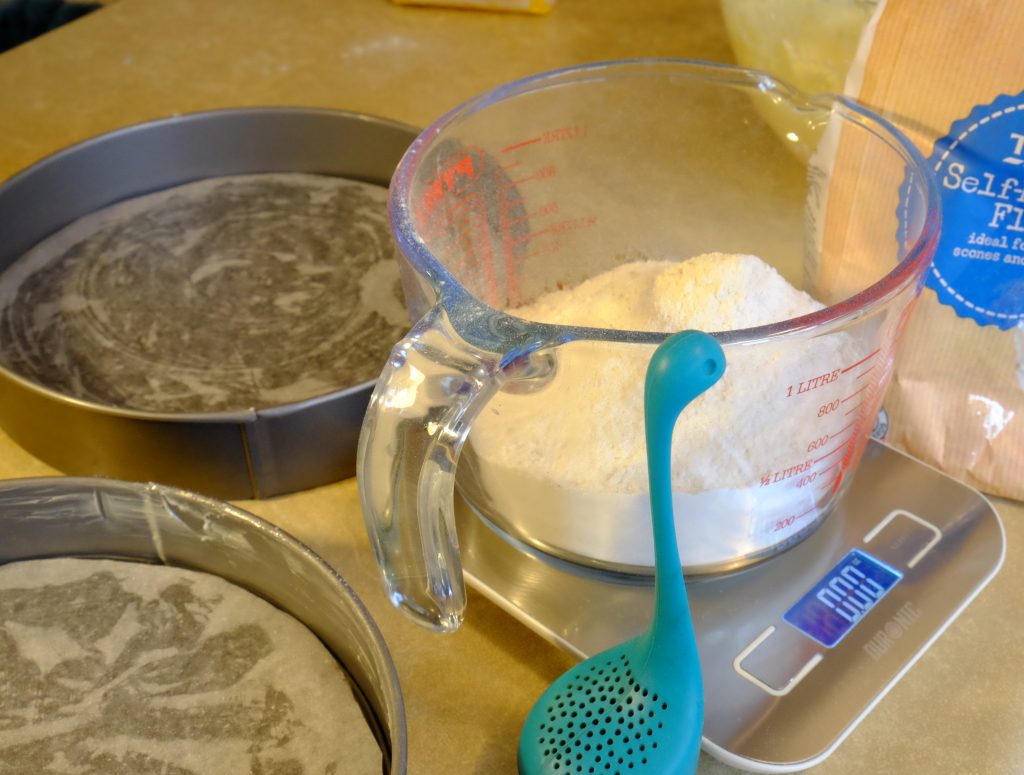
First, he gets out his scales.
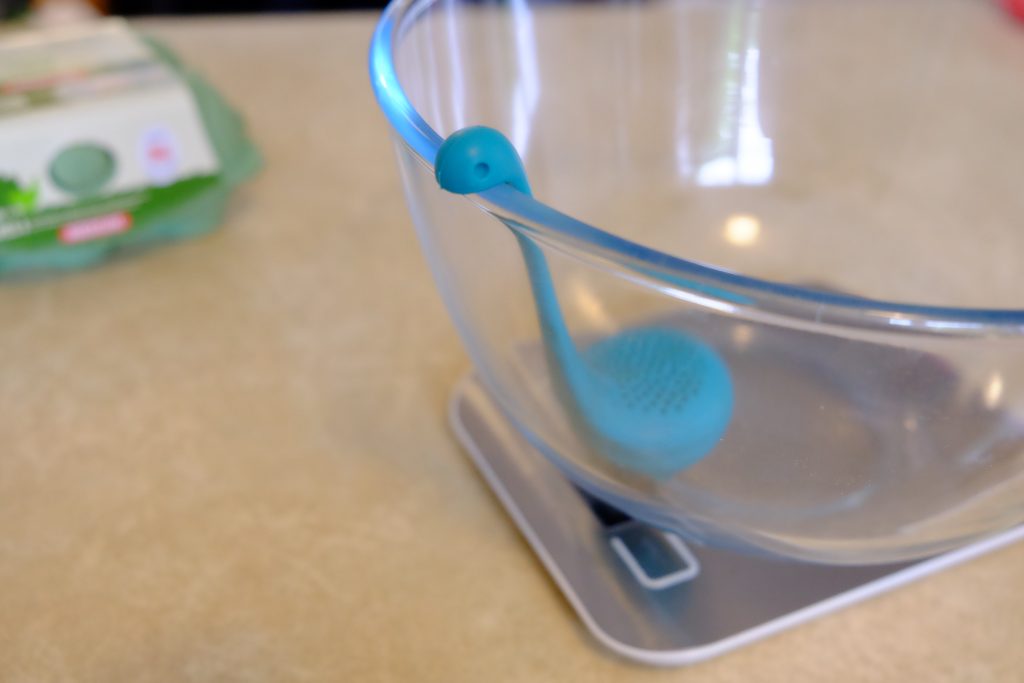
Next, he gets out a mixing bowl. It’s important to have quite a big mixing bowl, otherwise it might not all fit.
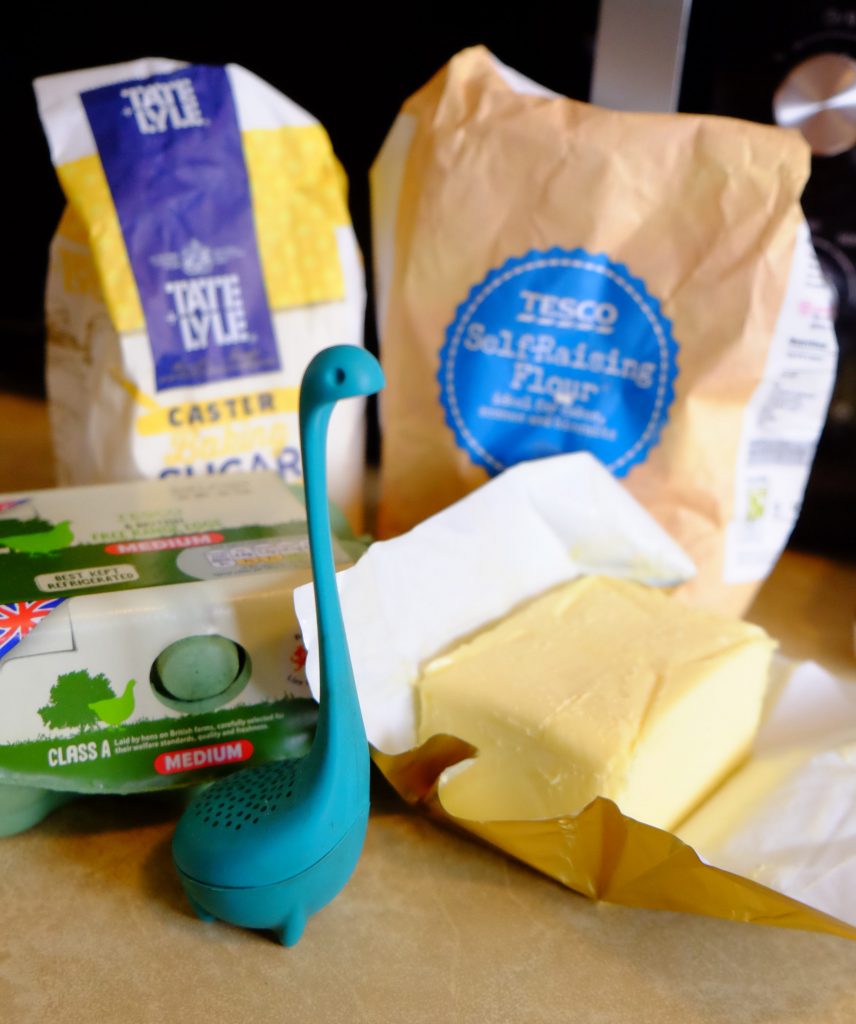
Then, Nessie collects all the ingredients he will need. It’s good to have everything ready!
To make this cake, Nessie will need butter, self raising flour, caster sugar, and eggs. Nessie is a bit old fashioned, so he uses ounces to measure his ingredients. If you prefer to measure your ingredients in grams, check the bottom of the post for the full recipe with metric and imperial measurements.
You will need 5 eggs, and 10 ounces each of butter, caster sugar, and flour. This makes enough mixture to make a 8 inch sandwich cake.
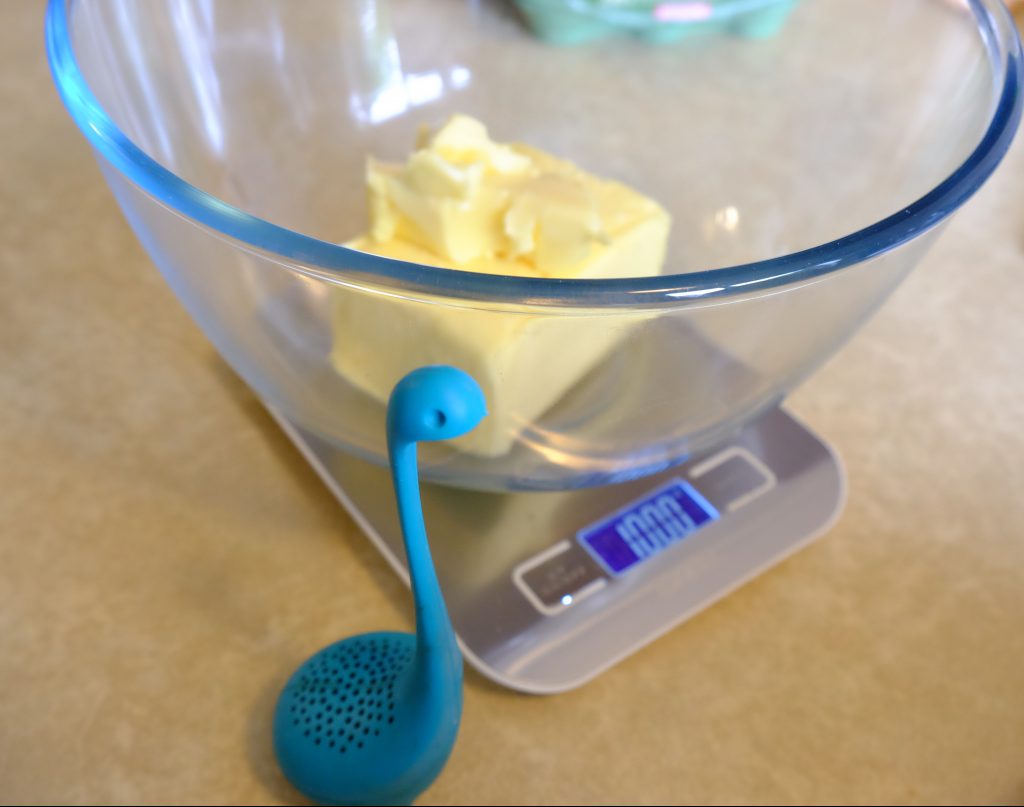
Measure out 10 ounces of butter in the bowl. The next step is a lot easier if the butter is at room temperature – putting it in the microwave for about 30 seconds usually does the trick, but make sure it doesn’t melt!
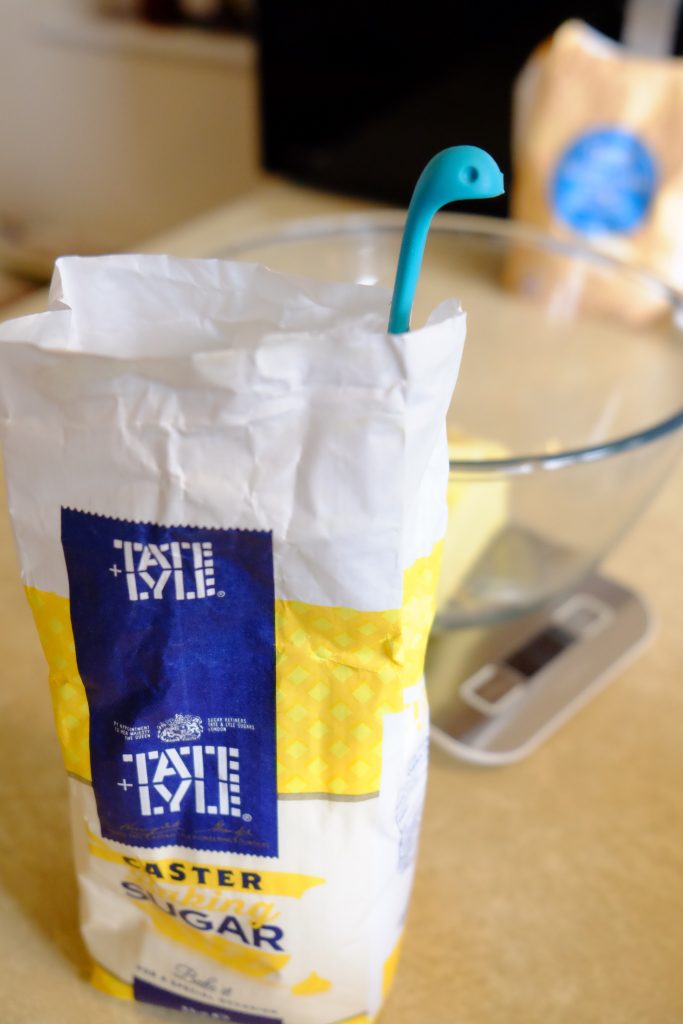
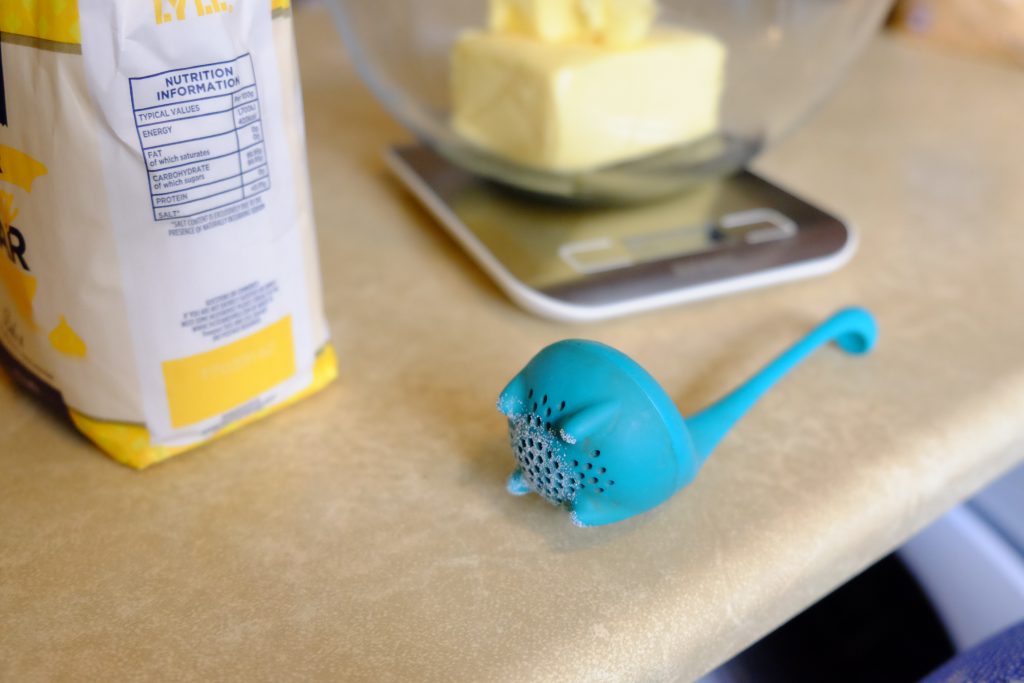
Now get the caster sugar, and measure 10 ounces into the same bowl.
Remove Baby Nessie from the bag, and wipe the sugar off his bottom.
Good job, Baby Nessie.
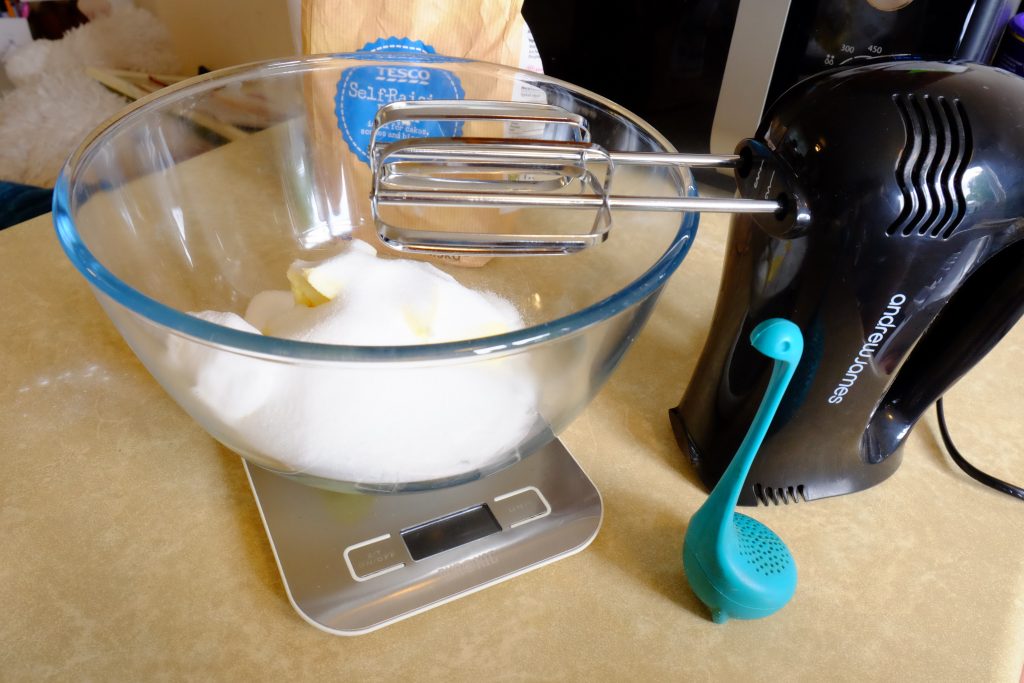
Baby Nessie is using an electric whisk to mix the ingredients. You could also use a food processor or mixer, or do it by hand (but that is hard work).
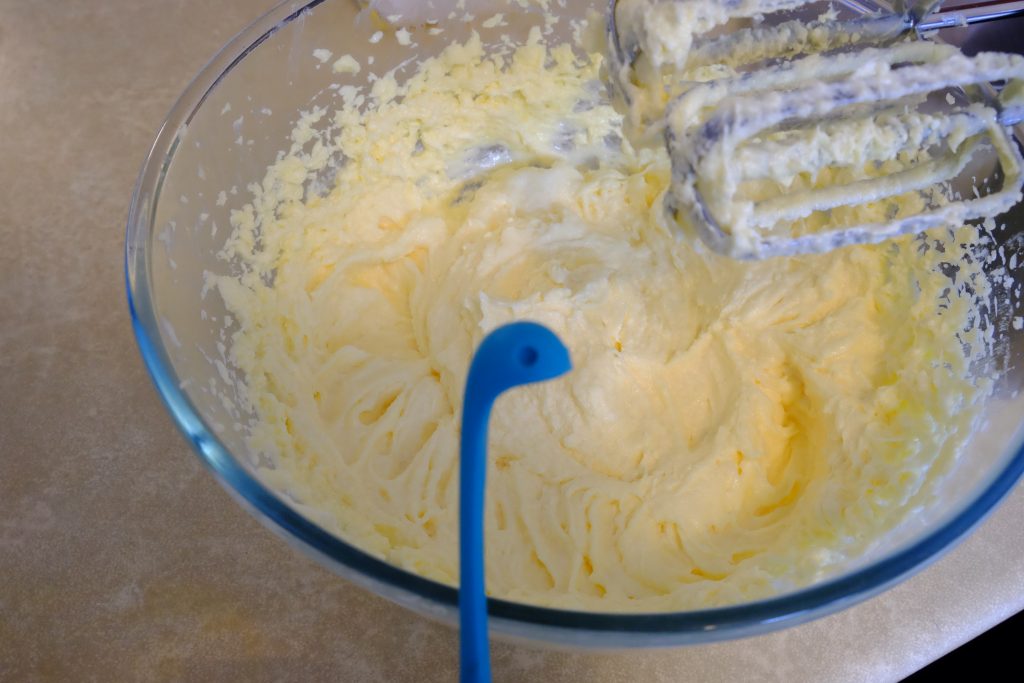
Start creaming the butter and sugar together.
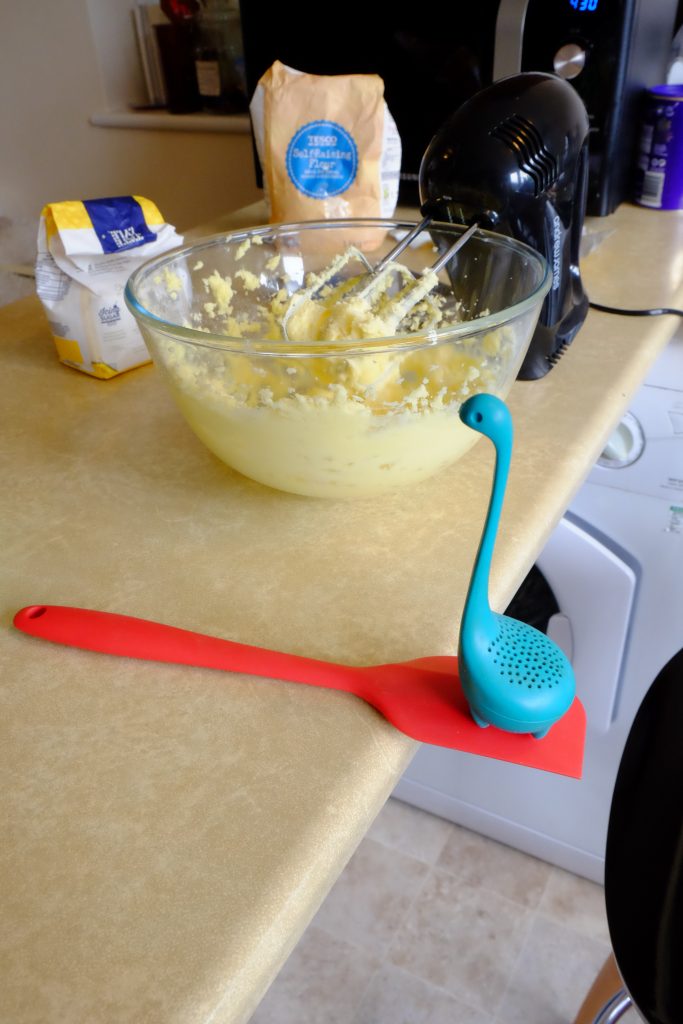
When you’ve been creaming for a while, you might find that the butter has splattered all over the side of the bowl. At this point it’s often useful to grab a spatula and scrape down the sides of the bowl.
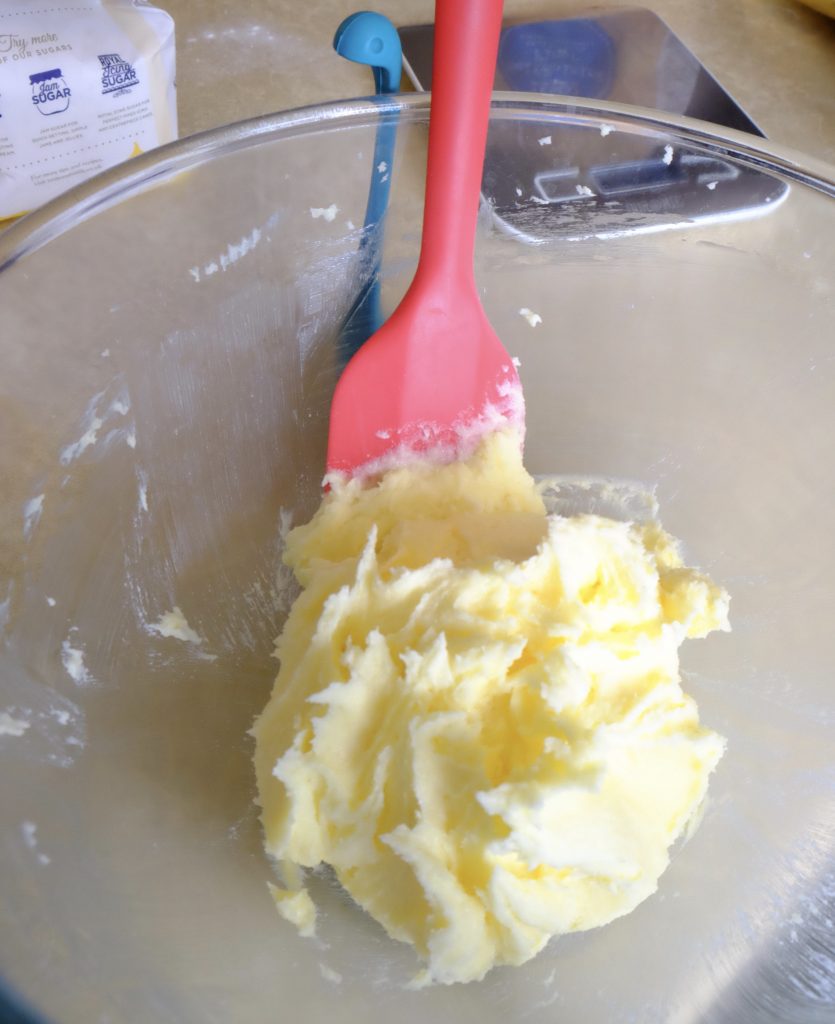
Nessie likes his red spatula.
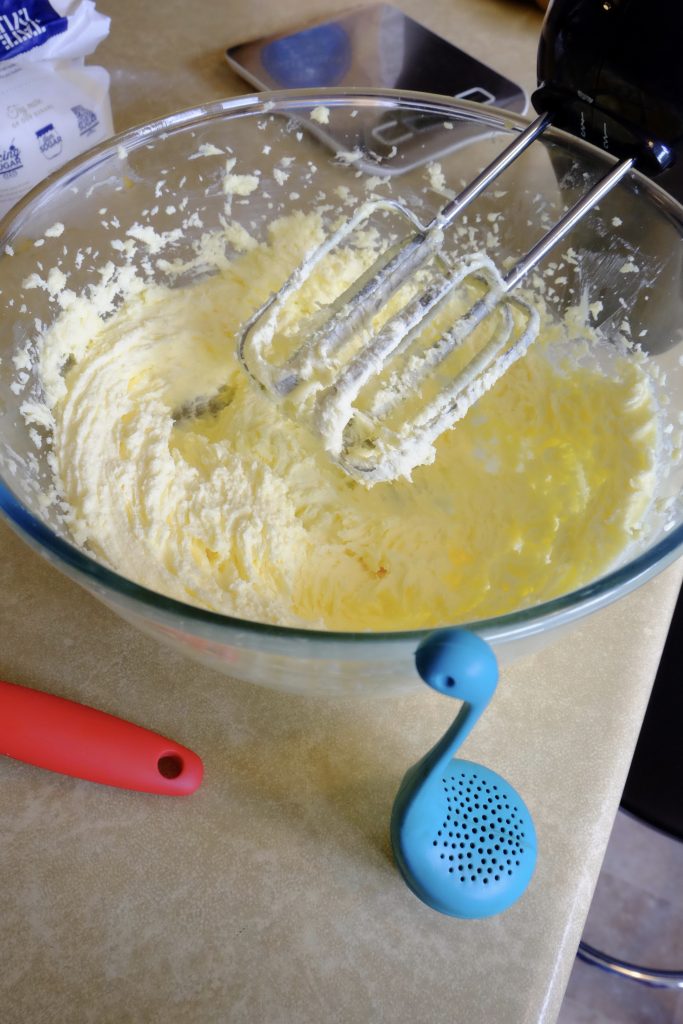
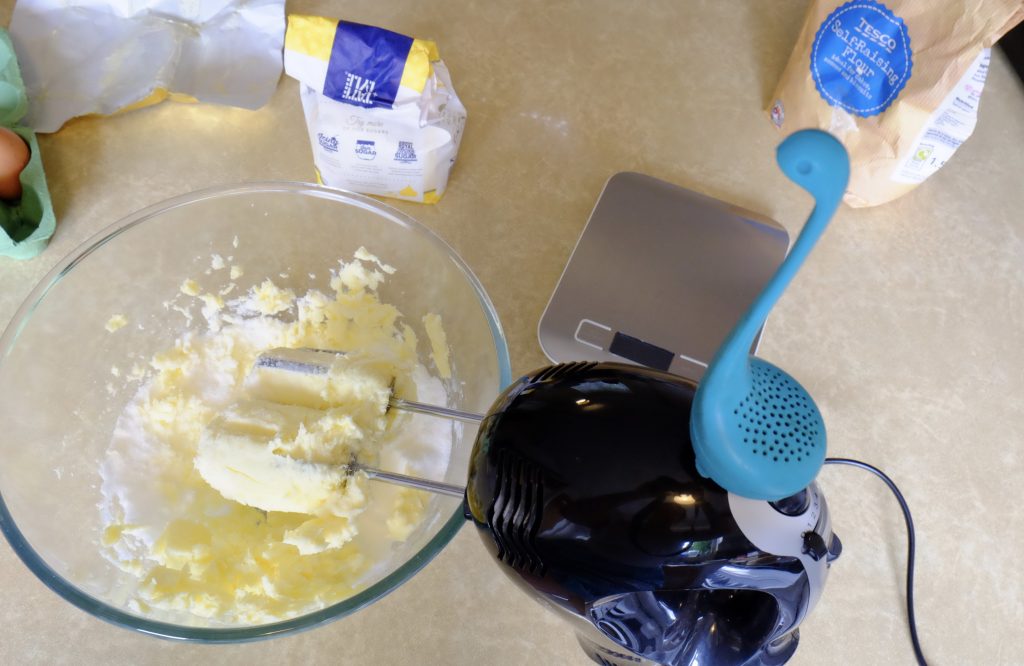
Keep whisking until the butter and sugar mixture is pale and fluffy. The fluffier it is at this stage, the fluffier your cake will be!
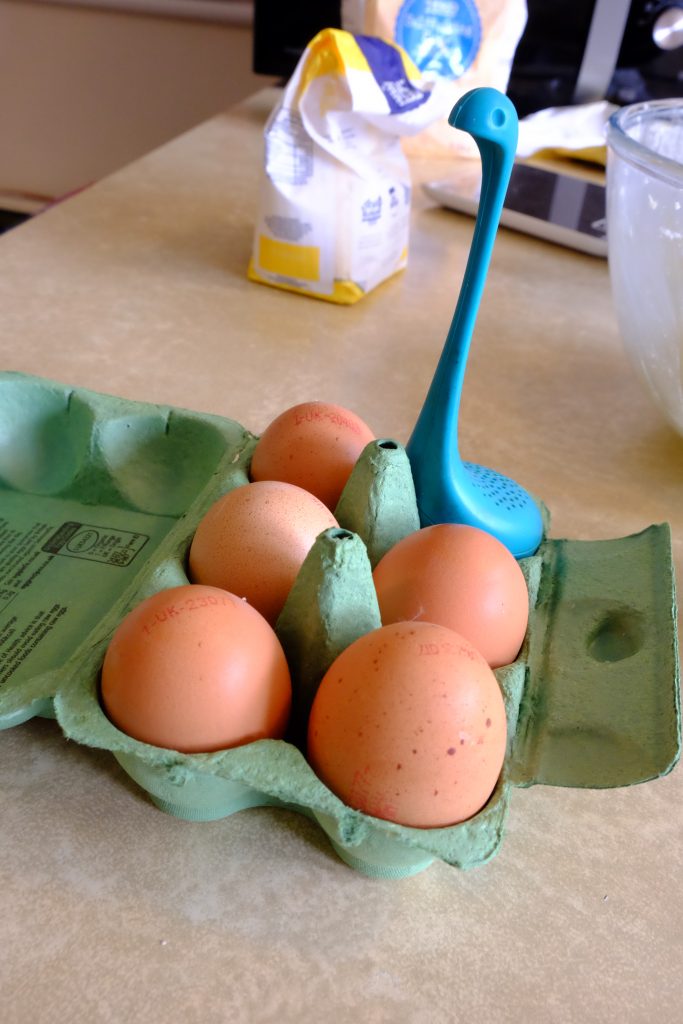
Time for eggs! You need five.
Break the eggs into a mug. Nessie likes to use this mug with a map of the world on it, because it is big enough to fit all the eggs in and also makes him feel all geographical. If you don’t have a mug big enough to fit five eggs in, you need to buy a bigger mug. Or just break in three eggs, continue through the next couple of steps, and then repeat with the remaining two, whichever is easier.
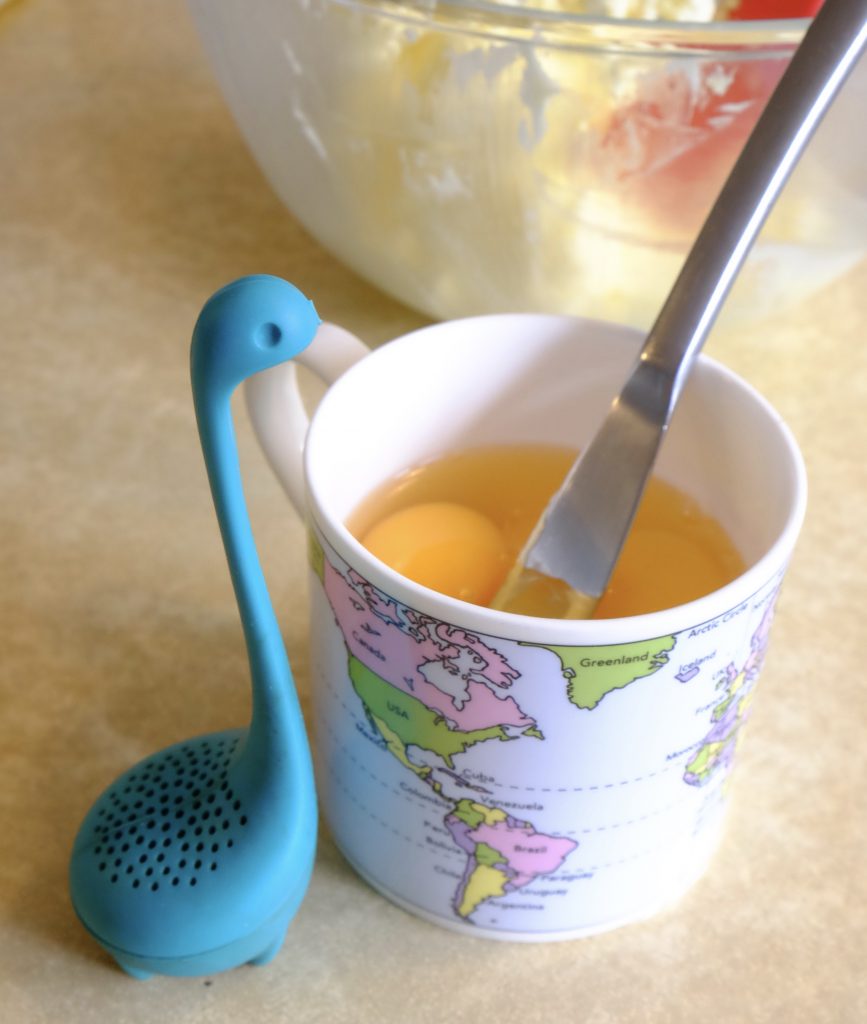
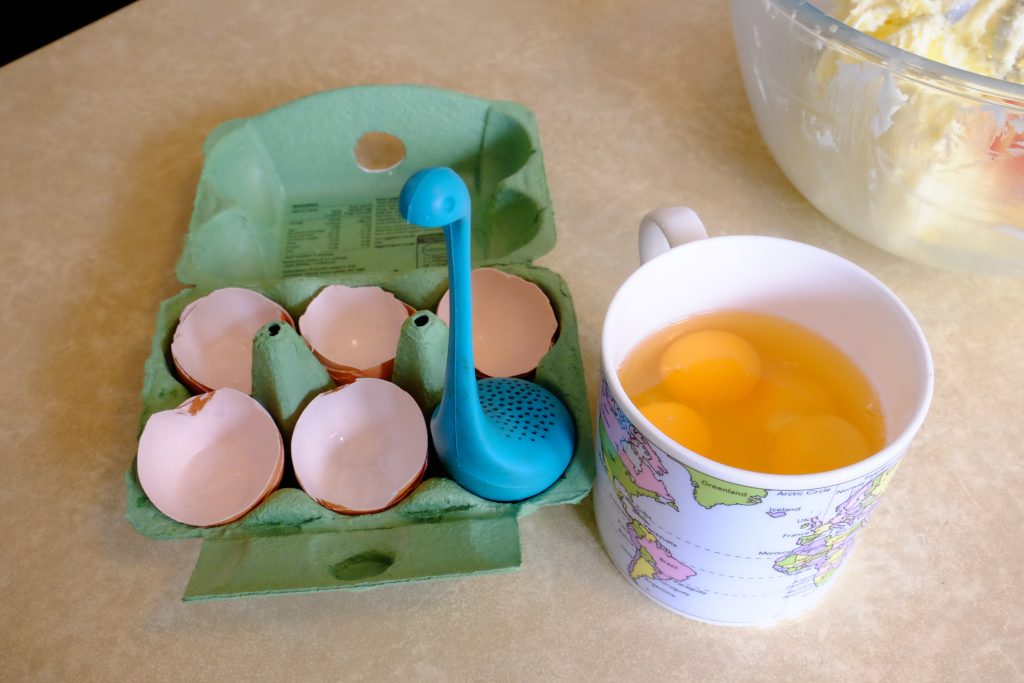
Beat the eggs. Nessie likes to use a knife, but you can use a fork or whatever you feel like. It’s just that a knife is better than, say, a carrot, for beating eggs.
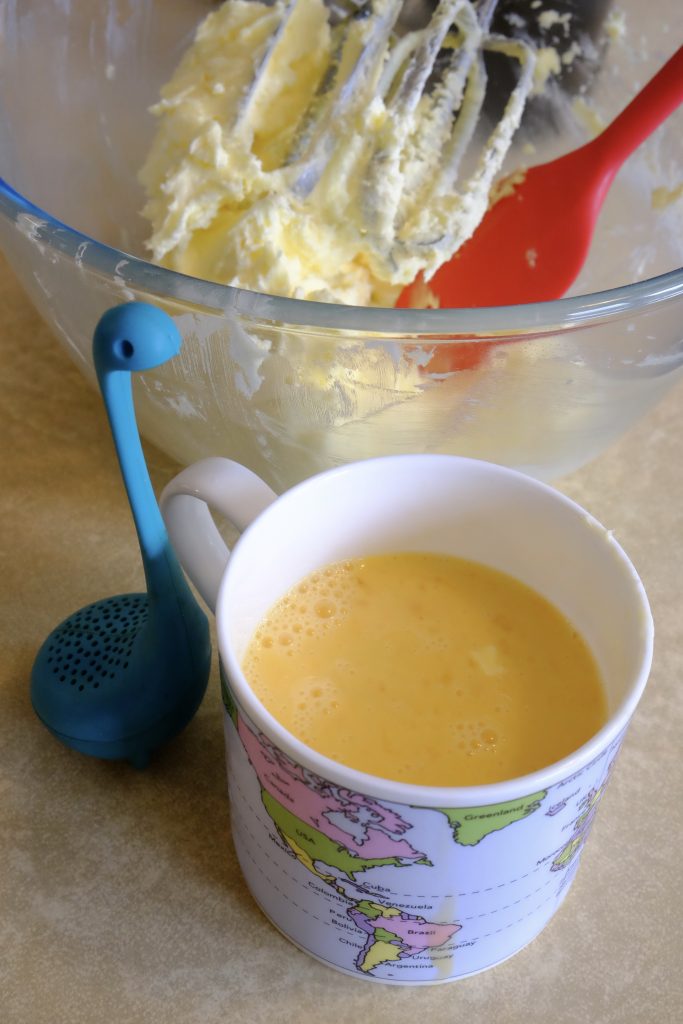
When the eggs have been beaten into submission and are all smooth and yellow, add them a little bit at a time to the butter mixture, whisking continuously.
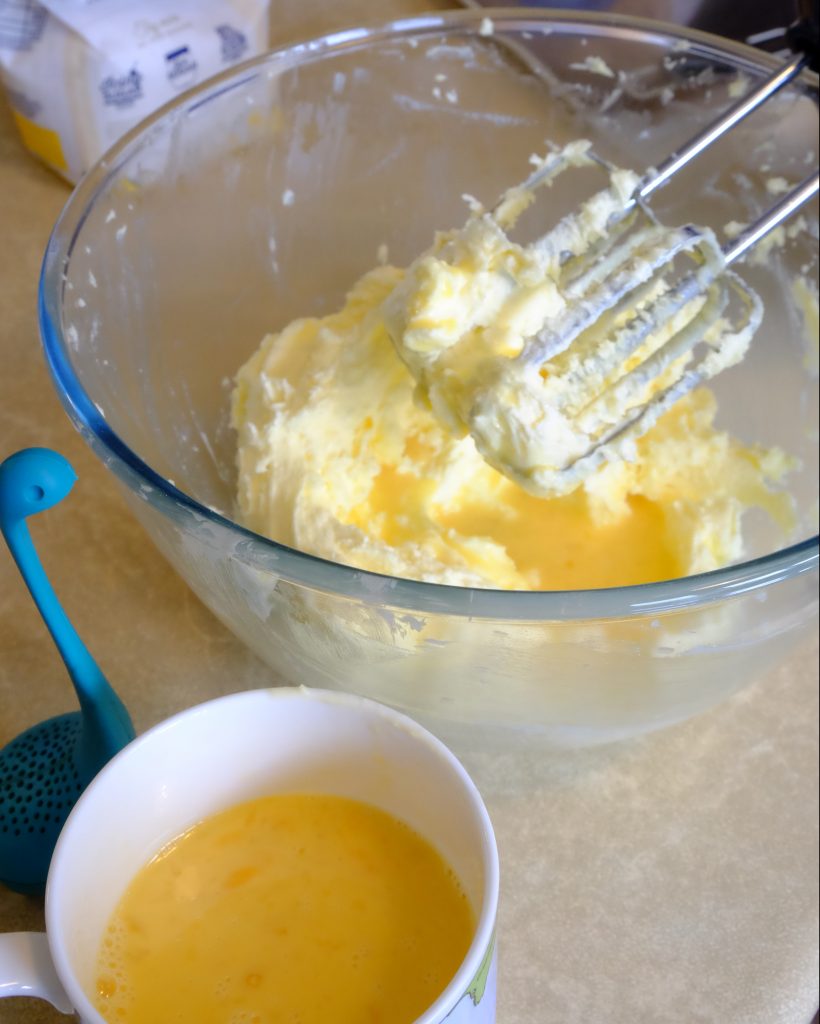
Don’t add too much at once, otherwise it won’t whisk into the mixture smoothly and will go all curdly. That’s not a major problem, so don’t worry if that happens, it will be fixed when we add the flour.
Once all the egg has been mixed in, it should look like this – all pale and fluffy and light. If it looks a little split, don’t worry! It’ll be fine.
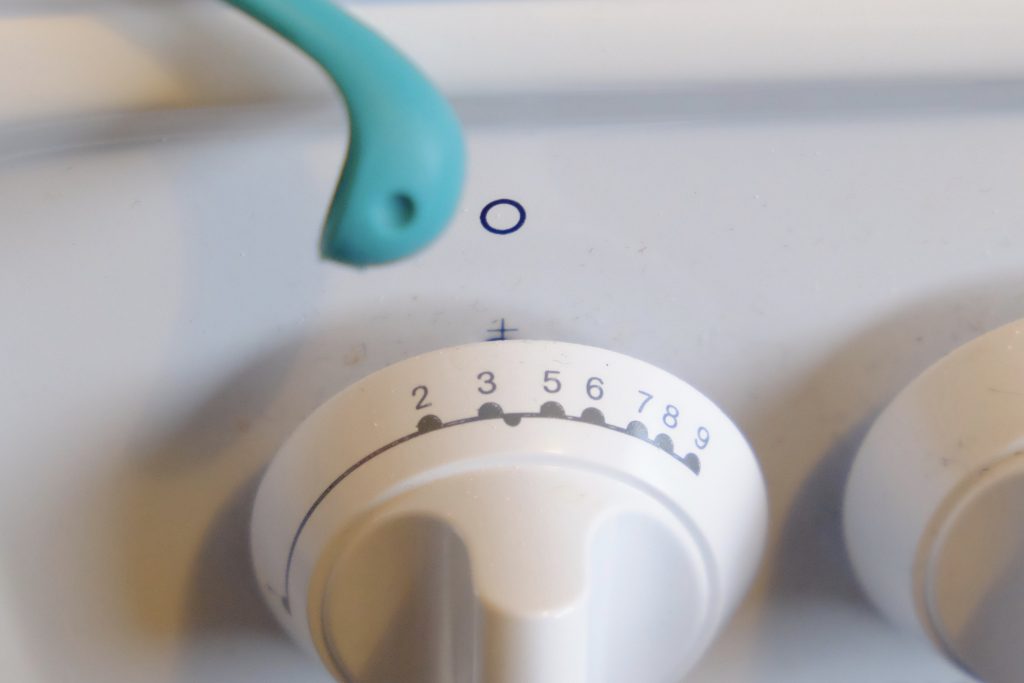
At some point, you should turn the oven on, to gas mark 5 / 190°C. If you have an oven which takes a while to heat up, you probably should have turned it on before now.
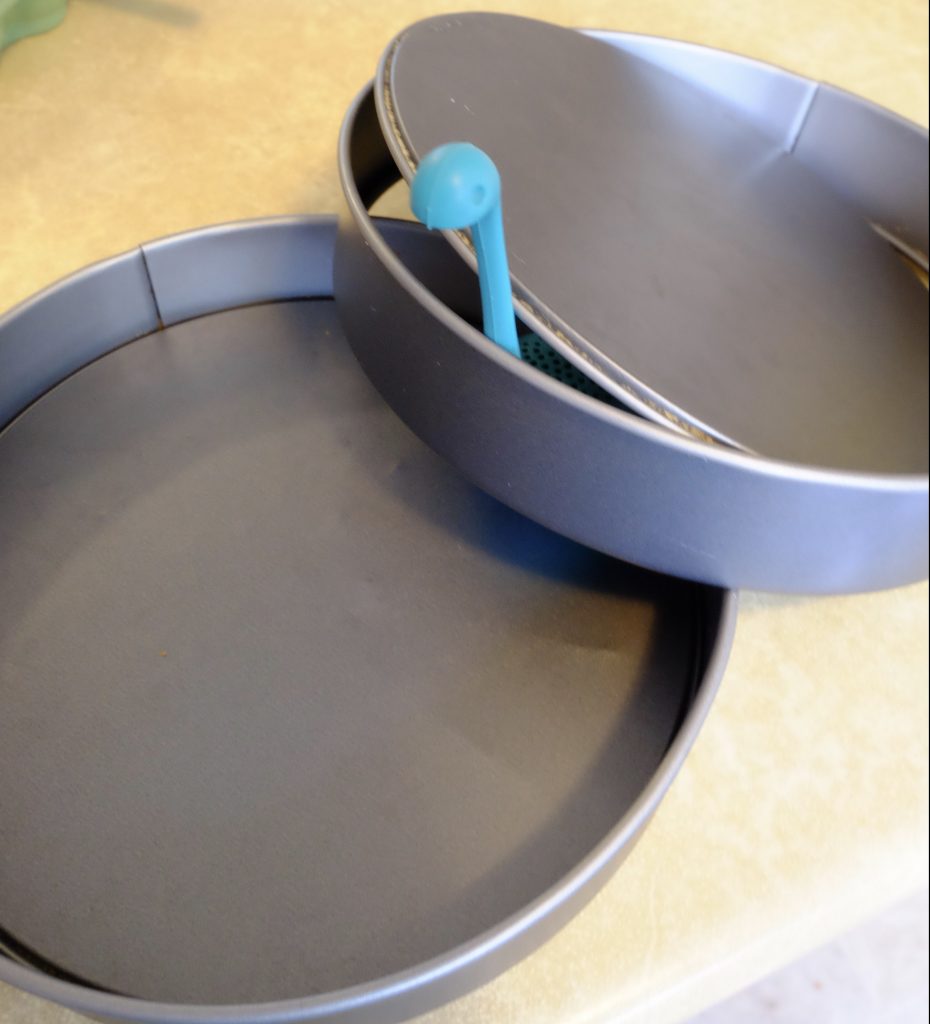
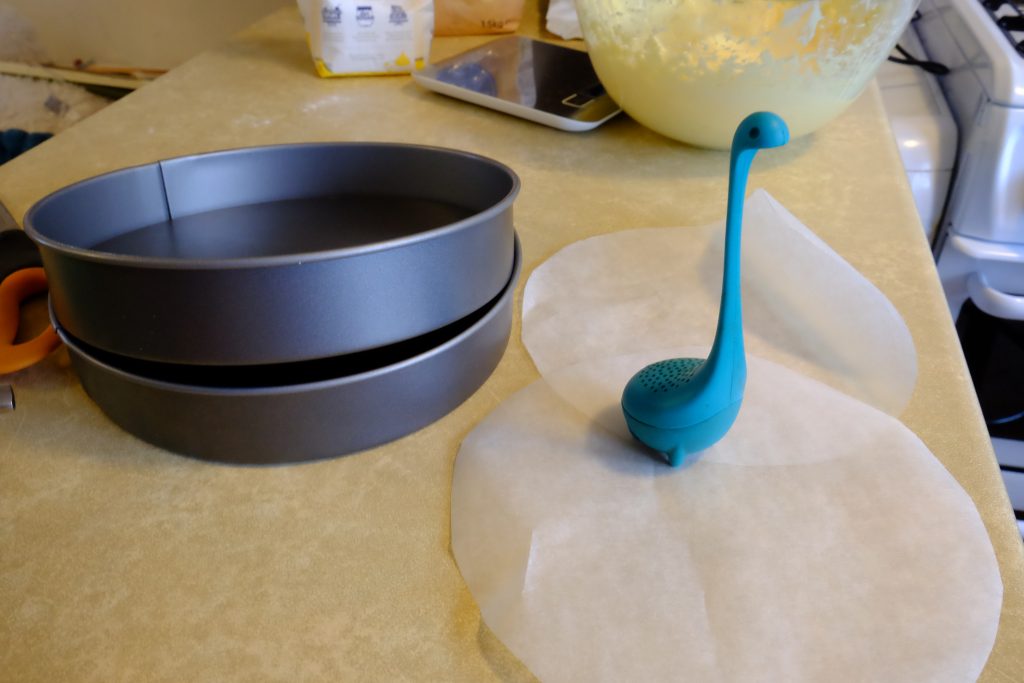
Now is also a good time to get the cake tins ready! Take two 8-inch cake tins. Nessie likes loose bottom tins because it’s easier to get the cake out. Non-stick is also a great cake-making invention.
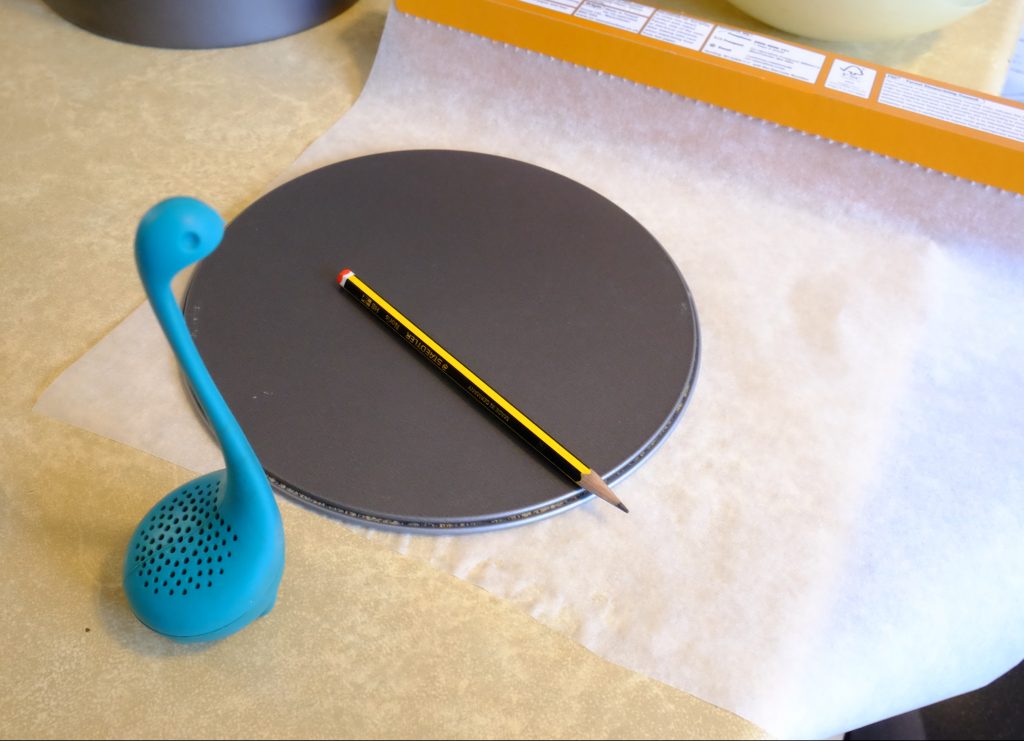
To make it easy to remove the cakes from the tins, it’s a good idea to grease and base-line them. An easy way to do this is to take the bottom of the cake tin, and draw around it with a pencil on greaseproof paper.
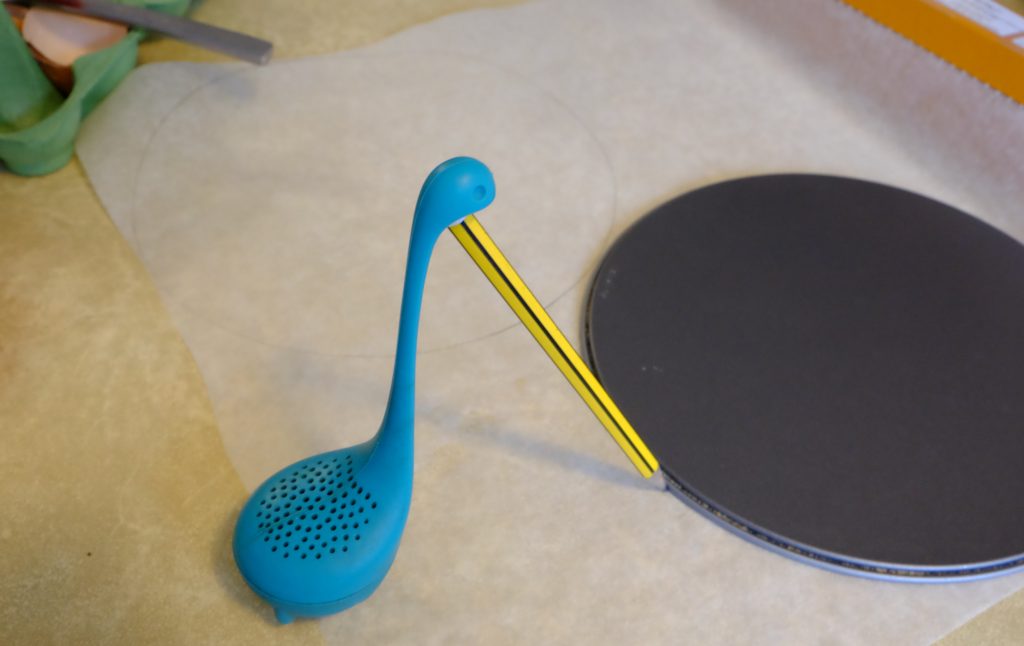
Make sure you draw two circles, and they don’t overlap.

Then, carefully use some scissors and cut out the circles.
Hooray!
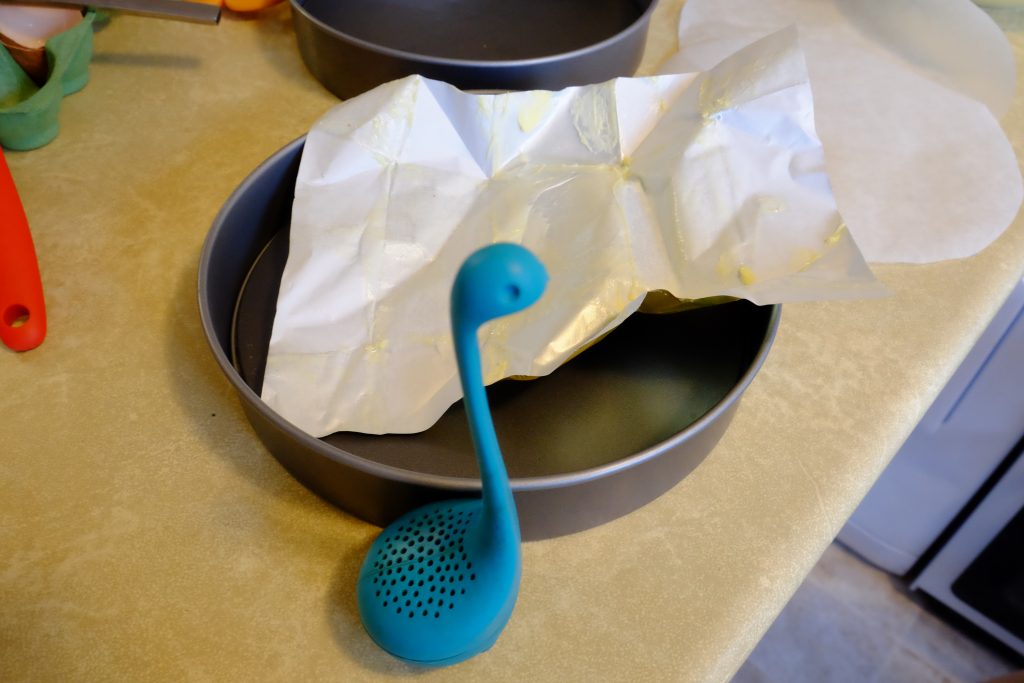
Now, grease the bottom and the sides of the cake tins. Nessie likes to save the butter wrapping paper, and use that to grease the tins. Rub the greasy side all over the tins, adding more butter to the paper if necessary. You can also just use your fingers if you don’t have a butter paper – it’s actually quite fun! (But make sure your fingers are clean first.)
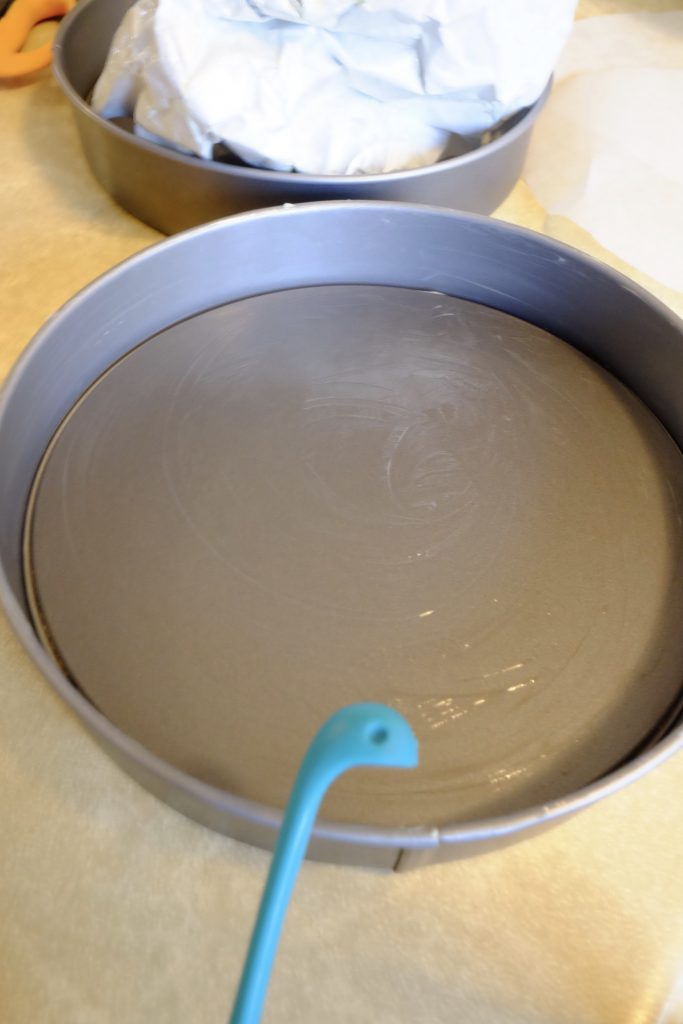
Greased tin!
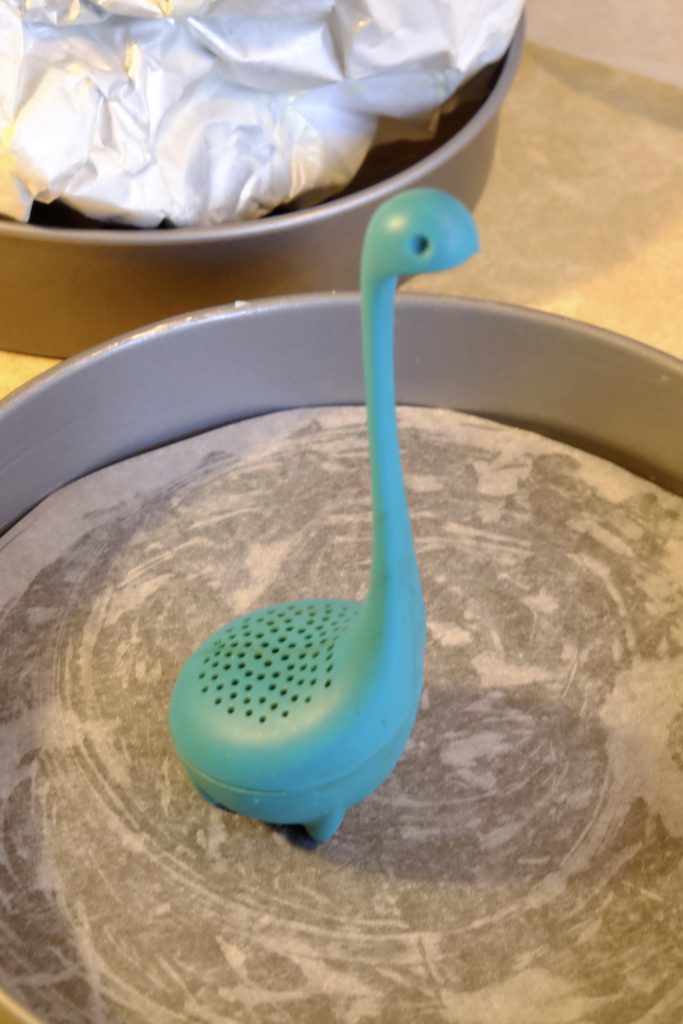
Now stick the paper circles to the bottom of the cake tins. They should fit perfectly! If they don’t, you are bad at drawing and cutting and should practice more.
Next cake step! Weigh out 10 ounces of self raising flour into a different bowl or jug or whatever you have that is not the main mixing bowl.
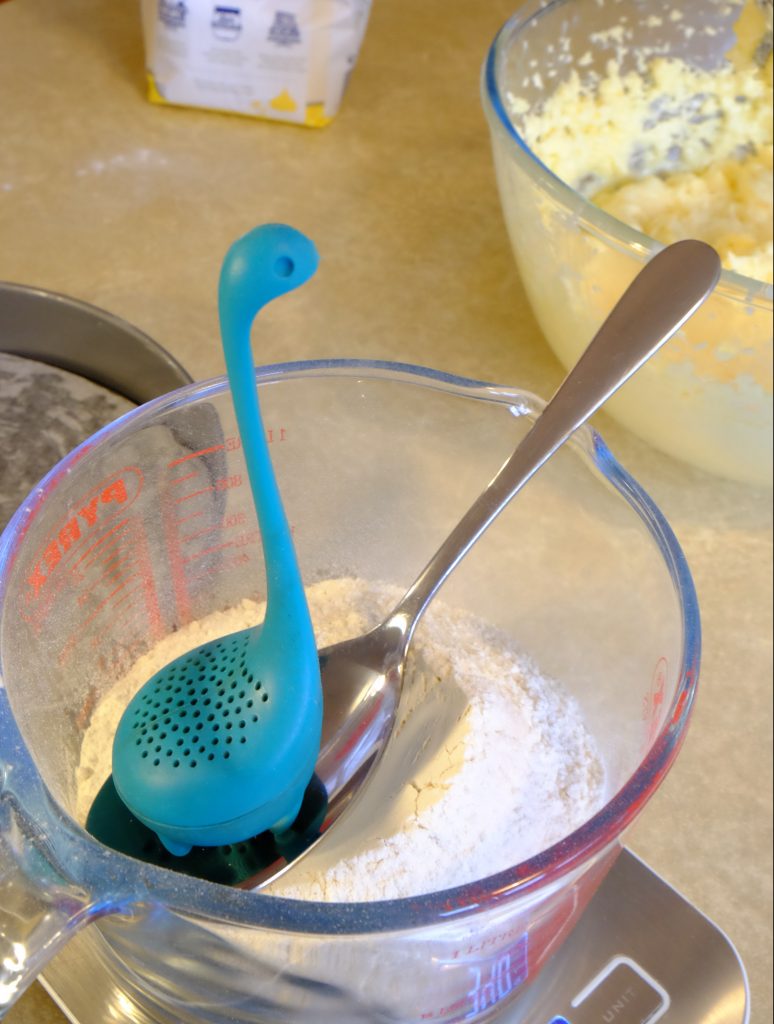
Find a large metal spoon.
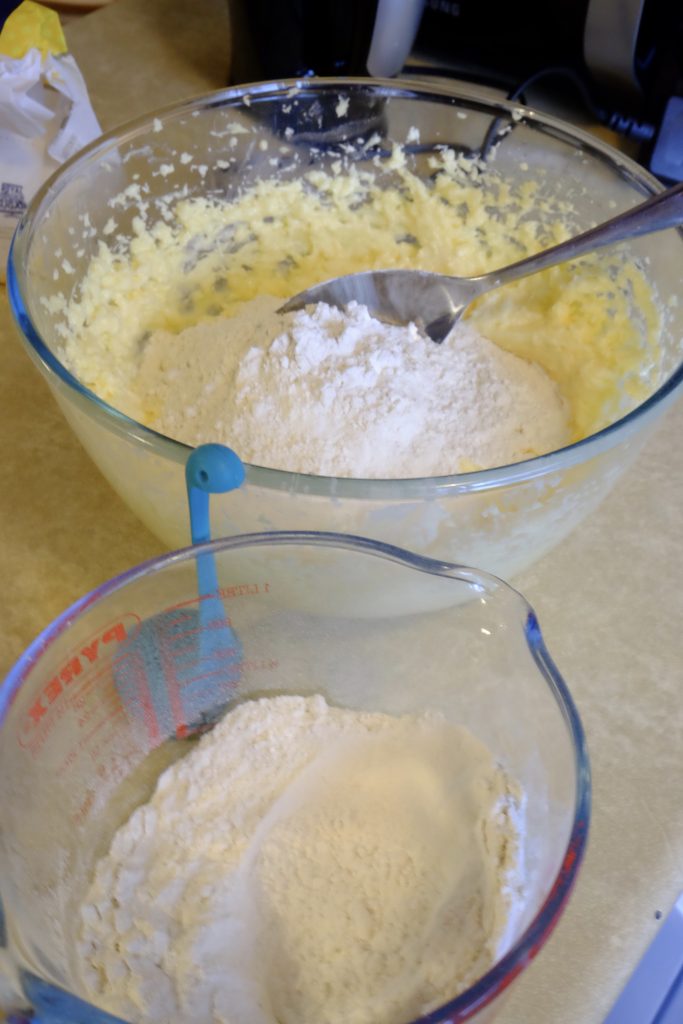
Add half of the flour to your butter mixture, and then gently stir it in with the spoon. No more whisks!
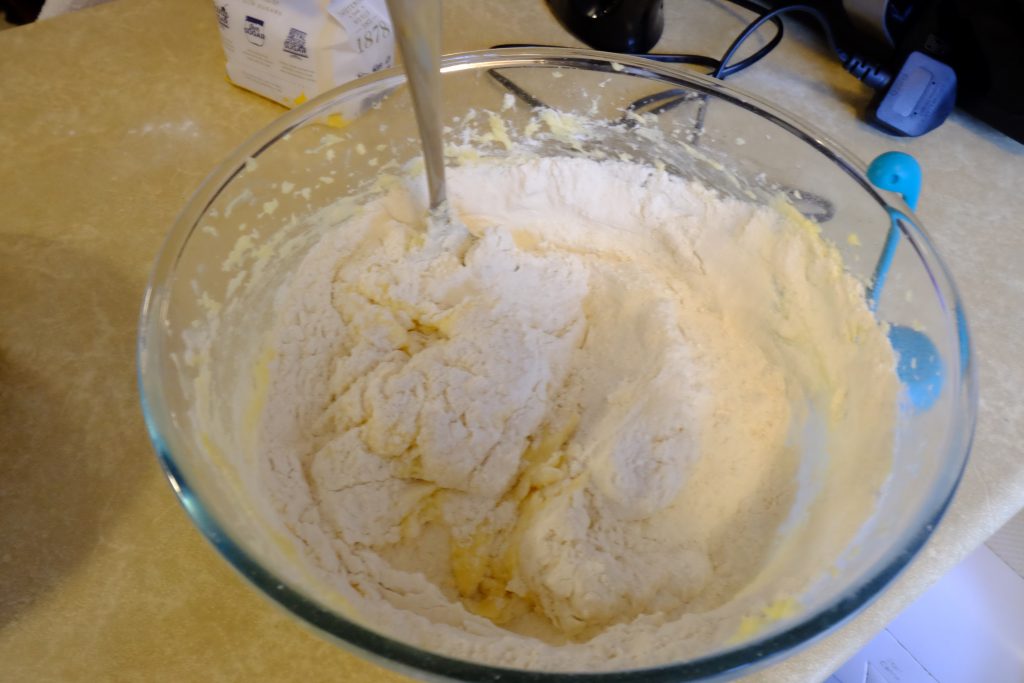
Gently gently stir in the flour. (Fold it in, if you know what that means. Basically, use the metal spoon to stir in a figure-of-eight pattern until it’s all mixed in.) The less stirring you do, the lighter the cake will be.
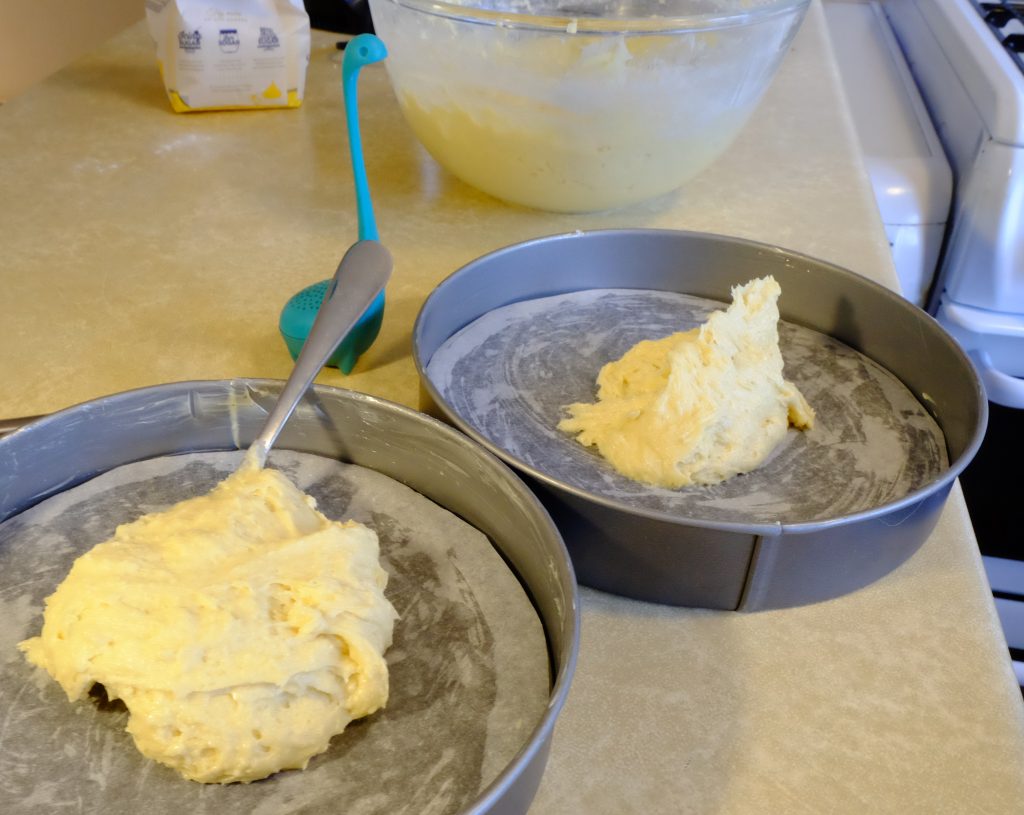
When the flour is mixed in, evenly divide the cake mixture between the two tins.
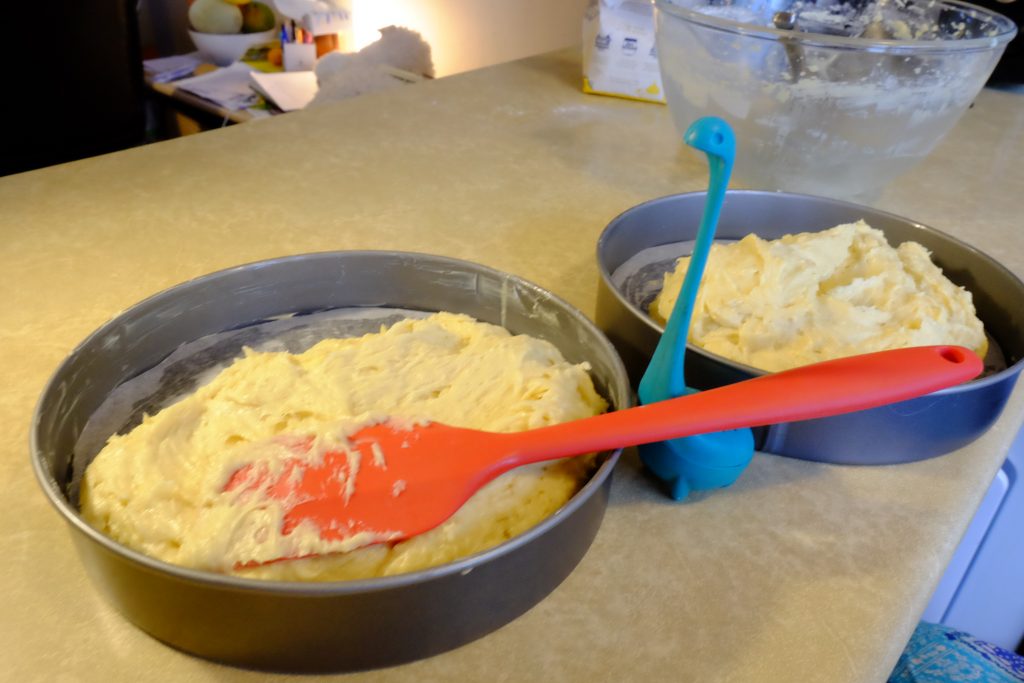
When you’ve run out of cake mixture in the bowl, use your spatula/knife/flat thing to smooth out the cake mixture in the tins.
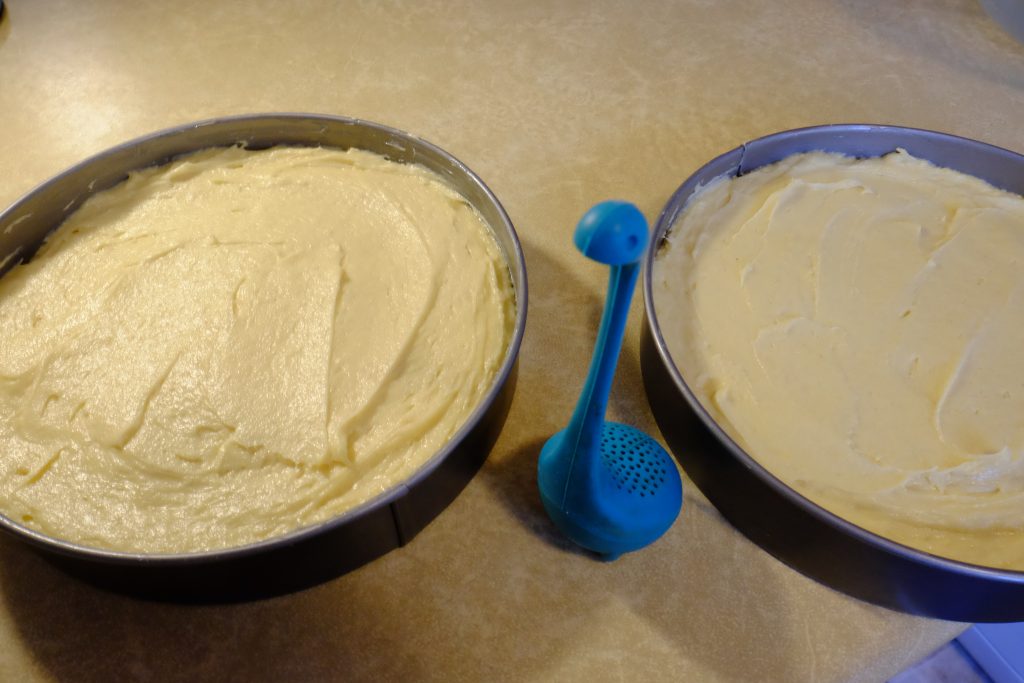
Ta-da!
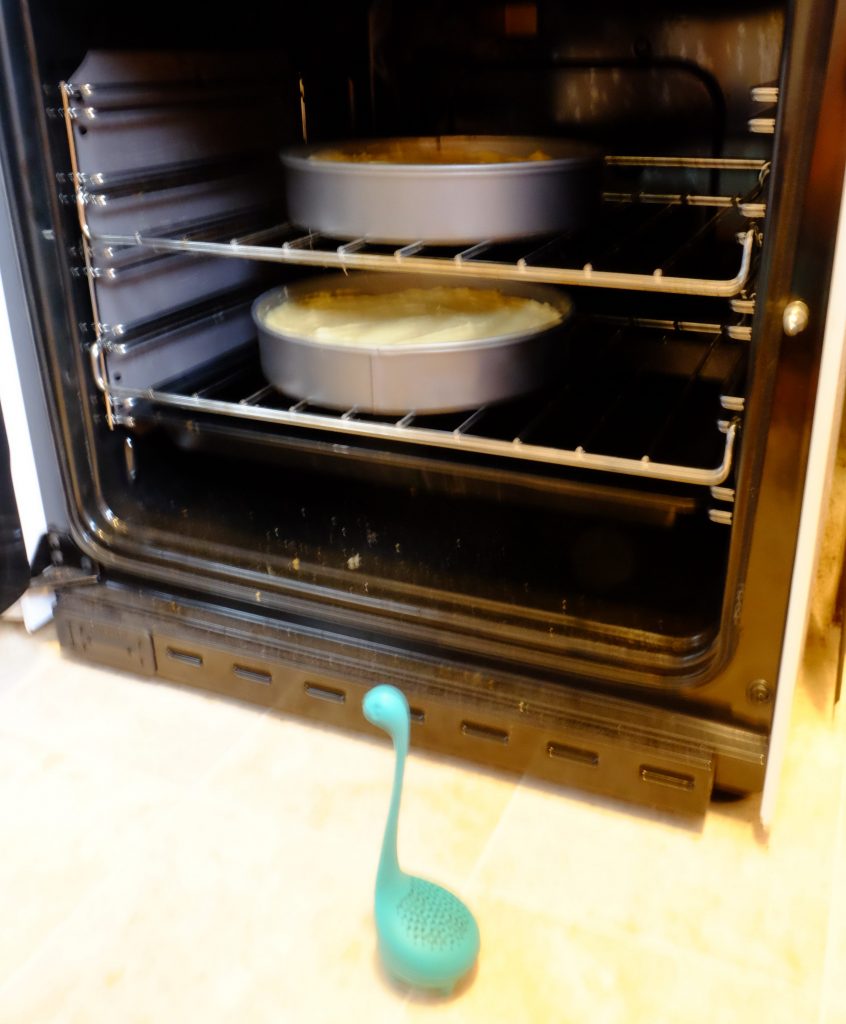
Put the cakes into the oven. If your oven is wide enough to put the cakes on the same shelf, then do that. They like to be in the middle of the oven. This picture is blurry because of the intense heat from the oven.
Set a timer! If you have made 8 inch cakes, it will probably take about 45 minutes to be done, but you should check after about 30 minutes and 40 minutes of baking, to make sure it’s not burning. Don’t open the oven door while they’re cooking, or they will stop rising and be flat and sad.

Washing up time!
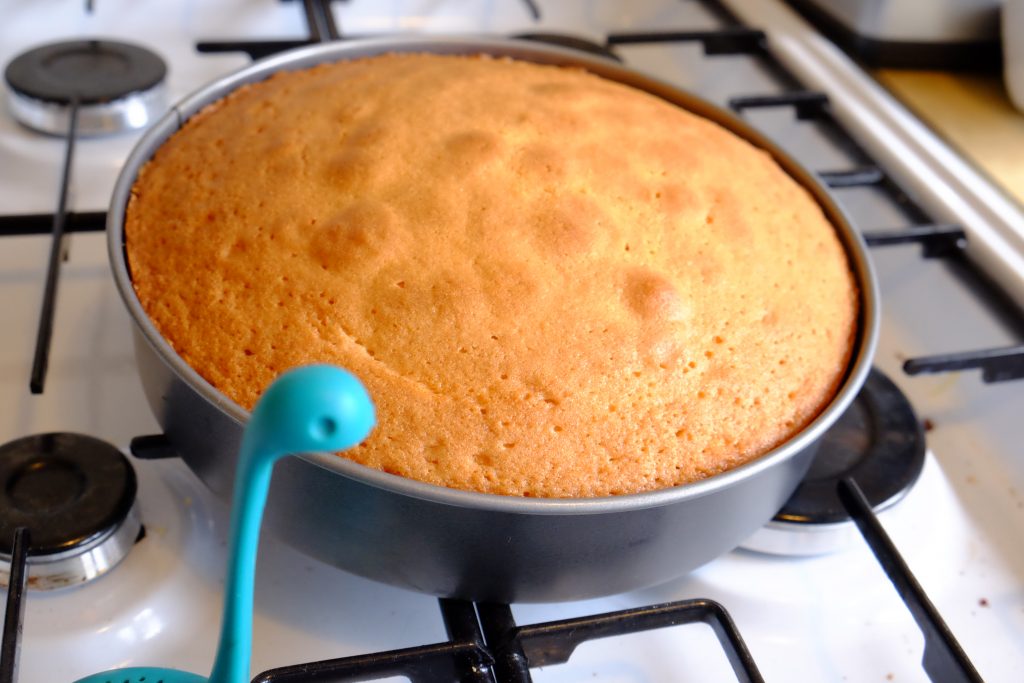
Cake is done! They’re finished baking when they are golden brown and well risen. If you press lightly on the top, it should bounce back into shape, and feel kinda spongy (because it’s a sponge cake). Another good way to check if it’s cooked all the way through is to insert a skewer into the middle of the cake. If there’s any cake mixture sticking to it when you pull it back out, the cake is not finished cooking yet and you should put it back in the oven.
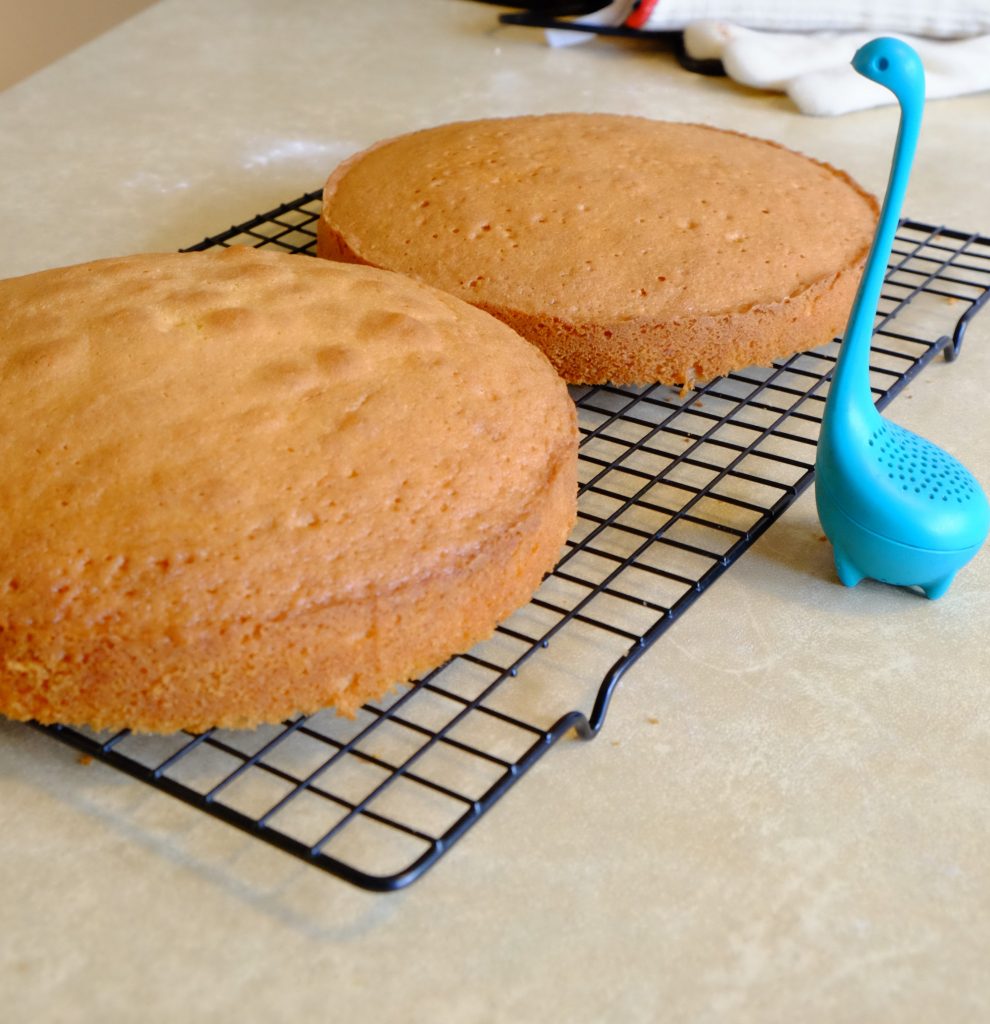
Take the cakes out of their tins, remove the greaseproof paper circles from their bottoms, and put them on a cooling rack to become less warm. When they have cooled down to room temperature, you can assemble the cake! Baby Nessie is going to make a classic raspberry jam sandwich, but you can use whatever jam or icing you like 🙂

Please endeavour not to bury your head in the jam.
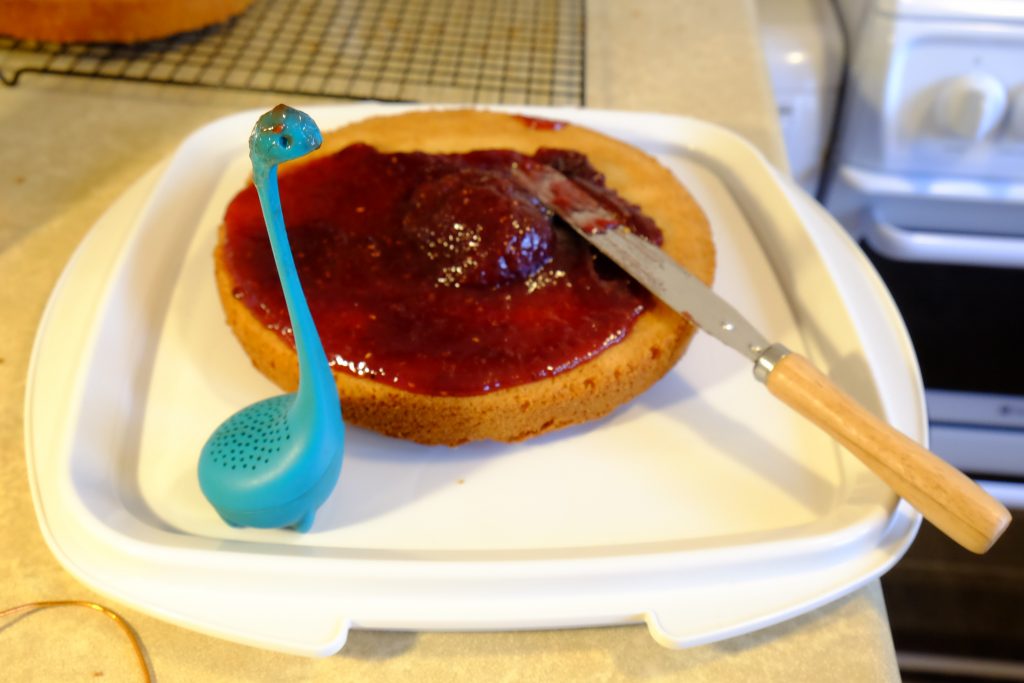
Put one cake onto a plate or cake board. This one is on a cake box base. If you put the cake upside down, you can spread the jam or icing on a flat surface, which makes it easier to assemble the cake.
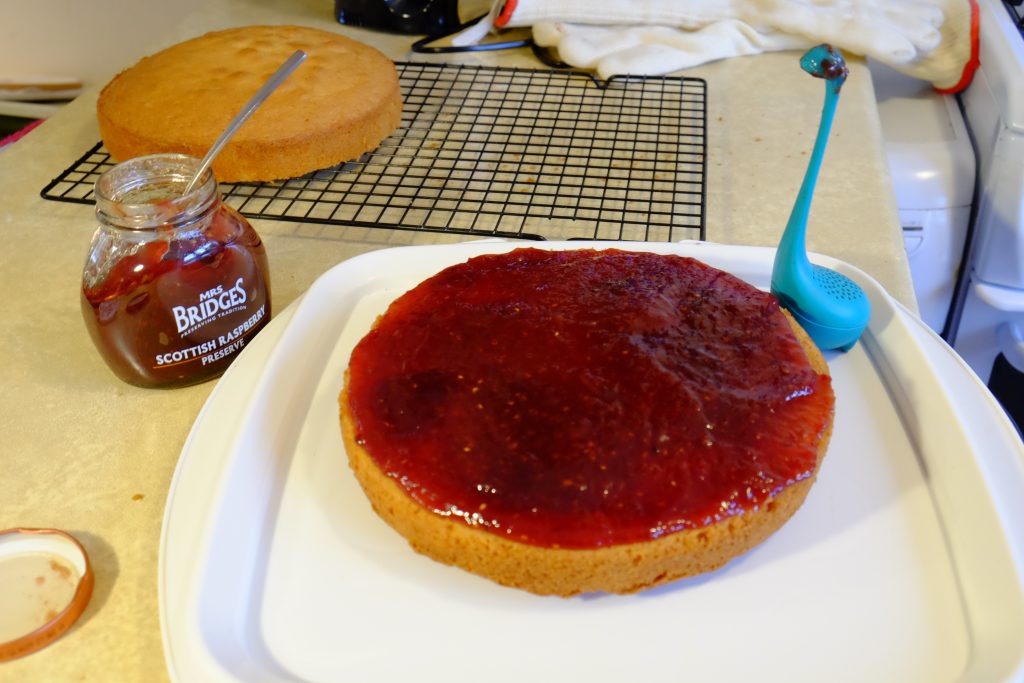
Spread jam all over the first cake until you have decided that there is enough jam.
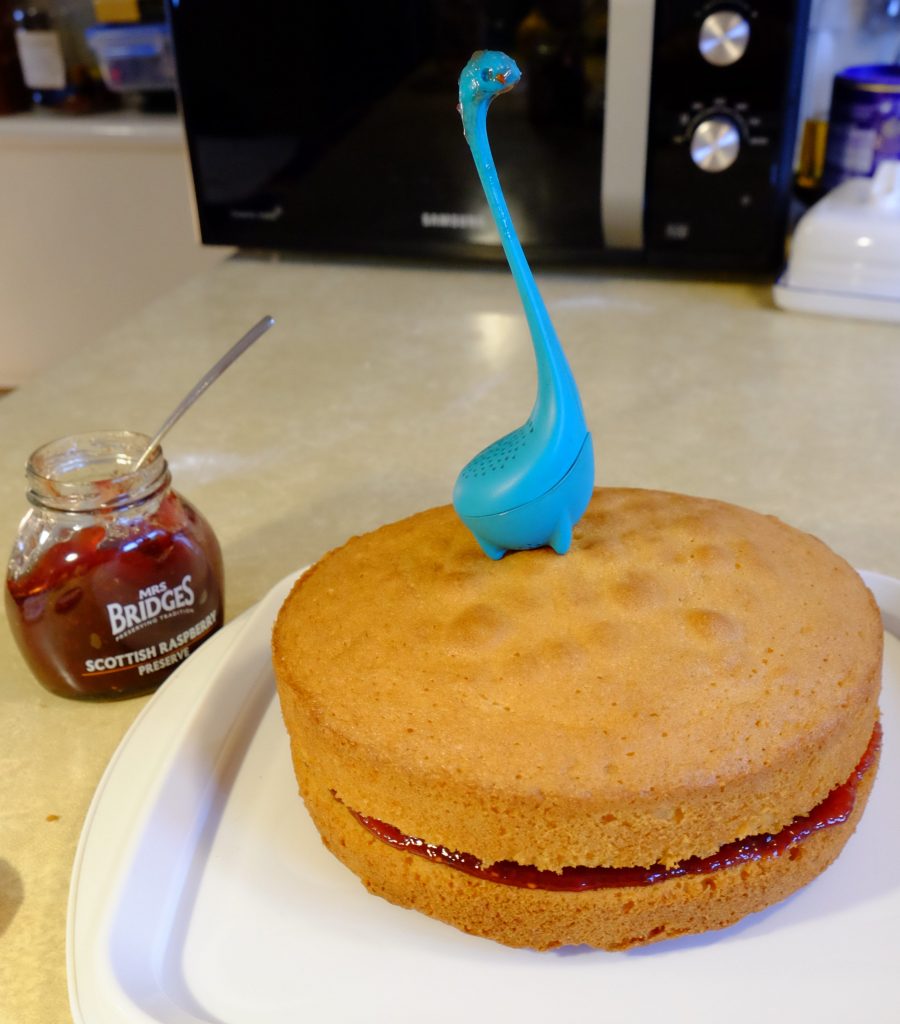
Then, place the second cake on top of the first one and stand on top of it admire your handiwork.
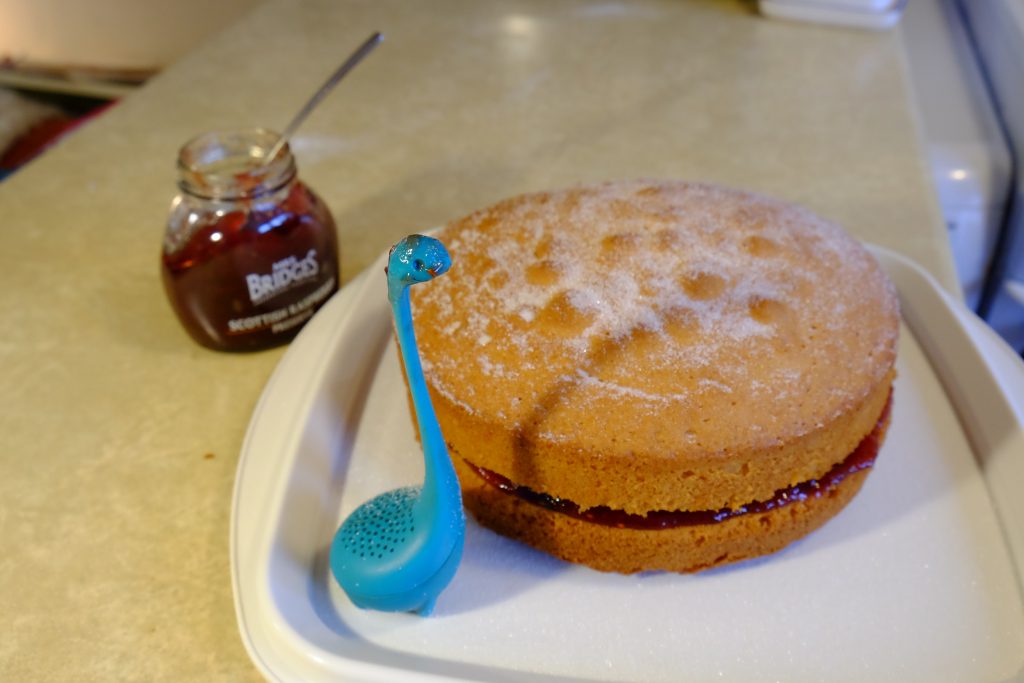
You can sprinkle caster sugar on top if you feel fancy. It can make it look prettier. If you decide which cake is the top cake when you take them out of the oven and sprinkle the sugar on it while it is still warm, it will stick better.
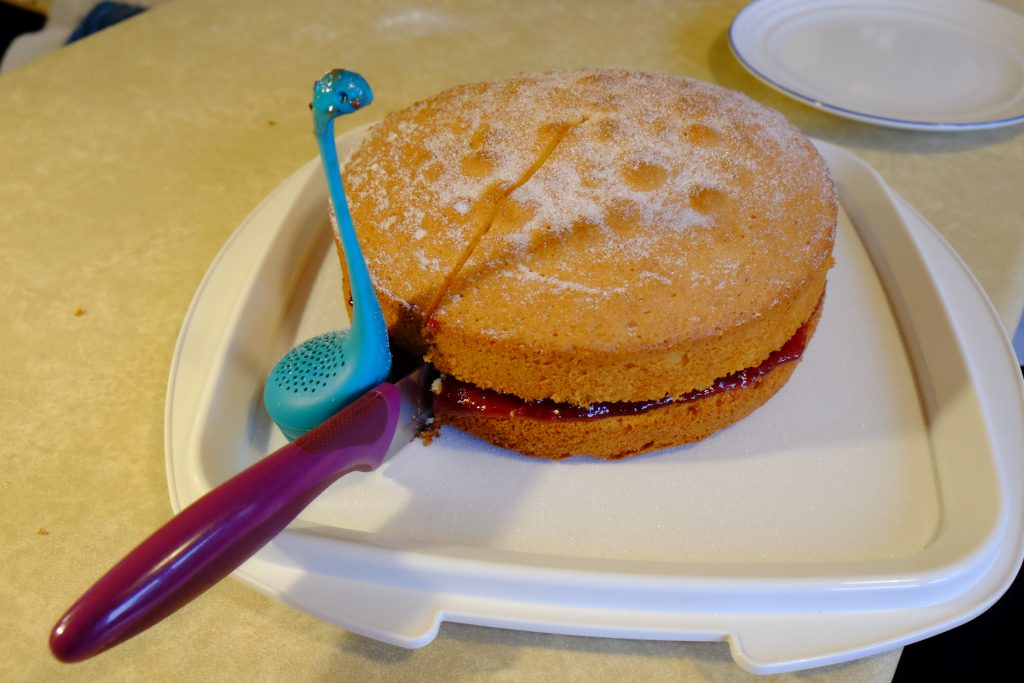
You must use a purple knife to cut your cake, or it will self destruct in five seconds, and there will be cake splatters all over you and your kitchen.
When you want some cake, you should cut it into slices instead of just biting it.
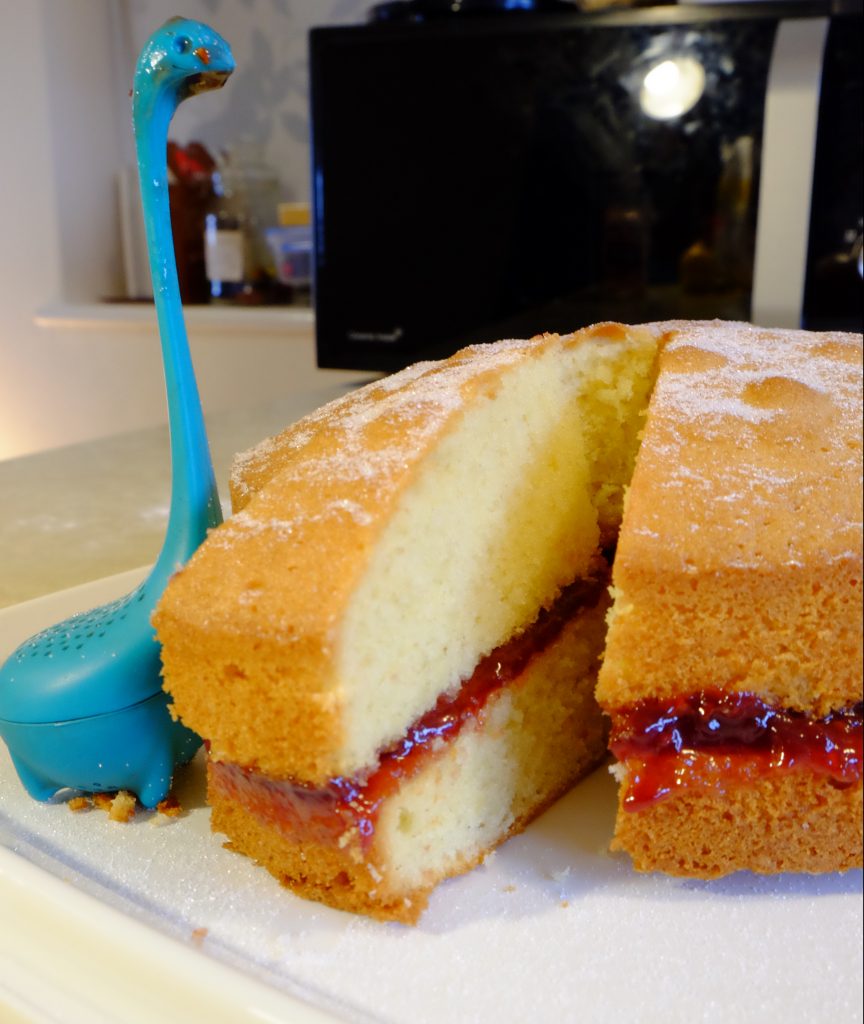
What a beautiful slice of cake!
Enjoy your cake!
Victoria Sponge Cake Recipe
For an 8-inch (20ish cm) cake:
- 10 oz (285 g) butter, softened
- 10 oz (285 g) caster sugar
- 5 eggs
- 10 oz (285 g) self raising flour
For a 7-inch (18ish cm) cake:
- 6 oz (170 g) butter
- 6 oz (170 g) caster sugar
- 3 eggs
- 6 oz (170 g) self raising flour
Method
- Grease and base-line two sandwich tins of your chosen size
- Preheat the oven to 190°C/180°C fan/gas mark 5
- Beat the butter and sugar together until pale and fluffy
- Crack the eggs into a mug or bowl, and beat them until smoothish
- Add the eggs to the butter and sugar a little at a time, beating well after each addition
- Using a metal spoon, fold in half the flour, then the rest
- Divide the mixture evenly between the two tins, then smooth the tops
- Bake in middle of the oven until well risen, firm to the touch, and golden brown: check after 20 minutes for a 7 inch cake, after 30 minutes for an 8 inch cake. Baking times will vary depending on your oven, so be prepared to leave it for 5-10 minutes longer.
- Turn the cakes out of the tins, and place them on a wire rack to cool
- When the cakes are cool, sandwich them together with jam and sprinkle the top with sugar